Gmail and Google Calendar are two of the world’s most popular, essential, and widely-used tools. And, both being part of the Google Suite, there are many ways these two apps interact natively.
That said, these native interactions can only get you so far. Between booking events, attending them, and sending follow-up emails, there’s a lot of work there that can’t be automated between these two apps on their own.
Zapier is here to help bridge that gap. Using Zaps—what we call our automated workflows—you can automate the busywork that comes with managing your calendar events and corresponding communication.
Popular ways to integrate Gmail with Google Calendar
There are loads of creative ways that you can integrate Gmail with Google Calendar. If there’s a task that you do frequently, requires you to pass information from one app to another, and doesn’t require too much thinking, then it’s ripe for automating. Here are just some of the ways people automate Gmail and Google Calendar.
To get started with a Zap template—what we call our pre-made workflows—just click on the button, and we’ll guide you through customizing it. It only takes a few minutes. You can read more about setting up Zaps here.
Create a calendar event for specific emails
Find yourself repeatedly scheduling the same kinds of events in response to emails? Whether it’s a demo request, interview, or team meeting, you can use Zapier to automatically create a calendar event from emails that match a particular search criteria.
Send an email when calendar events start
Left to my own devices, I’m perpetually anywhere between two to five minutes late for meetings. I’ll know they’re coming, but if I’m locked in on a task close to meeting time, it’ll blow right past me. If you’re like me, do yourself a favor and sync your Google Calendar with Gmail to get an email reminder before your meeting starts.
Send an email when new calendar events are added
It’s easy for people to miss events because they didn’t check their calendars. You can stop that from happening by sending an email automatically when a calendar event is added.
While this is something you can do natively in Google Calendar, you can’t customize the email that goes out quite as well. If you want to give attendees more details about the event, we’d recommend setting up this Zap.
Quick add a calendar event for specific emails
Do you find yourself regularly creating calendar events manually from emails? Yes, the option to do that straight from your inbox is handy. But if you know you’re going to schedule an event when you get an email from a particular person or someone with a particular email domain, you can use this Zap template to automate the process.
Send an email when calendar events end
Do you have recurring meetings that you send the same follow-up after every time? Cut out the copy/pasting and automate that follow-up email with a Zap. Now, you’ll never forget to circulate the meeting notes ever again.
How to integrate Gmail with Google Calendar
As you can see, there are a lot of ways to integrate Gmail and Google Calendar using Zapier. For the sake of this tutorial though, we’re going to focus on one of the workflows we mentioned above—sending an email reminder before a calendar event starts. But you can use these same steps to connect Gmail to Google Calendar in tons of different ways.
Before you begin
Before you create a Zap that integrates Gmail with Google Calendar, you’ll need to create a Zapier account if you don’t have one already. Don’t worry, creating an account is easy and free. Just head right here. You’ll also need a Google account.
Once you’re signed in, you can create new Zaps using the “Create Zap” button or by going to zap.new.
Step 1: Set up your trigger app and event
A Zap always consists of two parts:
-
The trigger: an event that starts a Zap.
-
The action: an event a Zap performs after it’s triggered. A single Zap can perform more than one action.
Depending on the workflow you’re setting up, your trigger app could be Google Calendar or Gmail.
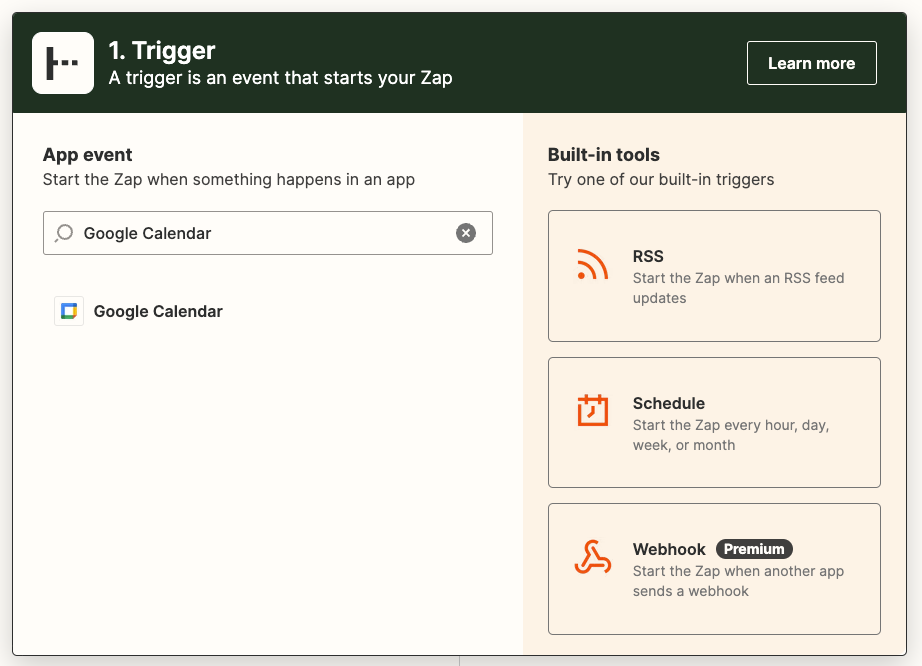
Search for and select your trigger app. In our example, we’ll search for Google Calendar.
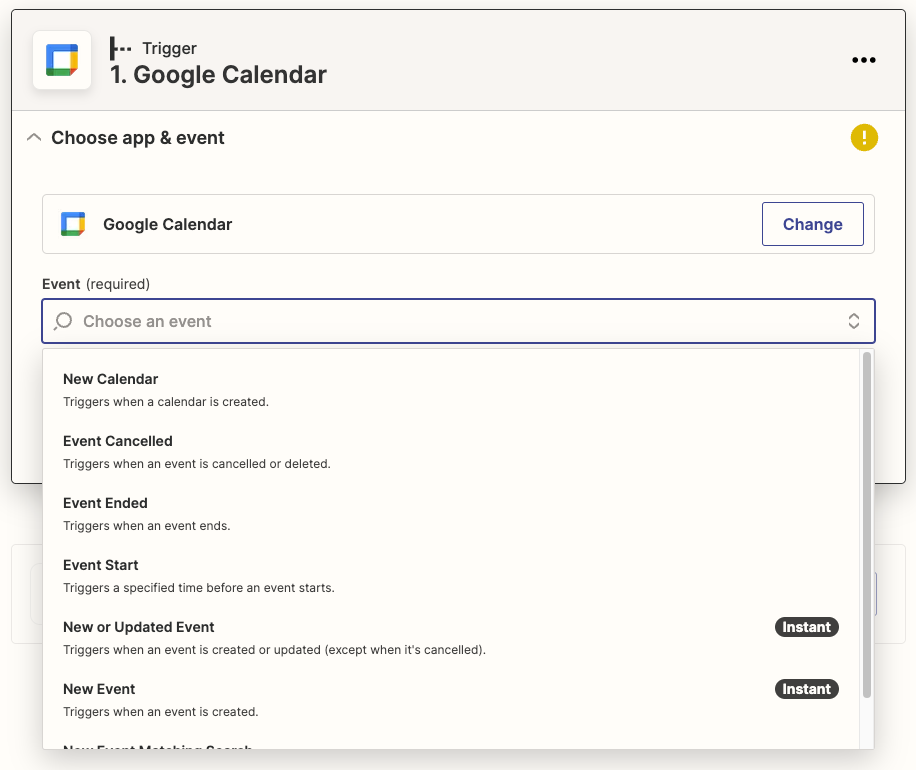
Then select your trigger event. If your trigger app is Google Calendar, your Zap can trigger when you create a new calendar or event, an event starts or ends, and more.
If your trigger app is Gmail, your Zap can trigger when you receive a new email, an email with a particular label, an email with an attachment, and more.
Want to know more about an app’s Zapier integration? Learn how you can use Zapier’s App Directory to find apps, get integration details, play with Zap combos, and more.
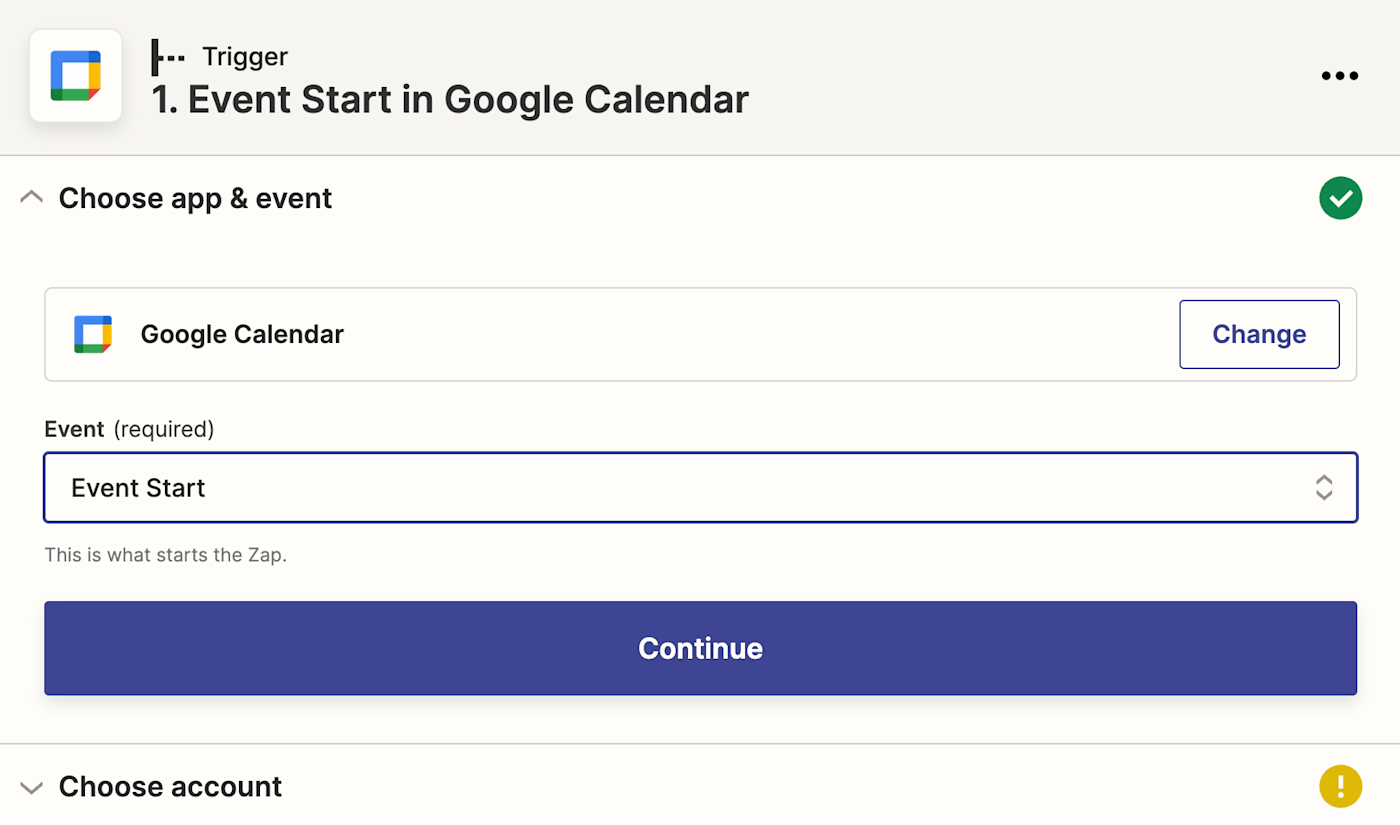
Select your trigger event and click Continue. We’re going to select Event Start for our example.
Next, connect your trigger app account to Zapier by clicking on the dropdown menu and selecting +Connect a new account. We’ll connect Google Calendar in our example. You’ll need to give Zapier permission to access your account. Once you’ve connected your account, select it from the dropdown menu and click Continue.
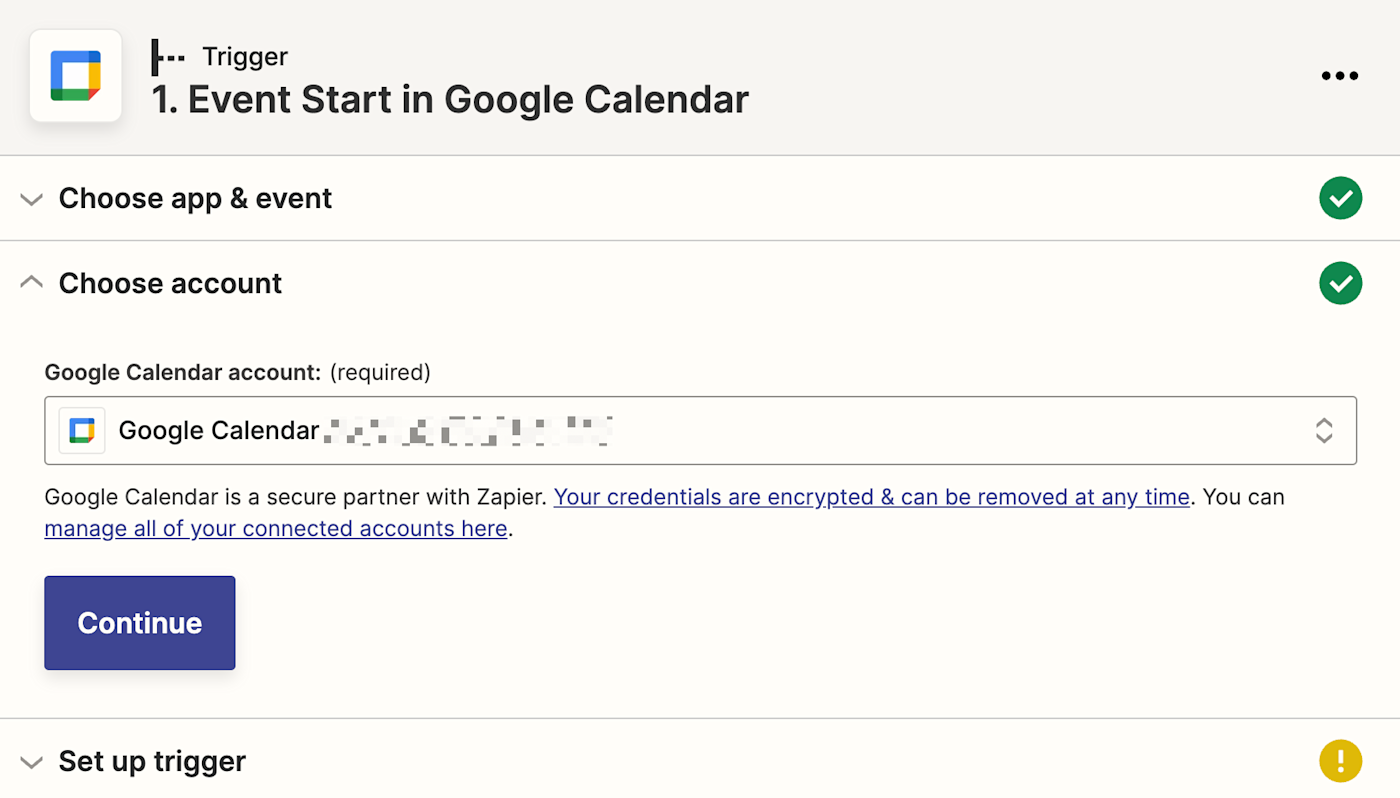
For each app you connect, Zapier will ask for a general set of permissions which allows you to be flexible with your Zaps. The only actions Zapier takes on your app accounts are those a given Zap needs to accomplish what you’ve set up.
Next, set up your trigger step by filling in the trigger step fields. Depending on your trigger app and event, you’ll have different fields to customize. In our example, we’ll select the Google calendar we want to use and how long before the event we want the Zap to trigger.
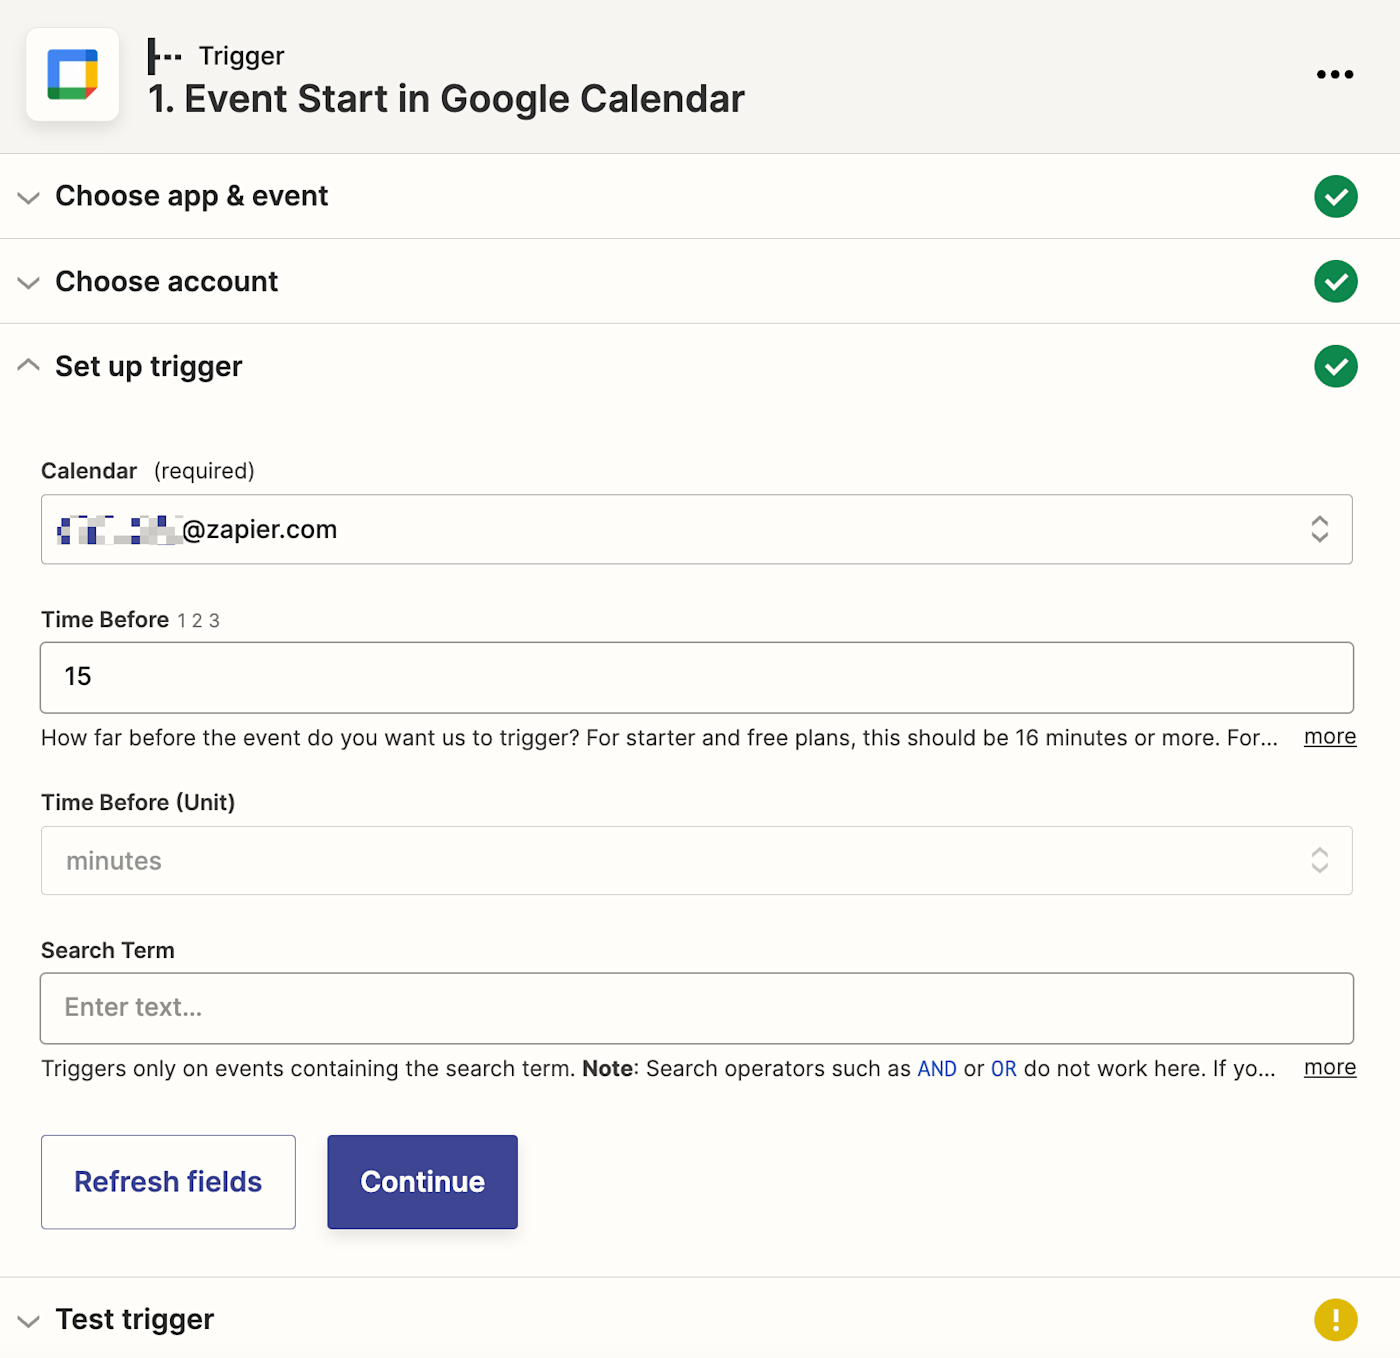
When you’re done customizing your trigger step, click Continue.
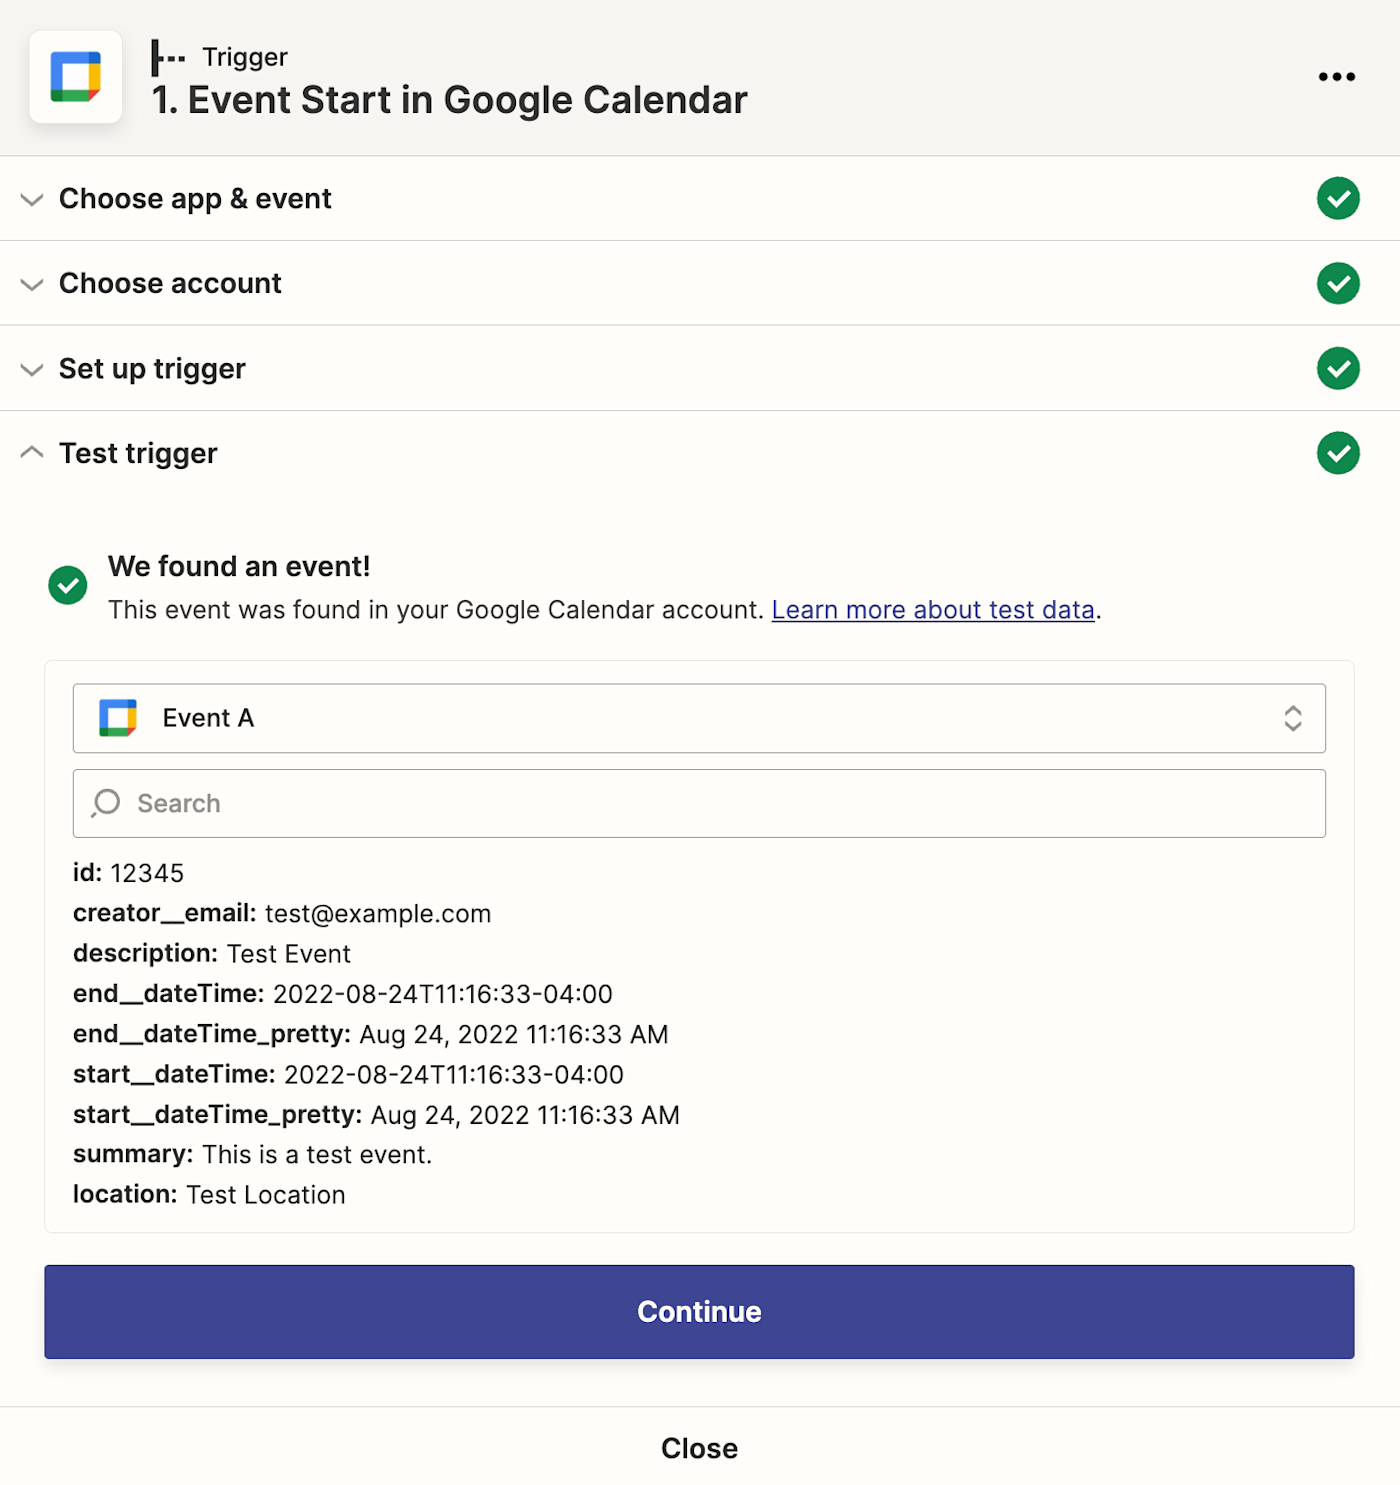
Next, click Test Trigger so Zapier will create a test event to make sure the trigger is working properly. Once the test runs successfully, click Continue.
Step 2: Set up your action step
In this next step, you’ll set up the action—the event your Zap will perform once it’s triggered. Start by searching for and selecting your action app. We’ll use Gmail in our example.
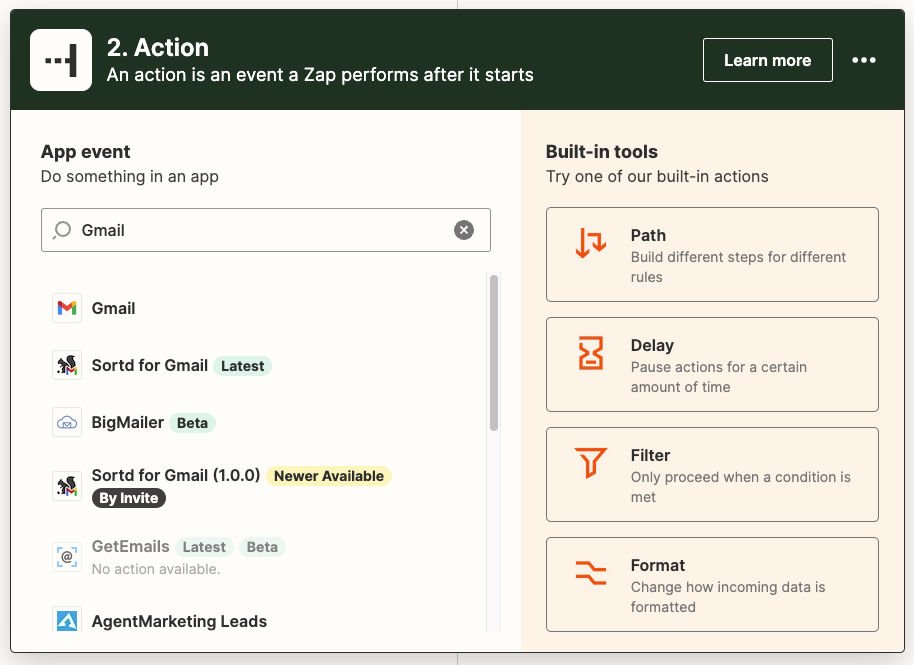
Next, choose your action event. If your action app is Gmail, your Zap can send an email, create an email draft, reply to an email, and more.
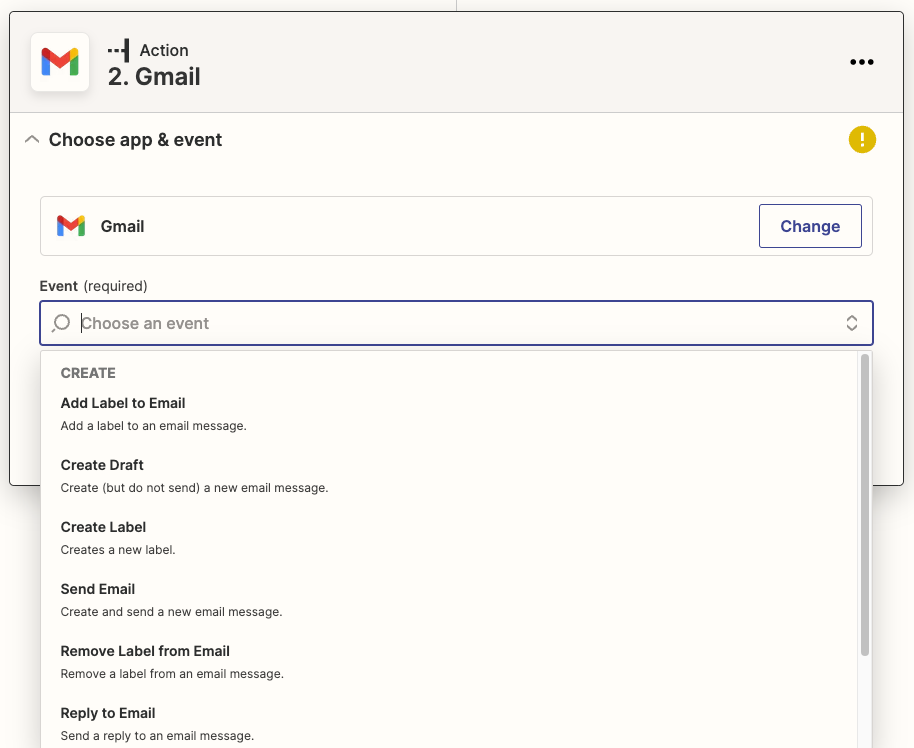
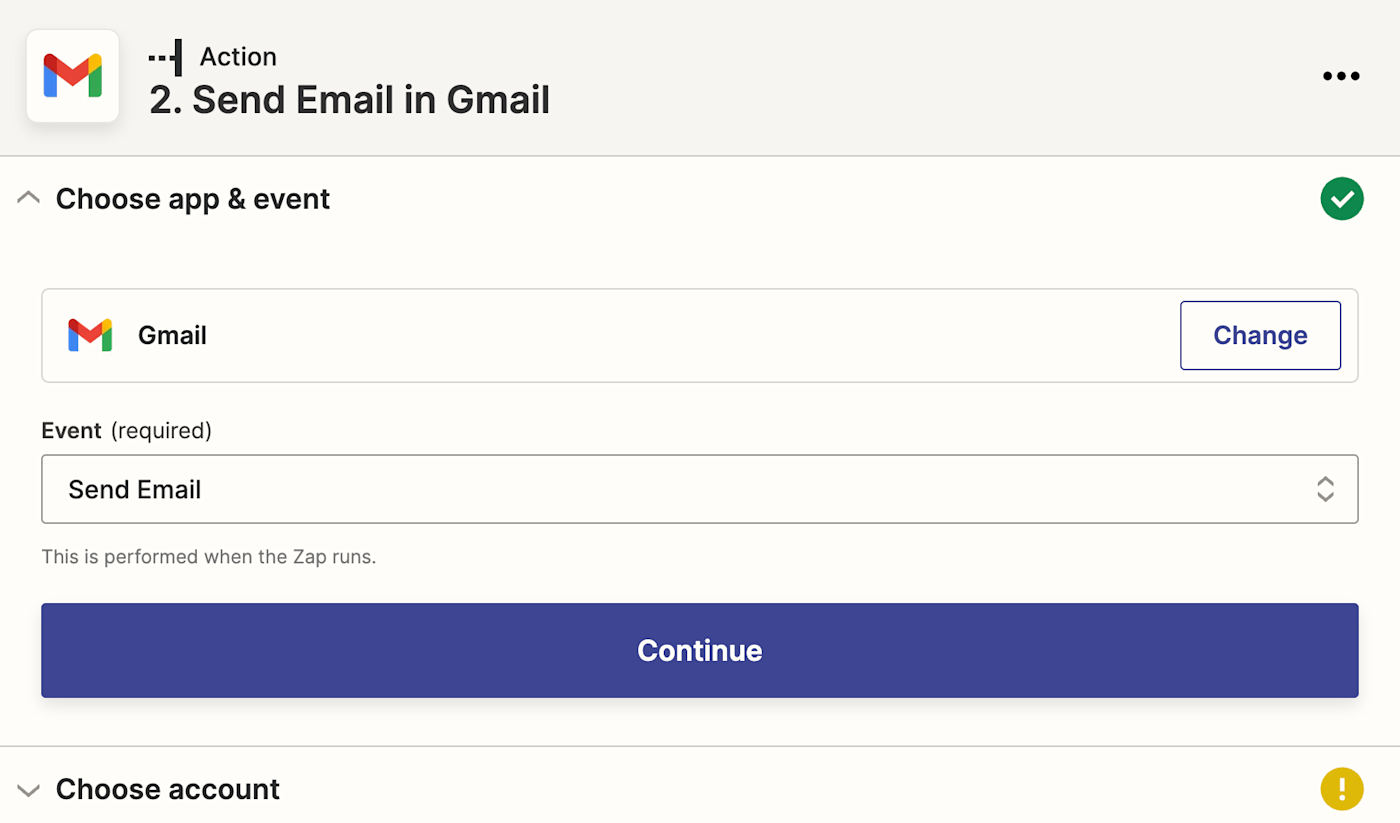
Select your action event and click Continue. We’re going to select Send Email for our example.
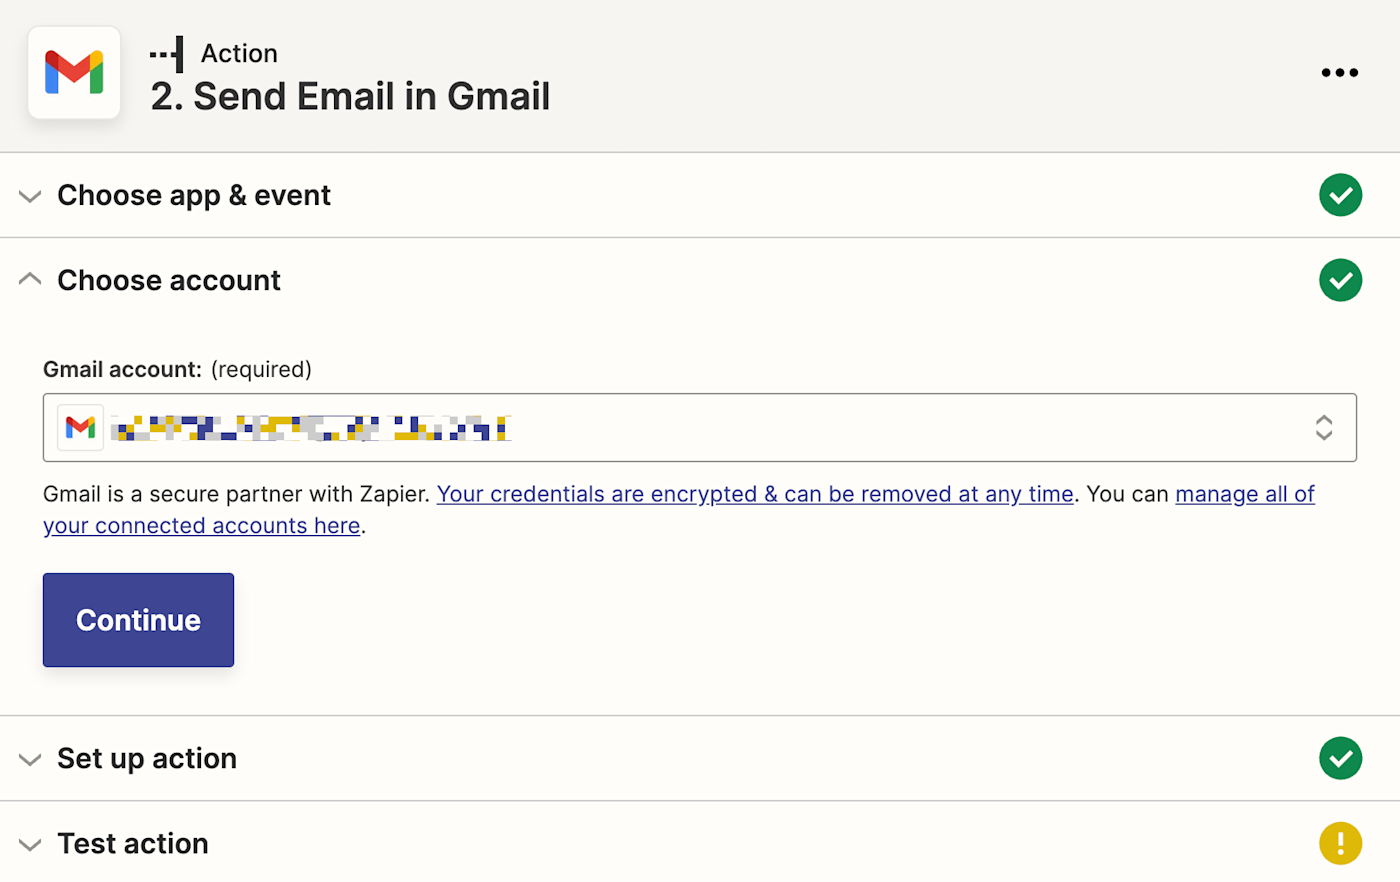
Next, connect your action app account to Zapier by clicking Sign in. In our example, we’ll connect Gmail. You’ll need to give Zapier permission to access your app account. Once you’ve connected your account, select it from the dropdown menu and click Continue.
Next, set up your action by filling in the action step fields. Depending on your action app and event, you’ll have different fields to customize. In our example, we’ll add which email address to send the email to, the From name, etc.
You can also customize your action step with data from your trigger step. For example, to add data from your Google Calendar step—like the event summary—click in the email subject line field and select the data you’d like to use from the dropdown.
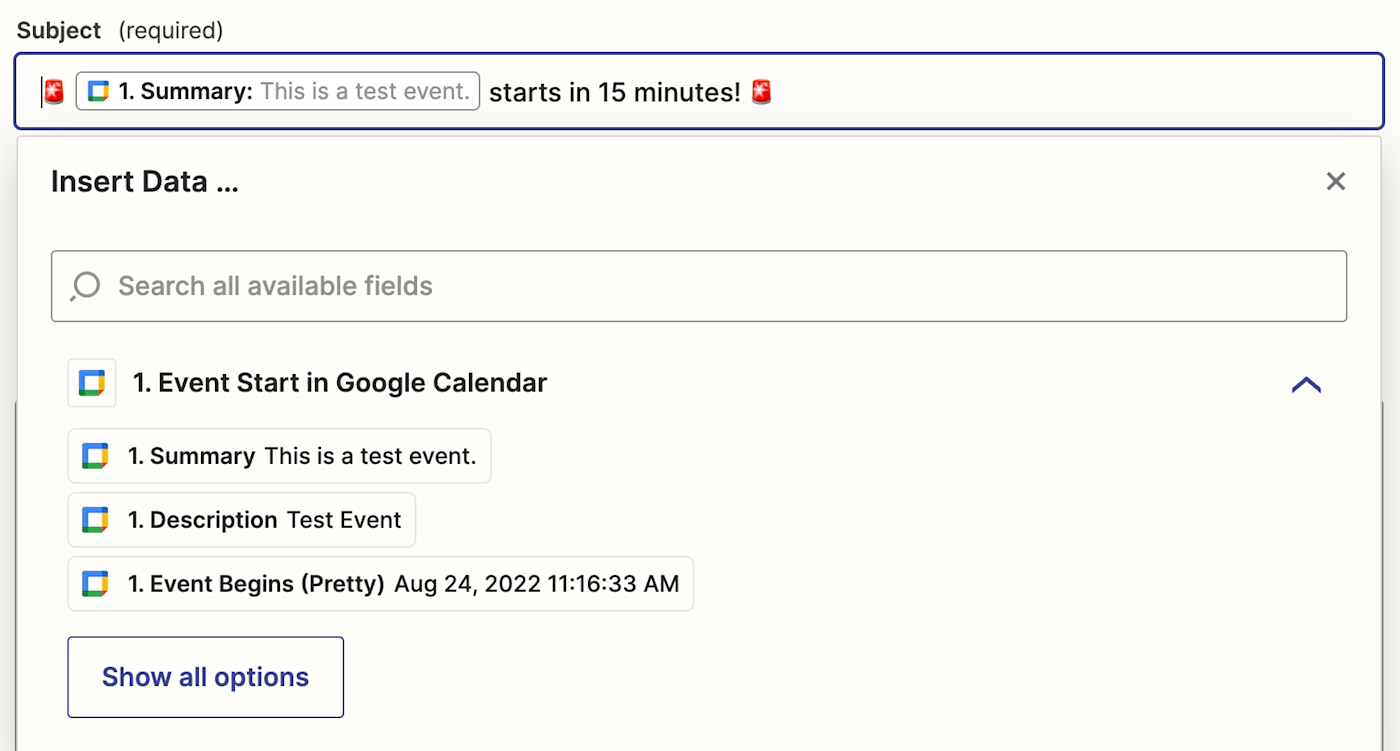
When you map a piece of data—such as a contact name—what you see in the editor is a placeholder. This placeholder data will only be used by your Zap when you test it. When your Zap is turned on, real data from your apps will be used when your Zap runs. We call these dynamic values.
Once you’ve customized your action step how you’d like, click Continue.
Now it’s time to test your action. When you click Test & Review or Test & Continue, Zapier will send test data to your action app. In our example, Zapier will send an email to our Gmail account according to how we set up the email step. We always recommend testing your Zap to check if your step looks ok. But if you’d rather skip the test, just click Skip Test in the bottom-right corner.
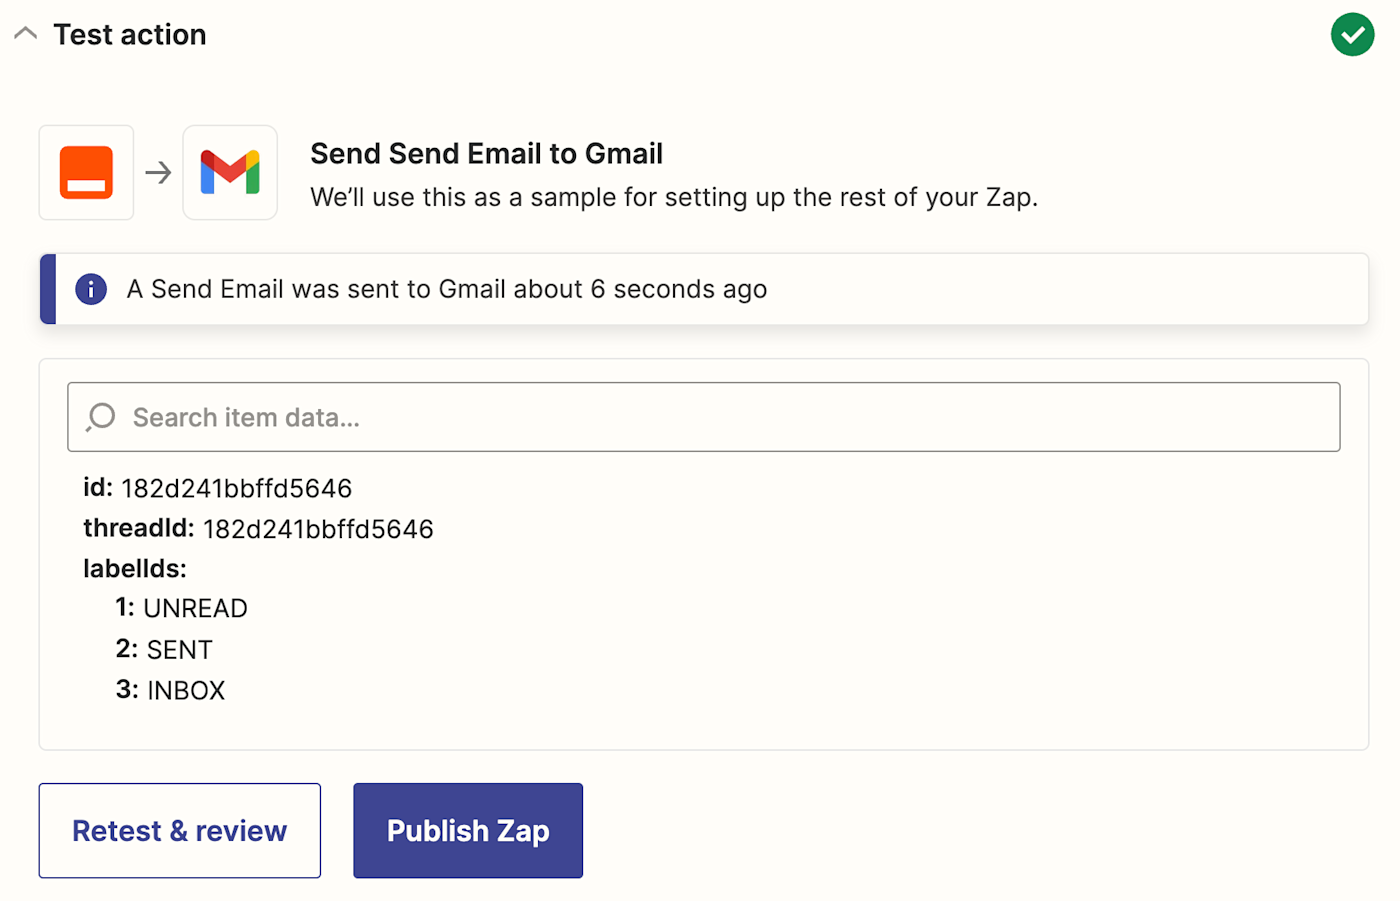
Once everything looks good, your Zap is ready to use.
That’s only the beginning of what you can automate
With the number of emails sent and meetings that happen every day, there’s no shortage of opportunities for automation. We’ve shown you some of the most popular ways to automate Gmail and Google Calendar, but everyone has unique ways of working with these tools. Try what works best for your workflows.
[adsanity_group align=’alignnone’ num_ads=1 num_columns=1 group_ids=’15192′]
Need Any Technology Assistance? Call Pursho @ 0731-6725516

