Calendly isn’t particularly hard to use, which is part of why it’s one of the best meeting scheduler apps. That doesn’t mean every feature is obvious, though, and some of Calendly’s best features are just a little bit hidden.
The best way to learn any app is to press all the buttons, but don’t worry if you don’t have the time to do that—I did it for you. Here’s what I found.
Give yourself breathing room between appointments
Cutting off a conversation with a customer is never great, but if your day is just back-to-back meetings, it’s going to happen. You can prevent this by adding time before or after your events in Calendly.
1. Open the settings for a given event type, then head to When can people book this event?
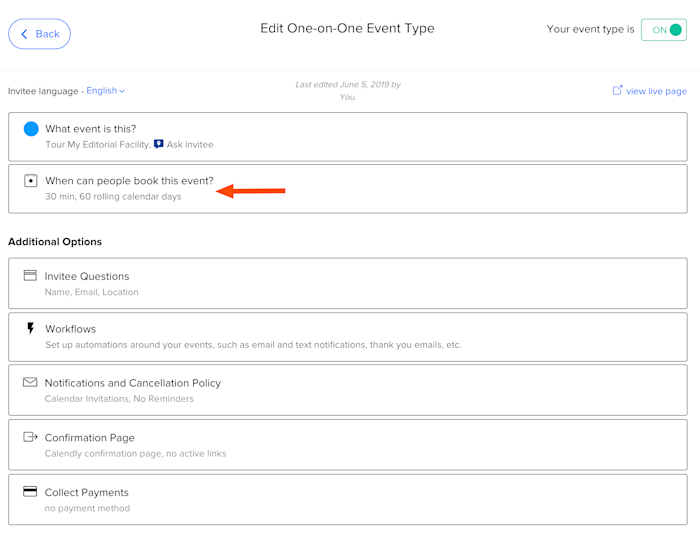
2. Scroll down, and you’ll find the option to add times before or after events.
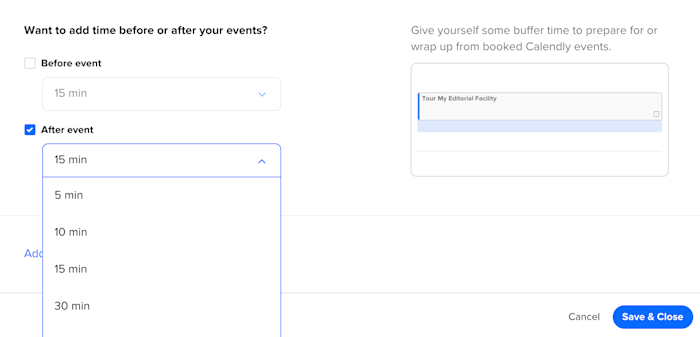
This gives you a buffer—the time before or after any event will be marked as busy, so people can’t book your time then. This means you can prep for the next appointment…or just get some coffee.
Limit the number of appointments per day
You probably don’t want to be in meetings all day every day—at some point, you need to do some focused work. That’s why it might be a good idea to limit the total number of meetings you’ll allow each day, regardless of when those meetings might happen. Here’s how to do that.
1. Click into the When can people book this event? section for any given event type.
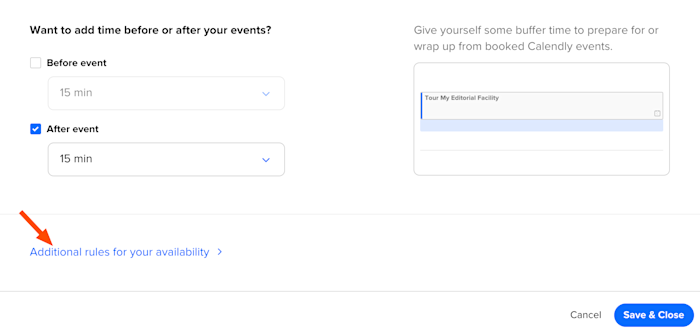
2. Scroll to the bottom, then expand the Additional rules for your availability section.
3. You’ll find a box labeled Maximum allowed events per day for this type of event.
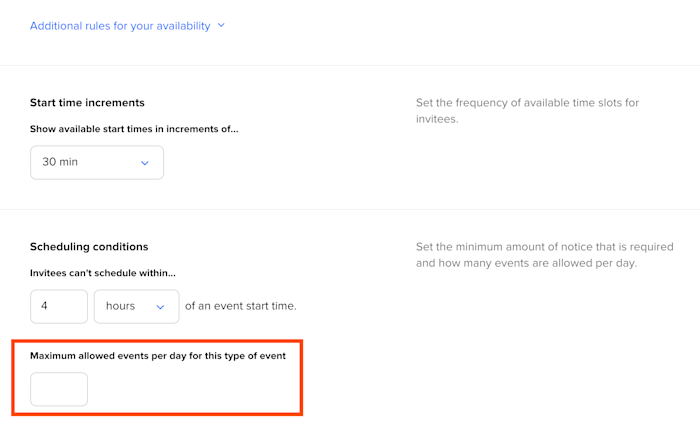
4. Type a number, and that’s it—it will no longer be possible for your day to have any more than that number of meetings.
Add your logo
You can add your logo to your booking page, which makes Calendly feel just a little more like an extension of your company.
Head to Account > Account Settings > Branding, and you’ll find the option.
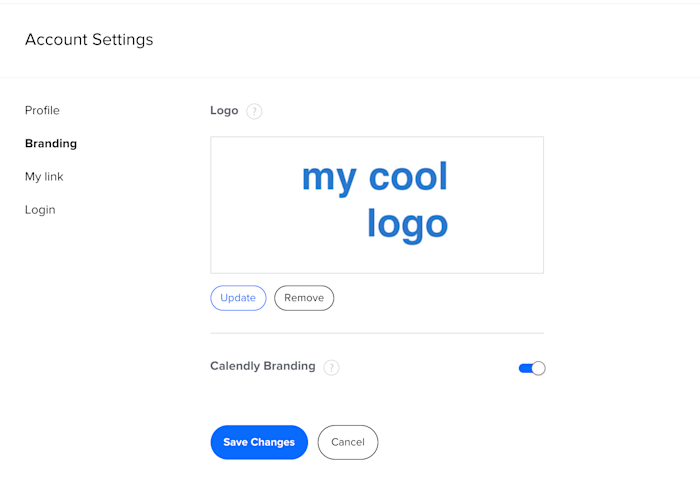
Upload any file, like I did above, and it will show up whenever users are signing up for a timeslot.
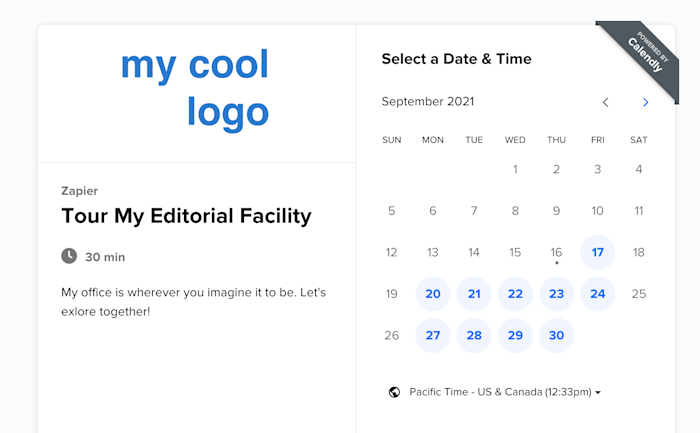
You can also turn off the prominent Calendly branding in the top-right corner, if you want.
Connect your calendar
Spend less time on booking and more time with your clients.
This isn’t exactly a hidden feature, granted, but it’s one I think people tend to put off using. Calendly can connect with your existing calendar, meaning customers won’t be able to book your time when you’re busy, and any events set up by customers will show up on your primary calendar.
This works with the most popular calendar apps: there’s support for Google, iCloud, and Microsoft Outlook. And Outlook users are covered on three fronts: there’s support for Microsoft 365, Exchange, and even the Windows Outlook app without any cloud connectivity via a plugin.
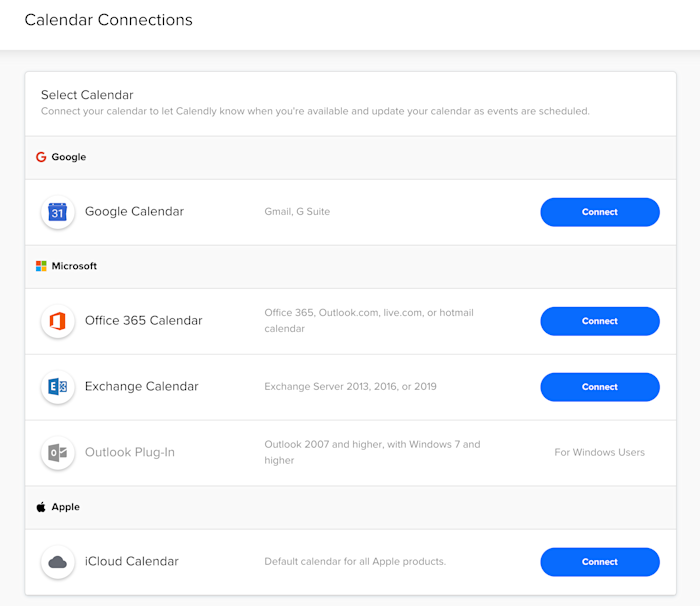
To get started, head to Account > Calendar Connections. You’ll be glad you did.
Can’t connect your calendar of choice? Zapier’s integrations with calendar apps might help.
Embed on a website
Sure, you could just add a link to your booking page on your website, but Calendly also gives you the option to embed.
1. Click the Share button on your event type.
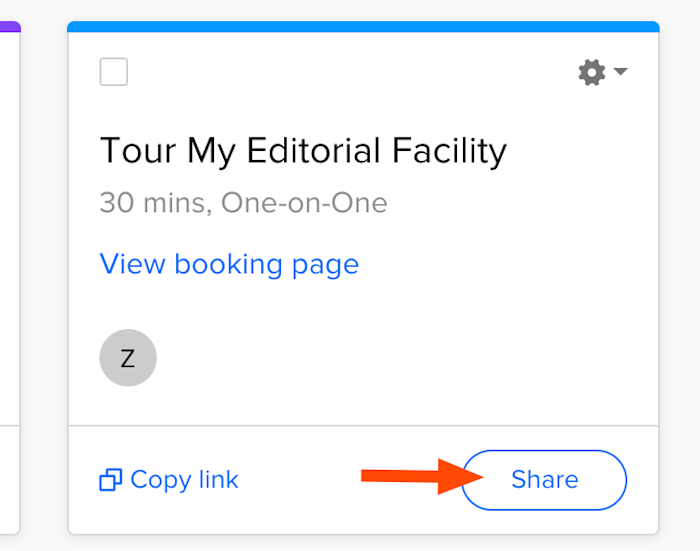
2. Click the Add to website tab, and you’ll see three options.
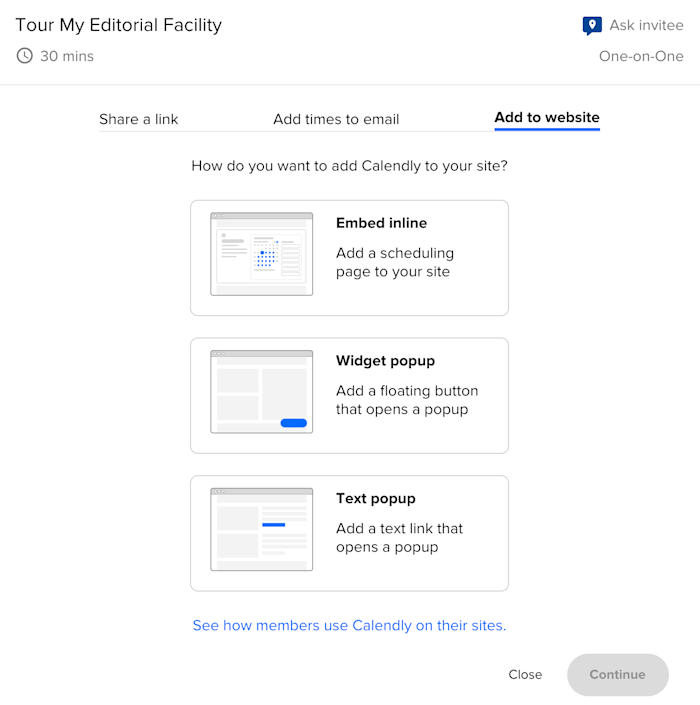
Most people will want the Embed inline option, which lets you add the form to a particular website. The other two options offer a button or a text link that turns into a popup.
3. Either way, copy the embed code and paste it into your website.
You’ll need to know a little about working with HTML to get this done, but not a lot—it’s pretty much a matter of copying the code and pasting it in the right spot. There are instructions for doing this on WordPress, if you get stuck.
Connect Calendly with other apps
Calendly offers great integrations with calendar apps, but what if you want to connect it to your CRM, or even just a spreadsheet? That’s where Zapier’s Calendly integration comes in. You can connect Calendly to thousands of apps, allowing you to quickly do things like create Zoom meetings for newly scheduled events. Here are a few Calendly automations Zapier offers, but you can build your own with whatever apps you use.
[adsanity_group align=’alignnone’ num_ads=1 num_columns=1 group_ids=’15192′]
Need Any Technology Assistance? Call Pursho @ 0731-6725516

