Unleash your video editing skills with our comprehensive CapCut guide and level up your editing game like a pro!
Table of Contents
Introduction: Starting Your Video Adventures with CapCut
Are you ready to dive into the exciting world of video editing? With CapCut, you can kickstart your video adventures right from your phone or tablet. This amazing app is here to make video editing fun, easy, and accessible to everyone, including beginners like you. Let’s explore how CapCut can help you create stunning videos that will wow your friends and followers!
What is CapCut?
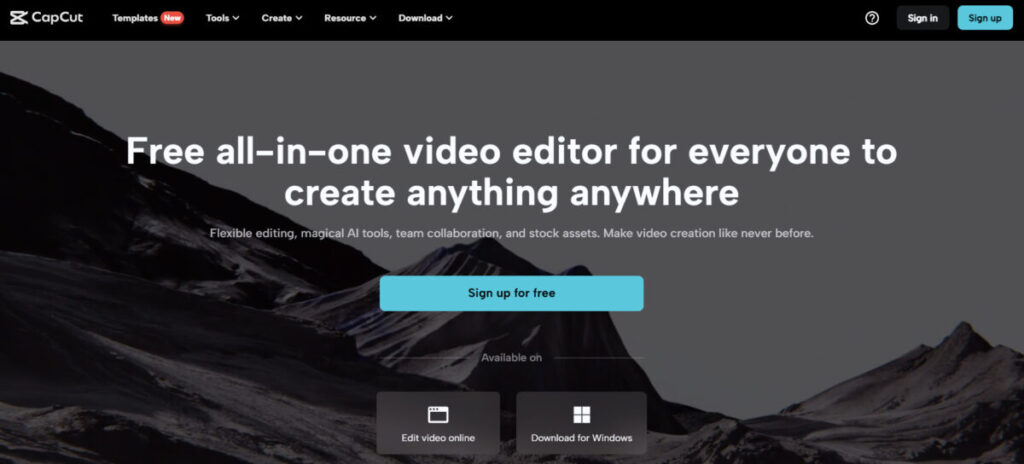
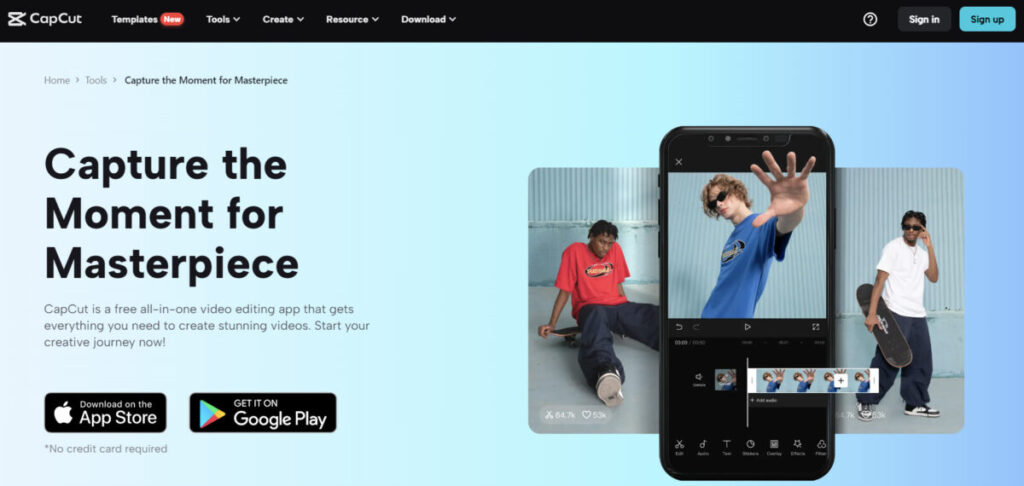
CapCut is a powerful video editing app that allows you to unleash your creativity and make your videos shine. Whether you’re capturing moments with friends, creating fun content for social media, or working on a school project, CapCut has all the tools you need to bring your ideas to life. From adding special effects to editing clips with precision, this app has everything you need to create professional-looking videos right on your mobile device.
Why Use Mobile Editing?
Editing videos on the go has never been easier with CapCut. Instead of being tied to a computer or expensive software, you can now edit videos wherever you are, whenever inspiration strikes. Whether you’re at a family gathering, on a school trip, or simply lounging at home, CapCut allows you to transform ordinary moments into extraordinary videos with just a few taps on your phone or tablet. Get ready to take your video editing skills to the next level with CapCut!
Getting Started with CapCut
Are you ready to dive into the world of video editing? With CapCut, you can start creating amazing videos right from your phone or tablet. Let’s get started on your video editing journey with CapCut!
Installing CapCut
Before you can start editing videos with CapCut, you’ll need to download and install the app. It’s super easy! Just head to the app store on your device, search for CapCut, and hit the download button. Once it’s installed, you’re ready to start creating!
Creating Your First Project
Now that you have CapCut installed on your device, it’s time to kick off your first video project. Open the app and select “New Project.” Choose the videos or photos you want to include in your project and drag them into the timeline. You’re on your way to creating your first masterpiece!
Adding and Trimming Video Clips
When you’re creating a video using CapCut, you’ll want to make sure you have the perfect clips to tell your story. Let’s dive into how you can add and trim video clips to make your videos shine.

Image courtesy of influencermarketinghub.com via Google Images
How to Add Clips
Adding video clips to CapCut is a breeze. Simply open the app and start a new project. From there, you can choose to add videos or photos from your phone’s library. Scroll through your gallery, select the clips you want to use, and voilà! They’ll be added to your project timeline ready for editing.
Trimming Clips Like a Pro
Trimming clips is like being a director – you get to decide what stays and what goes in your video. To trim a clip in CapCut, select the clip on your timeline, then look for the trim tool. This tool allows you to cut out parts of the clip that you don’t want. Simply drag the edges of the clip to trim it down to just the right length. Trim away any unnecessary parts to ensure your video flows smoothly and keeps your audience engaged.
Using Cool Video Effects
Video effects can take your creation from ordinary to extraordinary. CapCut offers a variety of fun and exciting effects to make your videos pop. Let’s dive into how you can use these effects to elevate your video editing game.
Adding Effects
Adding effects to your video is a simple way to enhance its visual appeal. In CapCut, you can easily access a library of cool effects like filters, transitions, and animated stickers. Just select the effect you want and drag it onto your video timeline. Watch as your video transforms before your eyes!
Customizing Effects
Make your video stand out by customizing the effects to suit your style. You can adjust the intensity of a filter, change the speed of a transition, or resize stickers to fit your scene perfectly. Play around with different settings until you achieve the look you desire. This customization will help make your videos uniquely yours.
Adding Sounds and Music
When it comes to making your videos even more exciting and engaging, adding sounds and music can make a huge difference. In this section, we’ll explore how you can incorporate cool tunes and sounds into your videos using CapCut.
 Image courtesy of influencermarketinghub.com via Google Images
Choosing the Right Tune
First things first, it’s essential to pick the perfect music or sounds that match the vibe of your video. Whether you’re creating a fun-filled vlog, an epic adventure montage, or a heartfelt family video, selecting the right tunes can set the mood and elevate your video to the next level. CapCut offers a wide range of music options to choose from, so take your time to find the one that complements your content best.
Syncing Sound with Video
Once you’ve selected the ideal music or sounds for your video, the next step is to sync them perfectly with your video clips. This means aligning the beats and rhythm of the music with the visuals on screen, creating a seamless and captivating viewing experience. CapCut makes it easy to adjust the timing of your sounds to match the pace of your video, ensuring that every moment is in perfect harmony.
Exporting and Sharing Your Masterpiece
So, you’ve just finished putting the final touches on your video masterpiece using CapCut. Now, it’s time to share your creation with the world! Follow these simple steps to export and share your video effortlessly.
Saving the Edited Video
Once you are satisfied with how your video looks and sounds, it’s time to save it. In CapCut, look for the export button. When you tap on it, the app will guide you through saving your video to your device’s gallery. Make sure to choose a high-quality setting for the best results. Give your video a catchy name so you can easily find it later!
Sharing on Social Media
Now that your video is saved, it’s time to show it off to your friends and followers on social media! Popular platforms like Instagram, TikTok, or YouTube are perfect for sharing your creations. Simply open the social media app of your choice, create a new post, and select the video you just saved from CapCut. You can even add catchy captions or hashtags to attract more views!
By following these steps, you can effortlessly export and share your video creations with the world. Now, go ahead and amaze everyone with your editing skills!
Conclusion: Becoming a CapCut Whiz
So, young video creators, you’ve now journeyed through the wondrous world of CapCut, discovering how this powerful tool can transform your videos into masterpieces. Remember, practice makes perfect, and the more you play around with CapCut, the more you’ll unlock its full potential. Here’s a recap of all the amazing things you’ve learned:
Become a CapCut Pro
With CapCut at your fingertips, you have the power to edit videos like a pro right from your mobile device. No need for fancy equipment or complicated software – just your phone and the CapCut app are all you need to unleash your creativity.
Keep Creating Awesome Content
Don’t stop now! Keep experimenting with different features, effects, and sounds in CapCut to keep your audience engaged and coming back for more. Whether you’re making vlogs, tutorials, or fun videos for social media, CapCut has everything you need to make your videos stand out.
Have Fun Along the Way
Video editing with CapCut is not just about creating amazing content; it’s also about having fun and expressing yourself creatively. So, don’t be afraid to try new things, think outside the box, and let your imagination run wild. The most important thing is to enjoy the journey!
So, what are you waiting for? Get out there, start editing, and become a CapCut whiz in no time. The world is waiting to see your unique creations, so go ahead and make your mark in the world of video editing!


 Image courtesy of Liza Summer via

