Are you someone who loves to deliver professional-looking pitches or presentations? Then you must know that sometimes you may need to change your slides to a different position in your presentation to make it look more appealing.
Whether using a computer, an Android phone, iPhone or iPad, learning how to move a slide in Google Slides can save you time and help you create more polished slideshows. In this blog, we will show you a step-by-step process to rearrange slides in Google Slides on any device so you can present your ideas more creatively to your audience.
Where Is Moving Or Rearranging A Slide Helpful In Google Slides?
Here is why rearranging a slide can be helpful in Google Slides:
- By moving a slide in Google Slides, you can create a better narrative flow or group related content together to adjust the order of your slideshow.
- Moving slides can help with the layout or design. You can rearrange the elements on a particular slide to improve its visual appeal.
- Lastly, rearranging slides can help organise your content to make it easier for your audience to understand.
How To Move A Slide In Google Slides On A Computer?
Below we have given a step-by-step process of moving a slide in Google Slides on a computer:
- Open the Google Slides presentation on your computer containing the slide you want to move.
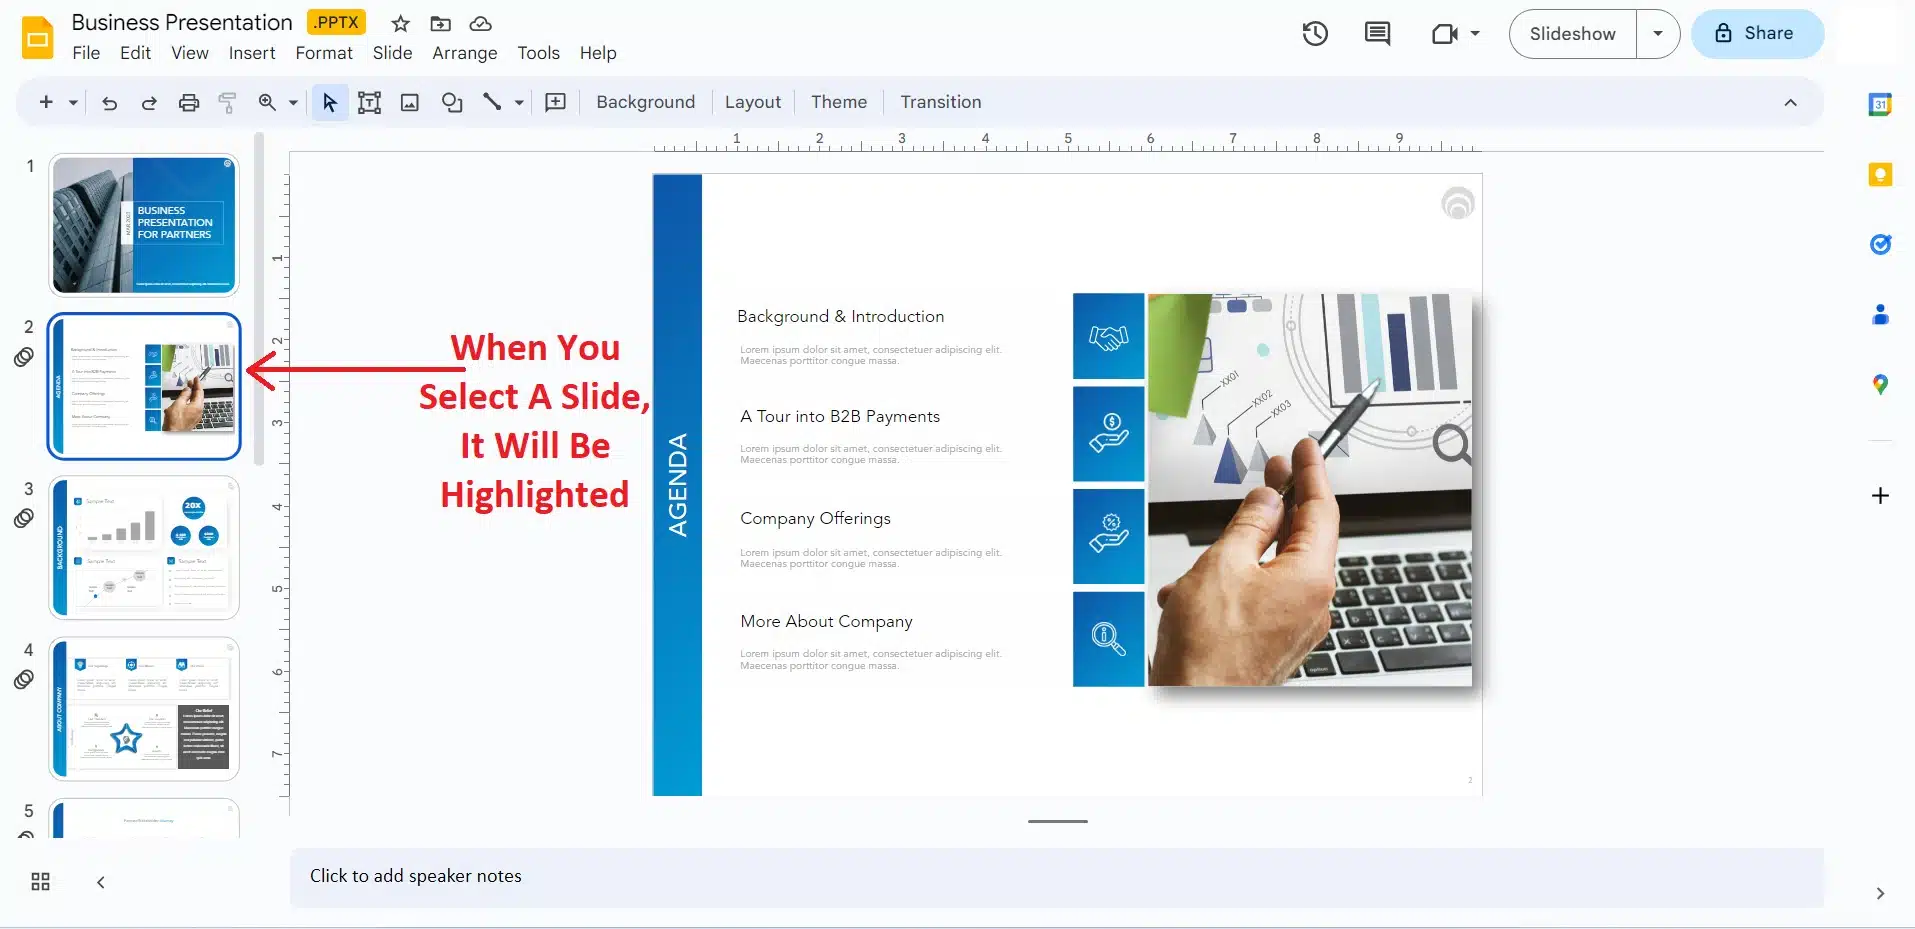
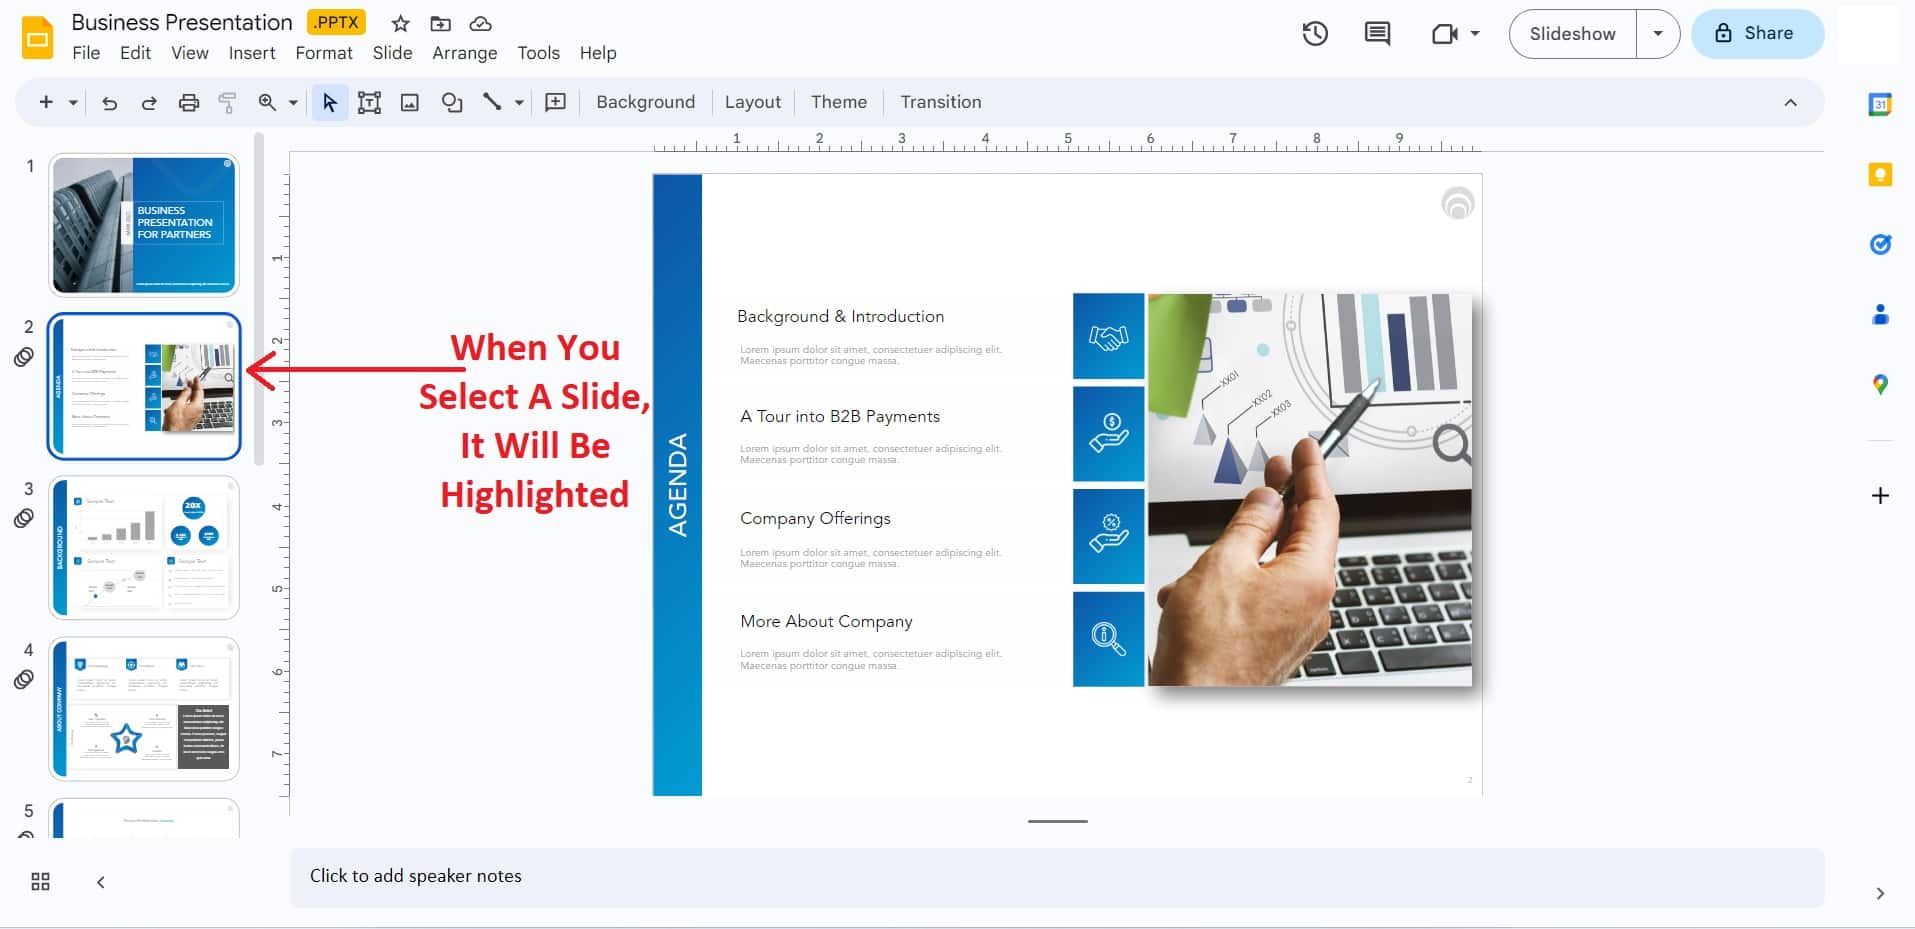
- In the left-hand pane, click on the slide you want to move to select it.

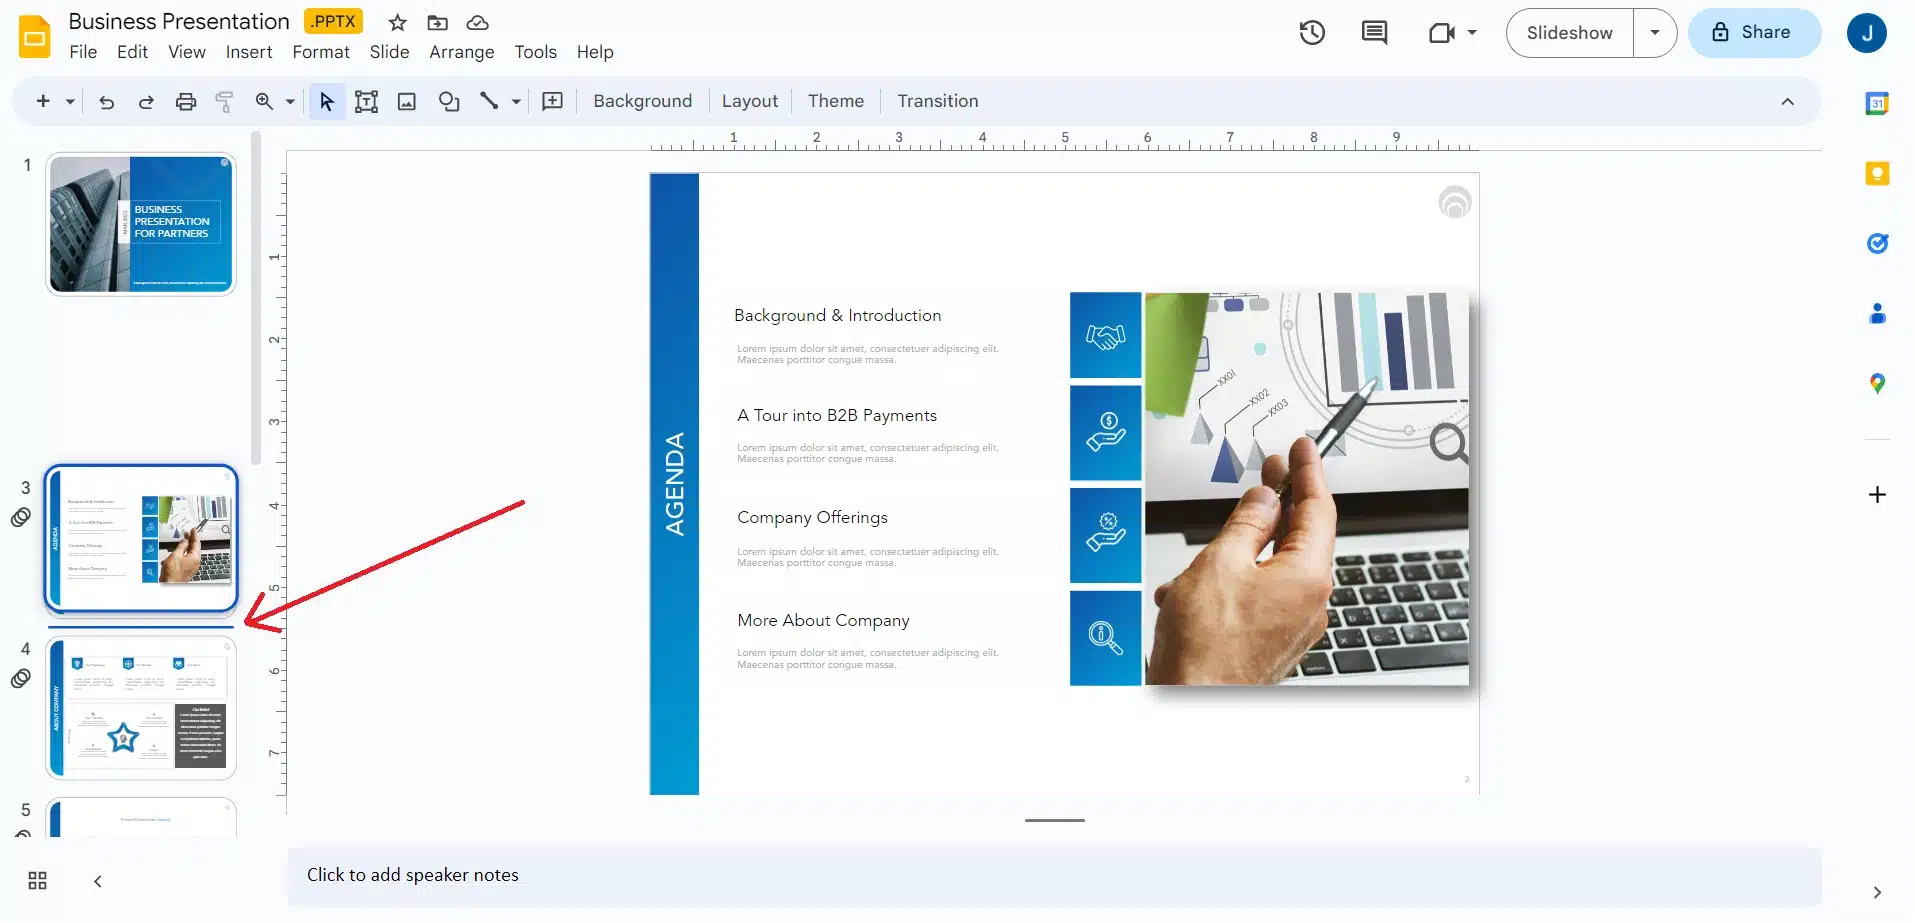
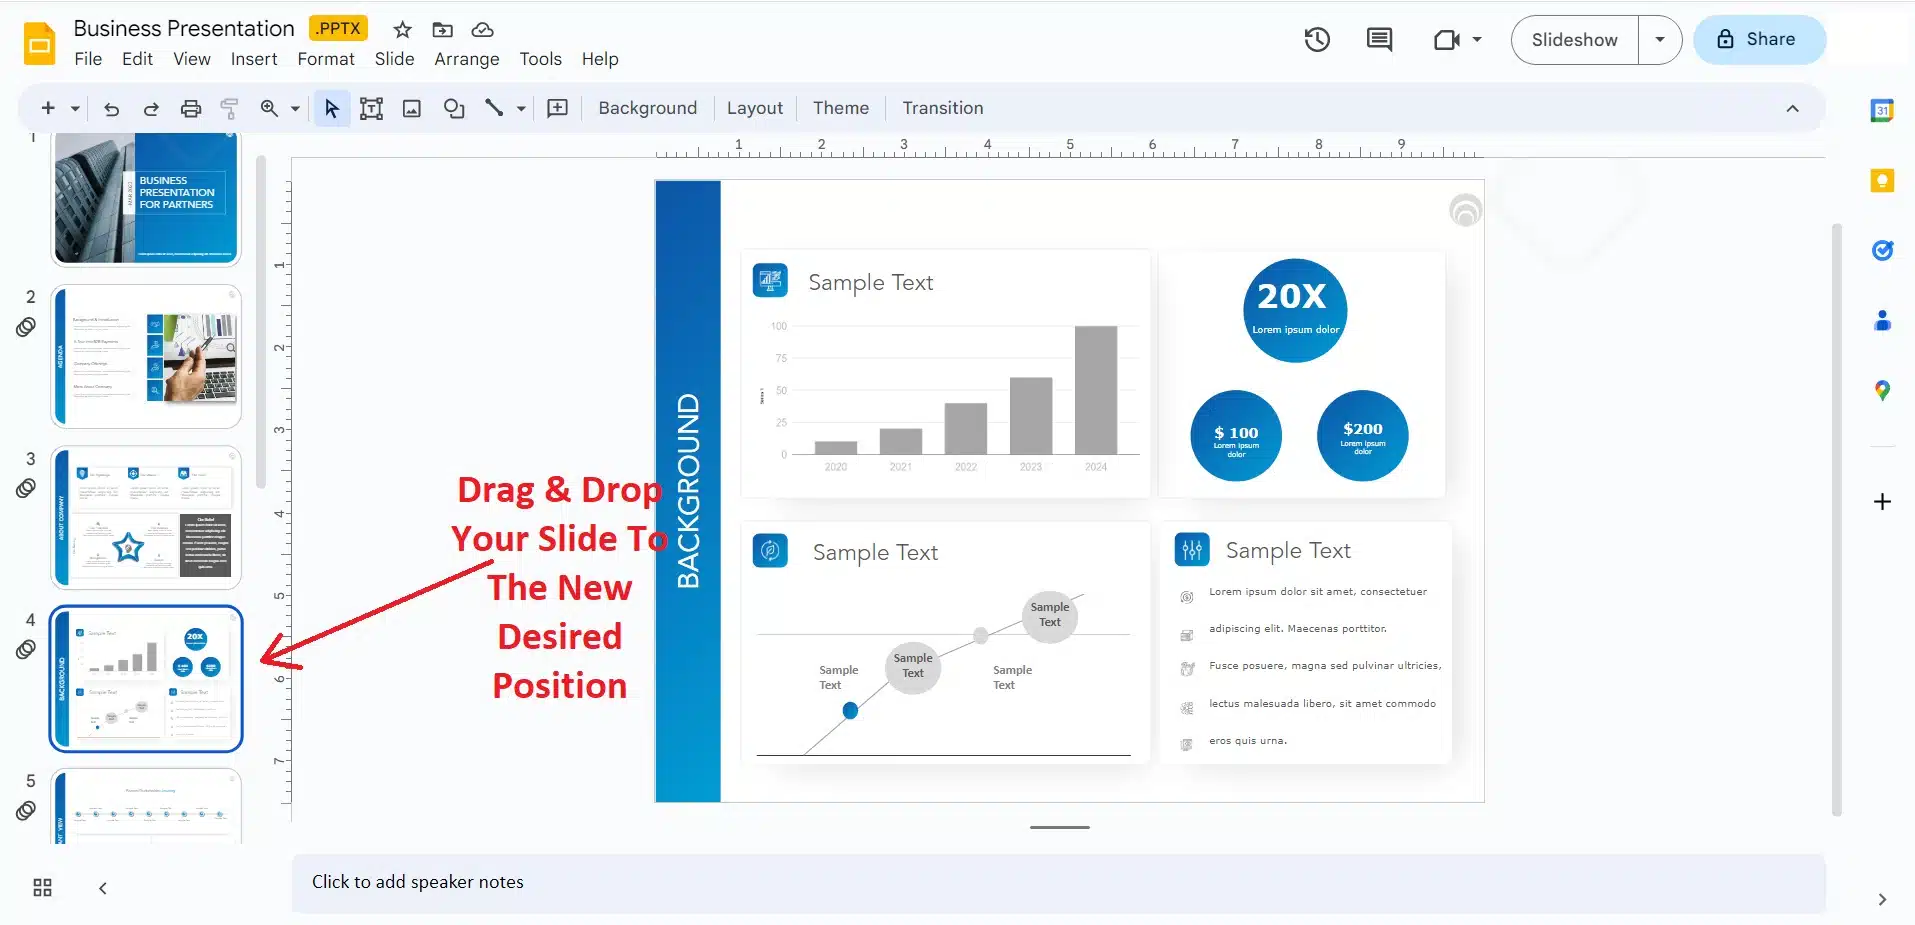
- Drag and drop the slide to the new position where you want it to appear. You can do this by clicking and holding the slide with your mouse or trackpad and then dragging it up or down to the new location. As you move the slide, you will see a horizontal line appear to indicate where the slide will be inserted when you release it.

- Release the mouse or trackpad button to drop the slide in its new position.

Now your slide will be moved to its new position in the presentation.
READ MORE: How To Add A New Slide In Google Slides?
How To Move A Slide In Google Slides On Android?
Here is a step-by-step process of how to make your slide move in Google Slides on an Android device:
- Open the Google Slides app on your Android device and click on the presentation you want to edit.
- Tap the thumbnail view icon in the top right corner of the screen.
- In the thumbnail view, find the slide you want to move and tap and hold on to it until it lifts slightly.
- While holding the slide, drag it to the new position where you want it to appear. As you move the slide, you will see a horizontal line appear to indicate where the slide will be inserted when you release it.
- Release your finger to drop the slide into its new position.
How To Move A Slide In Google Slides On iPhone/iPad?
Let’s see how to change the order of a slide in Google Slides on an iPhone:/iPad
- Open the Google Slides app on your iPhone/iPad and click on the presentation that contains the slide you want to move.
- Tap the thumbnail view icon on the top right corner of the screen.
- In the thumbnail view, find the slide you want to move and tap and hold on to it until it lifts slightly.
- While holding the slide, drag it to the new position where you want it to appear. As you move the slide, you will see a horizontal line appear to indicate where the slide will be inserted when you release it.
- Release your finger to drop the slide into its new position.
Note: You can also move multiple slides at once by selecting them using the checkbox icon in the top right corner of each slide and then dragging and dropping them to the new position. Whether you use inbuilt Google Slides Templates or from a third-party website like ours, the process of moving the slides does not change.
Here is a short video tutorial:
Conclusion
Mastering how to move a slide in Google Slides is essential for anyone who wants to create engaging presentations. With just a few simple clicks, you can rearrange your slides, reorganize your content, and bring your ideas to life. Learning how to move a slide in Google Slides is a great place to start if you want to spice up your next presentation. And with the step-by-step process mentioned in this article, you can learn how to do it effectively. Lastly, if you want to know more about the detailed process of creating amazing slideshows in Google Slides, do give our other articles a read!
FAQs
-
How Do You Move A Slide In Google Slides On Both Desktop And Mobile?
. To move a slide in Google Slides, you can use the drag-and-drop method on desktop and mobile devices.
-
How Can You Select Multiple Slides On Google Slides On A Computer?
. You can move multiple slides at once by selecting them using Shift+Click or Ctrl+Click, and then dragging and dropping them to the new position.
-
Will Moving A Slide Affect The Content On The Slide In Google Slides?
. No, moving a slide will not affect the content on the slide in Google Slides. The content will remain in the same place, and only the order of the slides will change.
-
Can I Move A Slide Between Two Different Presentations In Google Slides?
Using the copy-and-paste method, you can move a slide between two different presentations in Google Slides. First, copy the slide from the original presentation, then go to the new presentation and paste it where you want it to appear.
-
What If I Accidentally Move A Slide To The Wrong Position In Google Slides?
. If you accidentally move a slide to the wrong position in Google Slides, you can simply move it again to the correct position using the drag-and-drop method. If you have made other changes to the presentation since moving the slide, you can use the undo button (Ctrl+Z on Windows, Command+Z on Mac) to revert the changes and start again.
Looking For Powerpoint Design Agency?
Call Pursho @ 0731-6725516
Telegram Group One Must Follow :
For Startups: https://t.me/daily_business_reads
#Move #Slide #Google #Slides


