Because it comes with your Google account, Google Forms is an easy way to ask people for their information or opinions, but how can you ensure you’ll act on that information? Your best bet: send every response over to your to do list or task manager as a task or project.
You could manually copy information from Google Sheets over to your task or project management app of choice, of course, but that’s tedious and time-consuming. We recommend you automate the process instead.
We’ll show you how you can use Zapier to turn Google Forms responses into Trello cards. If you don’t use Trello, don’t worry: you can use any other task or project management app that integrates with Zapier.
Zapier is an automation tool that connects your apps and moves information between them, so you can focus on what matters most. Check out this Zapier demo to learn more about how it works.
Create Trello Cards With Google Forms Responses
Zapier makes it possible to connect Google Forms with thousands of apps, and we’ll be using it to send responses over to Trello.
To get started with a Zap template—what we call our pre-made workflows—just click on the button next to the name of a Zap you’d like to try, and we’ll guide you through customizing it. It only takes a few minutes. You can read more about setting up Zaps here.
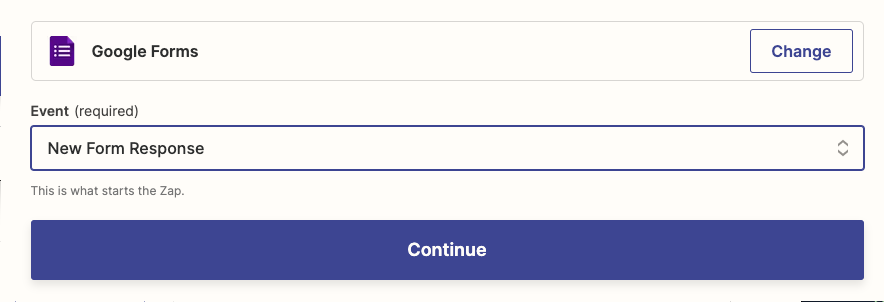
First, you’ll select Google Forms as your trigger—the event that starts a Zap—and New Form Response as the event. Click Continue.
Next, you’ll sign into your Google account. If you’ve connected Google Forms to Zapier before, you’ll see your account in the dropdown menu. If it’s your first time, click + Connect a new account.
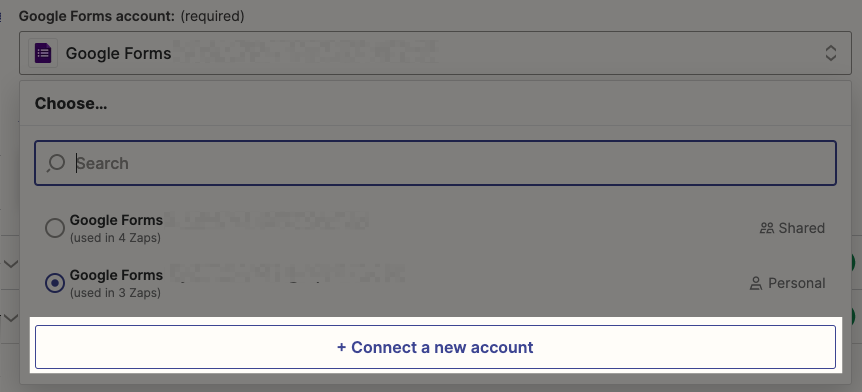
Once you’ve signed in to your Google account and given the appropriate permissions, click Continue.
For each app you connect, Zapier will ask for a general set of permissions which allows you to be flexible with your Zaps. The only actions Zapier takes on your app accounts are those a given Zap needs to accomplish what you’ve set up.
Next, select the Google Form you want to use, and click Continue.

You’ll test your trigger to see if Zapier can find a new Google Form response. This will help you set up the rest of your Zap. Click Test trigger, and then Continue.
Now you can move on to setting up your Trello action.
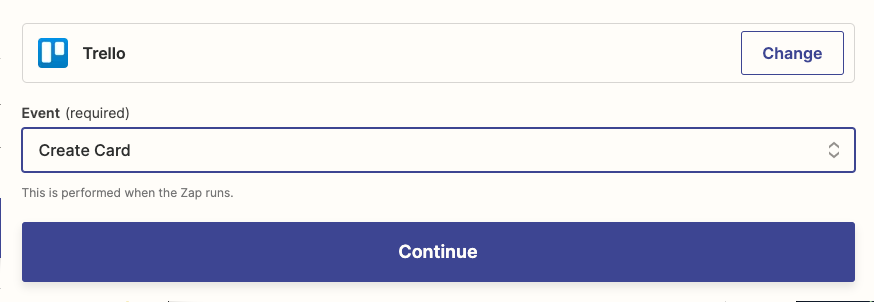
You’ll need to sign into your Trello account if you haven’t connected it to Zapier. Then you can start setting everything up.
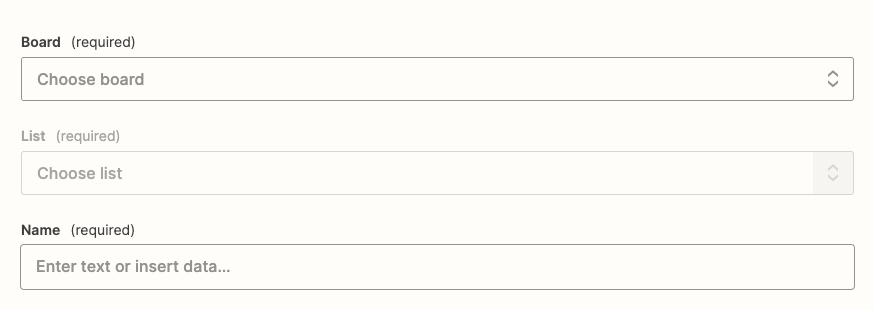
Using the dropdown menus, choose which board and list you’d like new entries to appear.
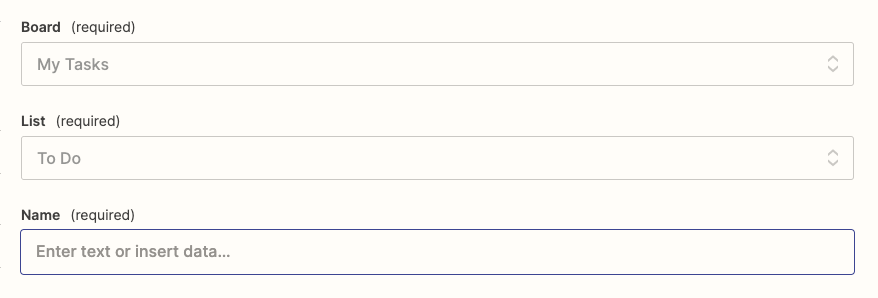
Next, you can choose a name for all new cards. You can type in text—which will appear the same each time your Zap runs—or map fields from your Google Form trigger. To start field mapping, click inside any field and select the Google Forms data you want to use.
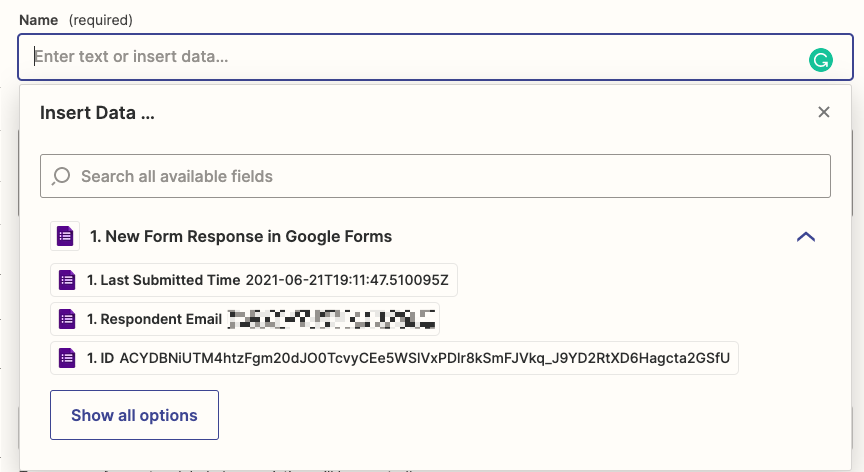
When you map a piece of data—such as a contact name—what you see in the editor is a placeholder. This placeholder data will only be used by your Zap when you test it. When your Zap is turned on, real data from your apps will be used when your Zap runs. We call these dynamic values.
Click whichever question will help you identify the response—I’m going to use the name.

Want a little more detail included in your description? Add static text and information from your Google Form response. If you need to see more data options, click Show all options.
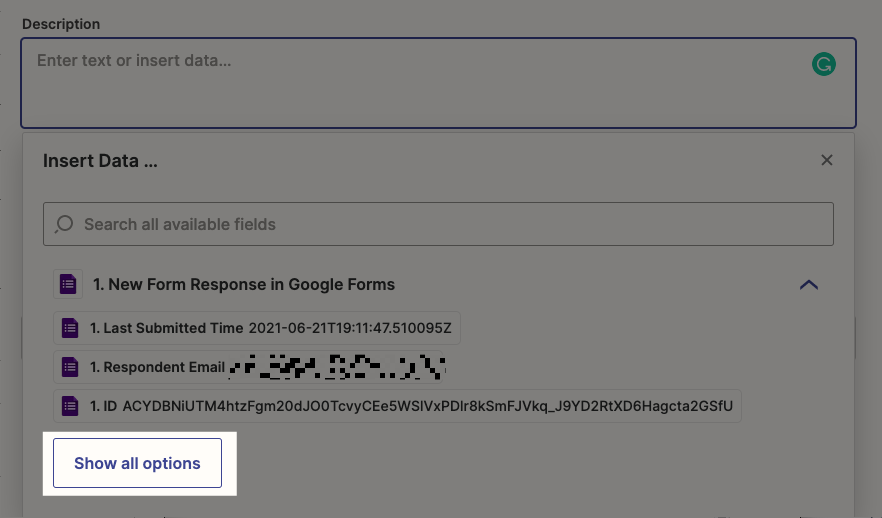
Add more information you’d like, such as labels or where you’d like the card to appear on the list.
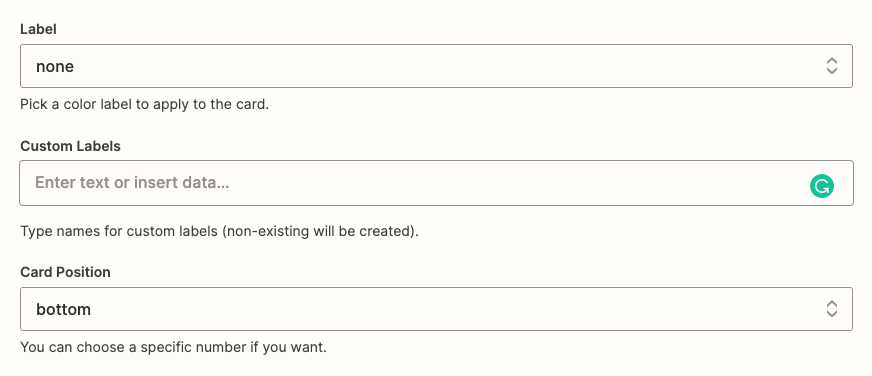
Customize the rest of your card, including any due dates, file attachments, links, or checklist items you want to include.
Click Continue when everything looks just right.
Now you’ll test your Trello action. Zapier will create a Trello card according to how you set it up. We recommend testing so you can make sure everything works. Click Test & review.
You’ll see a success message in the Zap editor, but let’s also check our Trello board.
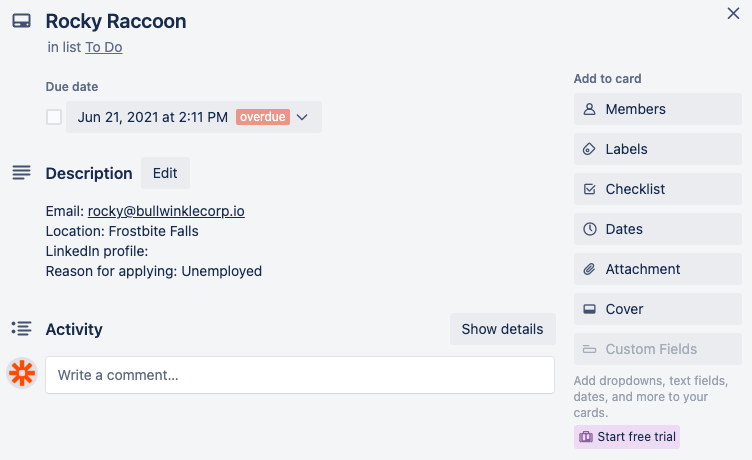
When you’re done, don’t forget to ensure that your Zap is on. Now all new Google Form submissions will appear in Trello.
Connect Google Forms to other project management systems
Not a Trello user? No worries! You can use Zapier to connect Google Forms to thousands of apps.
You can also turn responses into Google Calendar appointments. Check out our tutorial to learn how to set this up.
This is just the beginning: you can create your own Zaps that send Google Forms information to the apps you use most. Discover popular ways to automate Google Forms, or head to our App Directory to explore more ideas.
This article was originally published in April 2019 by Justin Pot and was updated in July 2022 by Krystina Martinez.
[adsanity_group align=’alignnone’ num_ads=1 num_columns=1 group_ids=’15192′]
Need Any Technology Assistance? Call Pursho @ 0731-6725516

