Remember when you had to pencil in events and reminders on a paper calendar? Fortunately for all of us, it’s now so much easier to keep track of tasks and events by using apps like Todoist and Google Calendar.
If you keep track of tasks in Todoist, but want to block off time to get them done in Google Calendar, this Zap—our word for the automated workflows you create on Zapier—will add incomplete Todoist tasks to your Google Calendar.
New to Zapier? It’s a tool that helps anyone connect apps and automate workflows—without any complicated code. Sign up for free.
Option 1: Get started quickly with a Zap template
If you’d rather have someone else do the heavy lifting, we have a template to help you get started quickly. Click the Use this Zap button below, and you’ll be guided through setup. You’ll need to create a Zapier account if you don’t already have one.
Here’s how it works:
-
Click on the Zap template.
-
Connect your Todoist account and select the project where you’d like to track your incomplete tasks.
-
Then, connect your Google Calendar account. Select the calendar you want incomplete Todoist tasks to be sent to.
-
Map your fields from Todoist to Google Calendar. That way, the task shows up the way you want it to on your Google Calendar.
-
Test your workflow and turn it on.
Option 2: Create your own Zap
If you’d like more control over the information in your Zap or want to add additional actions such as filters, you can click here to create a new Zap from scratch in the Zap editor.
Set up your Todoist trigger step
The first thing you need to do is set up your trigger step—the event that starts your Zap. Choose Todoist as your app and New Incomplete Task as your trigger event.
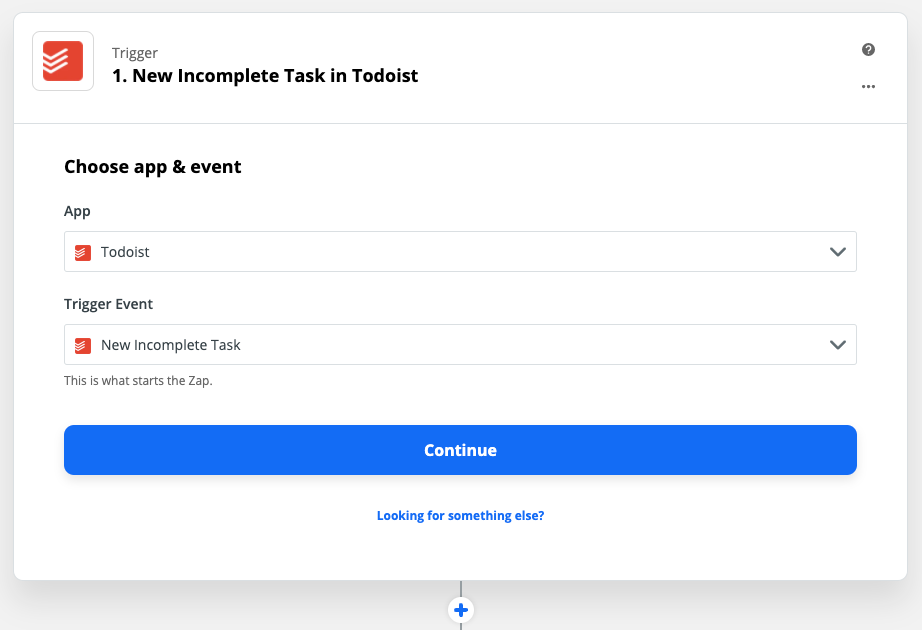
Click Continue. You will be asked to sign in to your Todoist account, if you haven’t already.
For each app you connect, Zapier will ask for a general set of permissions which allows you to be flexible with your Zaps. The only actions Zapier takes on your app accounts are those a given Zap needs to accomplish what you’ve set up.
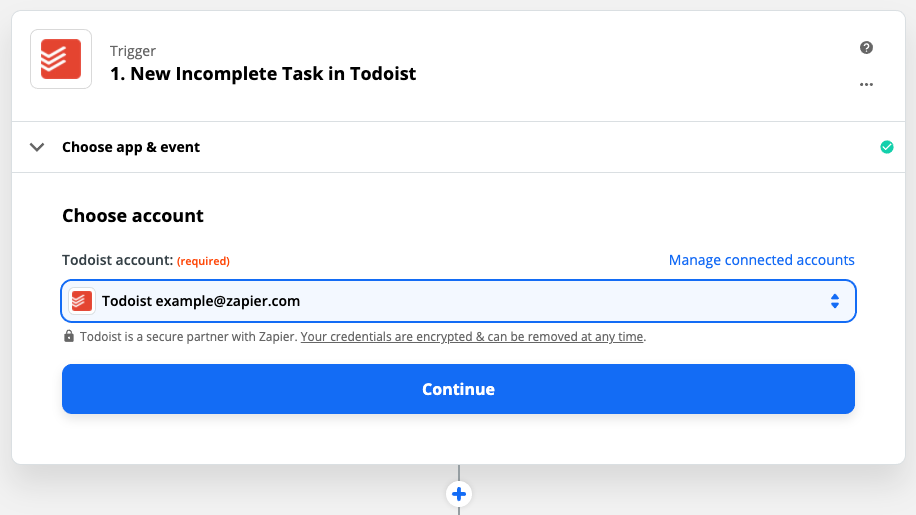
Select the Todoist account that you wish to use.
Now you can customize your Zap by selecting a specific Todoist project from your account.
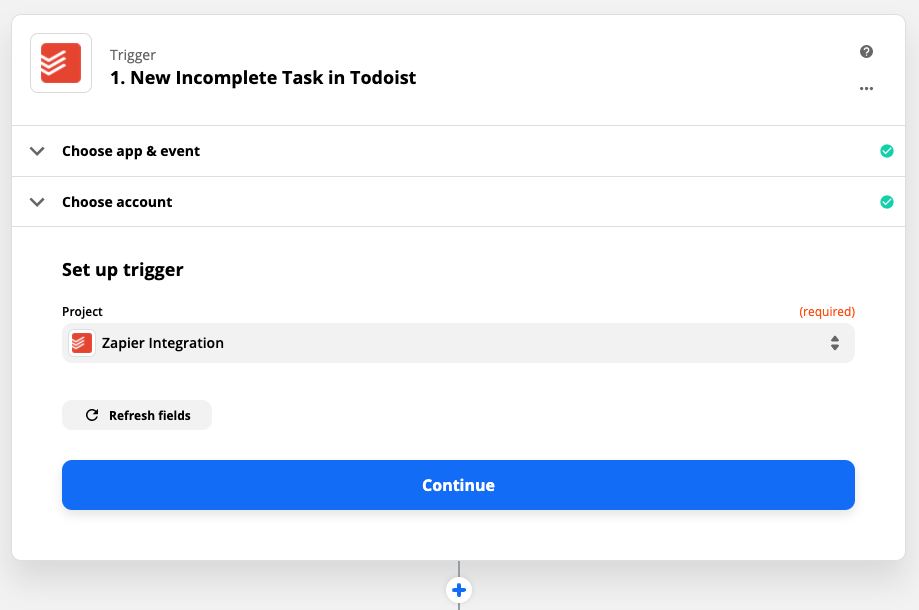
Click Continue.
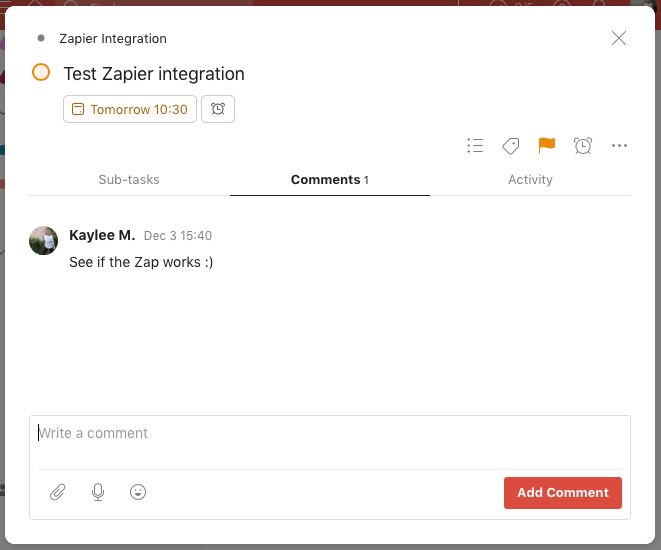
Now it’s time to test the trigger. If your selected Todoist project is new and/or doesn’t have any incomplete tasks, you’ll want to add one before you test so there’s data for Zapier to find. Here is an example of a task to use for testing:
Here is what the sample data will look like:
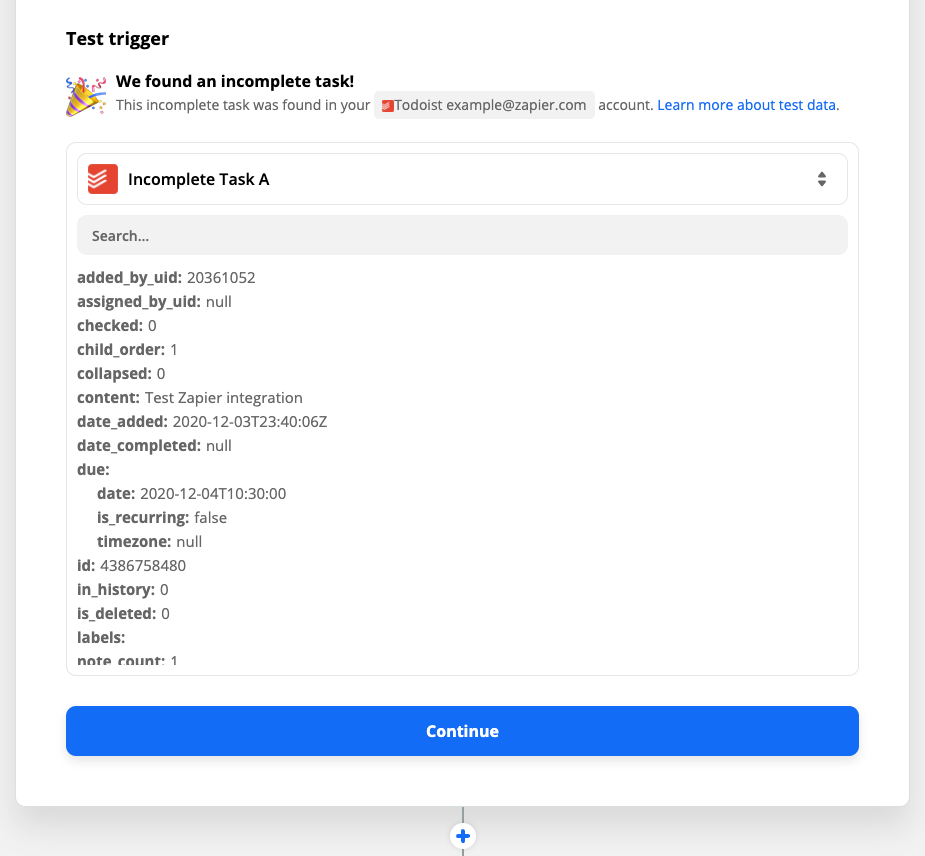
Once your trigger is tested, move on to the next step by clicking Continue.
Set up your Google Calendar action step
Now it’s time to set up your action—the event that happens after your Zap is triggered. Select Google Calendar as your app and Quick Add Event as your action event.
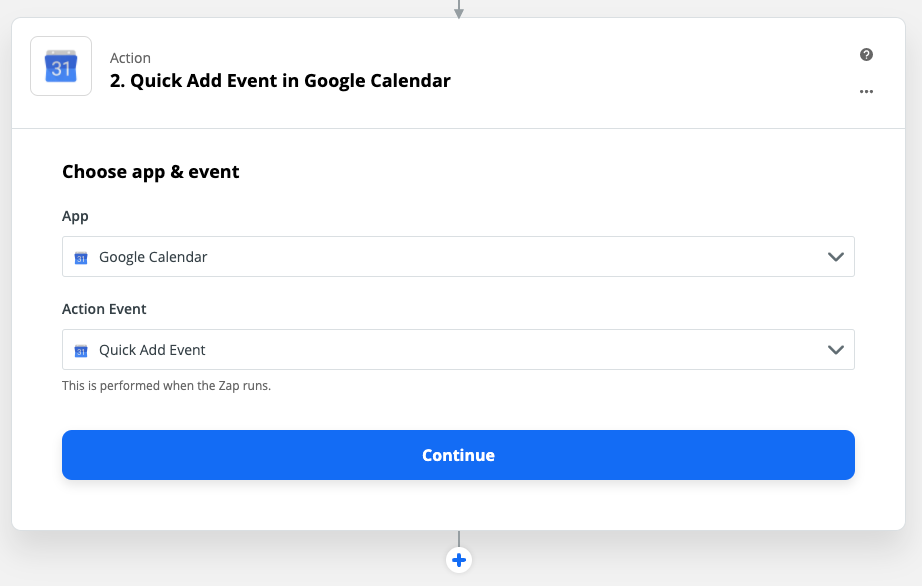
Click Continue. If you haven’t connected your Google Calendar to Zapier, you’ll be prompted to do that here. Select the Google Calendar account you’d like to use.
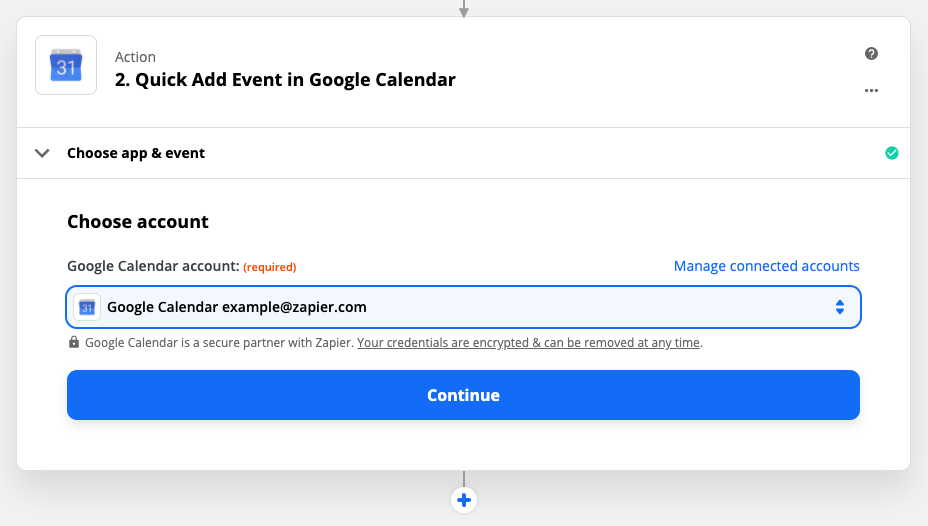
Now customize your quick add event by selecting the calendar it should be added to and describing the event. You can add in details from your previous Todoist step by clicking in the field you’d like to add it to and selecting the data you’d like to add from the dropdown menu.
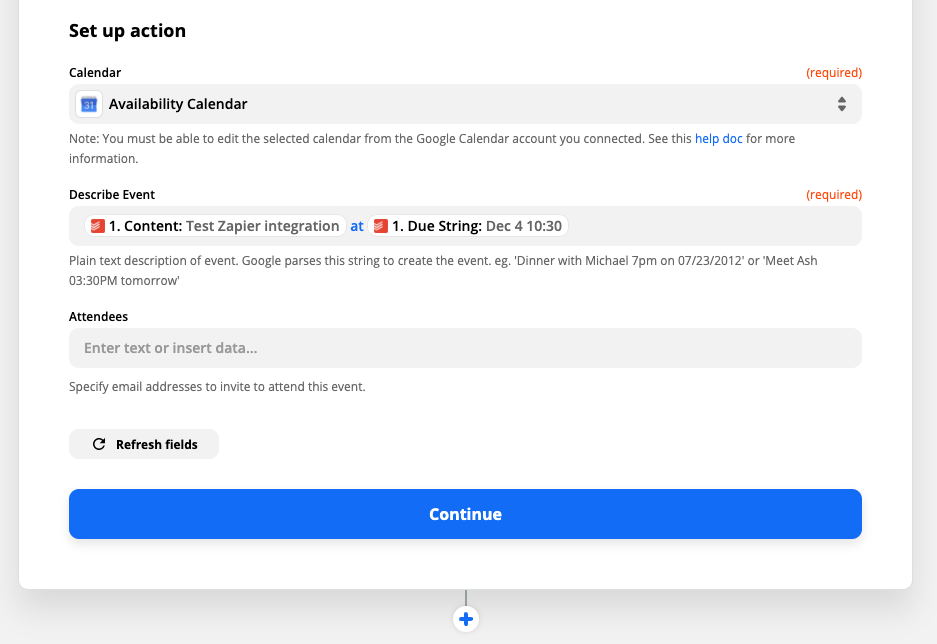
Once your information is filled out for your Google Calendar event the way you want it, click Continue and test your Zap. After running your test, you should see a new event in your Google Calendar app that matches your incomplete Todoist task.
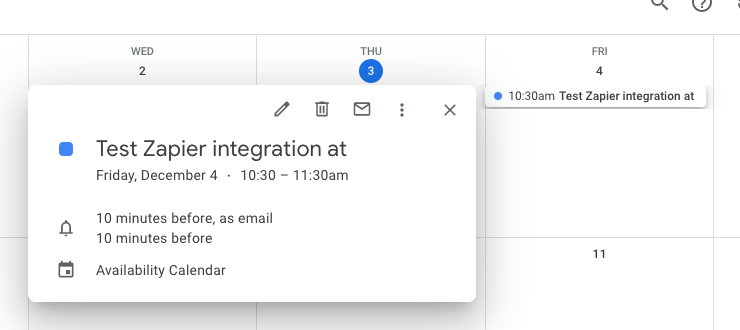
Make sure you turn on your Zap! From now on, every new incomplete task you add to Todoist will be added to your Google Calendar.
More ways to track your events
Calendars are a great way to visualize all the things you need to do for the day. If integrating Todoist and Google Calendar made your life easier, check out these other useful workflows:
This article was originally published in December 2020 and was updated in May 2022 by Ellie Huizenga.
[adsanity_group align=’alignnone’ num_ads=1 num_columns=1 group_ids=’15192′]
Need Any Technology Assistance? Call Pursho @ 0731-6725516

