You’ve successfully captured a slew of contacts in your lead campaign and are all set to add them to your CRM. Until you realize that the data you’ve collected in your form app doesn’t match the format you need for your CRM.
Fortunately, you can use Zapier’s built-in formatter tool to find the data you need in one app and change it to the format you need before sending it to another app. Find out how to use the Lookup Table function to make sure your apps play nicely together.
This workflow requires you to use Formatter, a built-in Zapier app available to users on a paid plan or during a trial period.
Table of contents
How can you find and match data with a formatter step?
Formatter is one of Zapier’s built-in tools for Zaps. When the information from an app isn’t in the format you need, a formatter step can transform it into something you can use in later Zap steps.
We’re just going to focus on one Formatter function for now—using a lookup table—though there’s a lot more you can do with it, like change capitalization, split blocks of text into different pieces, or remove characters.
By selecting the Utilities action in a formatter step, you can make a few different kinds of changes to data you receive from your trigger app. You can import CSV files and use the data in your Zap, pick a specific value from an incoming list from an app, and more. Right now, we’re just going to use a lookup table to automatically match data from one app with the corresponding data needed by another app.
Once you’ve set it up, your formatter step will do this for you automatically every time your Zap runs.
Before you begin
We’ll assume that you’re a little familiar with how Zapier works. And if you aren’t, don’t worry: It’s free to sign up for a Zapier account. We also have a guide to help you get up to speed on Zap basics. You’ll need to be in the Zap editor for this tutorial, where you can create Zaps from scratch.
In this Formatter example, we’ll use Typeform to capture lead information, reformat that info with a formatter step, then send it to HubSpot. If you’re using different apps, that’s fine. Just select your lead app as the trigger, and keep following along.
How to find and match related data across your apps
Once you’ve logged into your Zapier account, click the Create a Zap button toset up a Zap. First, we’ll set up the trigger—the event that starts a Zap.
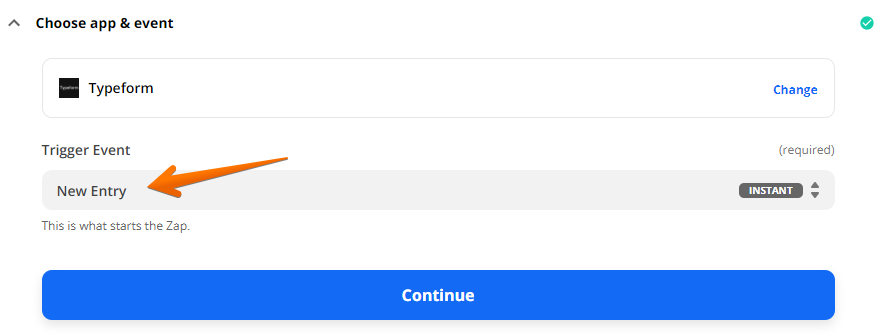
Search for your lead app and select it—we’re using Typeform for our example. Then we’ll select New Entry for our Trigger Event, which will trigger the Zap when someone fills out a form on a website. Then click Continue.
You’ll now be asked to connect your app to Zapier. Once you’ve connected your account, click Continue.
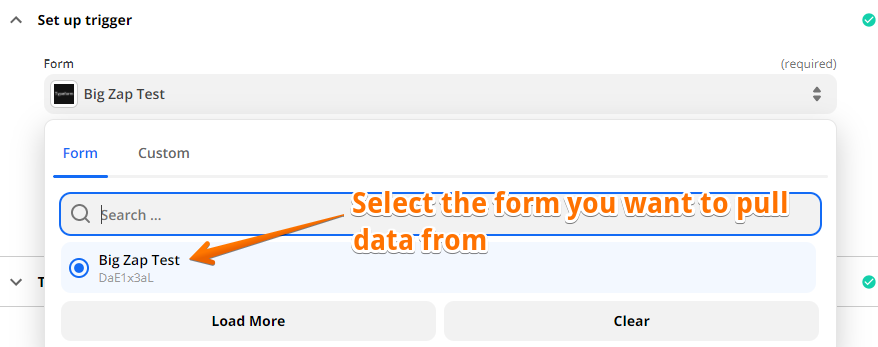
Now let’s set up our trigger. Click in the field under Form and select the form you’d like to use from the dropdown. This is where the data will be pulled from to send to HubSpot.
Click Continue.
Now it’s time to test our trigger step. You’ll need to have a completed form entry to properly test your step. If you haven’t received any results for your form, send one through now so your Zap has something to pull from.
Click Test Trigger. The test will show your form’s fields completed with either an actual completed form or field placeholders filled in by Zapier. Click Continue.
Add a formatter step
Now let’s add the formatter step to our Zap. First, click the plus symbol below your trigger step to add a new step.
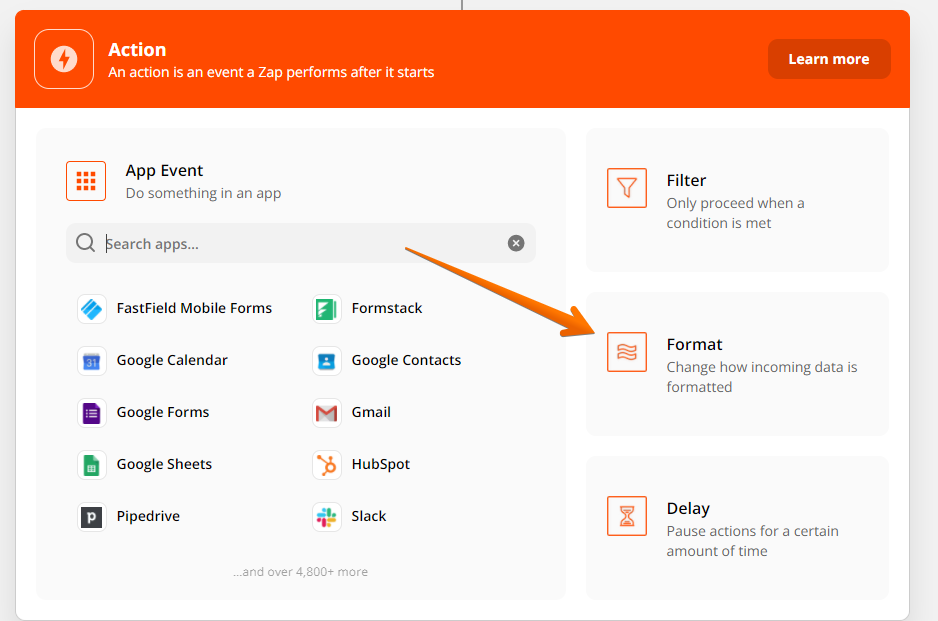
Then select Format for your App Event.
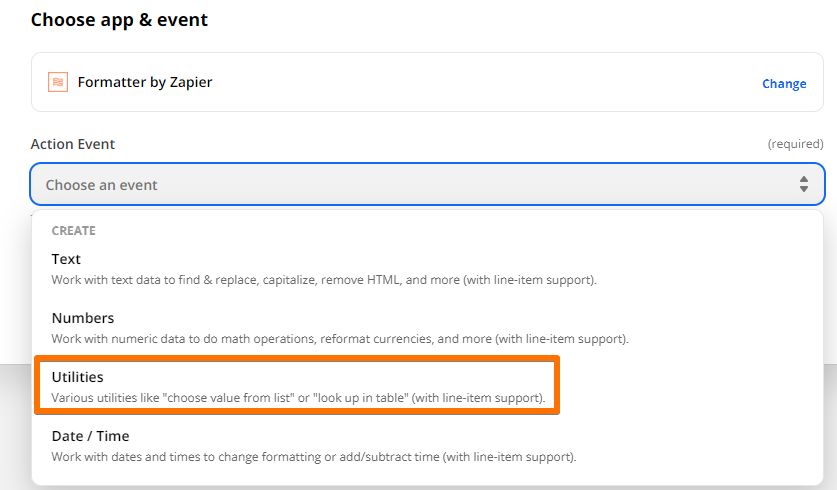
Next, click inside the Action Event field to see the four available formatting options. Select Utilities and click Continue.
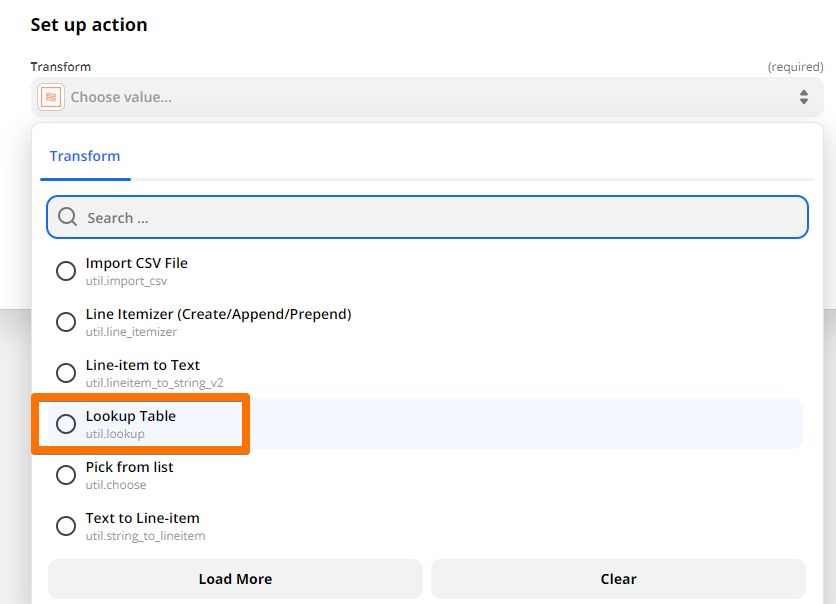
Now you’ll see how this Zap comes together. Under Transform, click inside the search field and select Lookup Table. Click Continue.
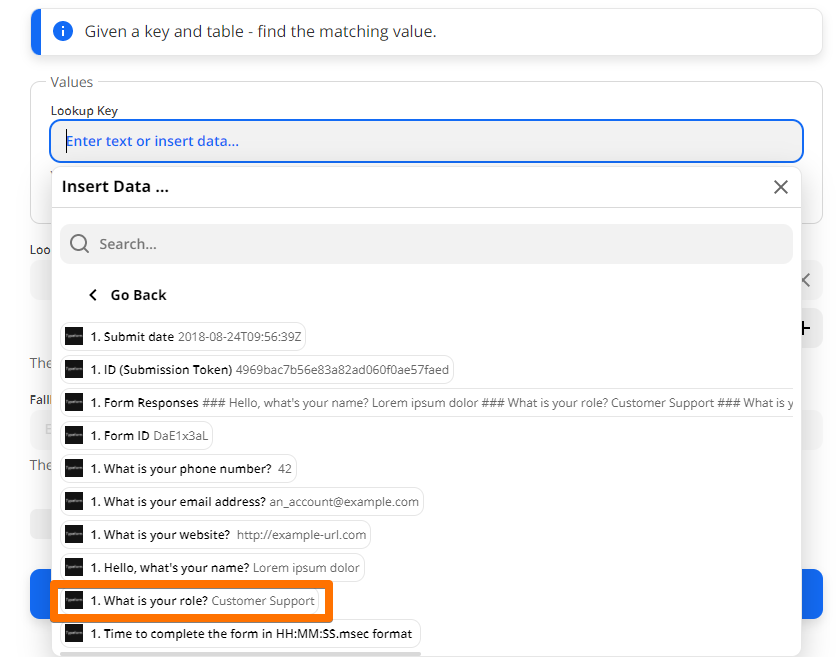
In the Lookup Key field, select the data you want to look up from the previous trigger step. In our example, we’ll select the role of the person who fills out the Typeform submission.
Under Lookup Key, you’ll see two boxes. In the left-hand box, type in the text values that will be collected in your trigger step—in our Typeform example, we’ll use the job roles collected in our form. Click the plus sign to add each additional value.

In the right-hand box, type in the value you want to use in your action step—in our example, the job roles we want to add to HubSpot.

Finally, add a Fallback Value if you want to have Zapier use an alternative if no match is found in your table. Click Continue.
Next, test your Zap by clicking on Test and Review.
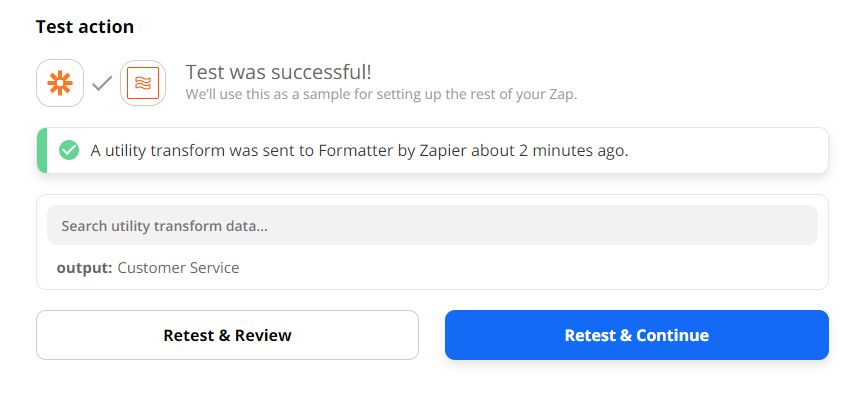
If your test is successful, you’ll get a message similar to this. Make sure the output lines show the correct values that you want to add to your action app.
Add an action step
Now we’re ready to send our reformatted data somewhere with a second action step—in our example, HubSpot. Click the plus sign to add your second action step.
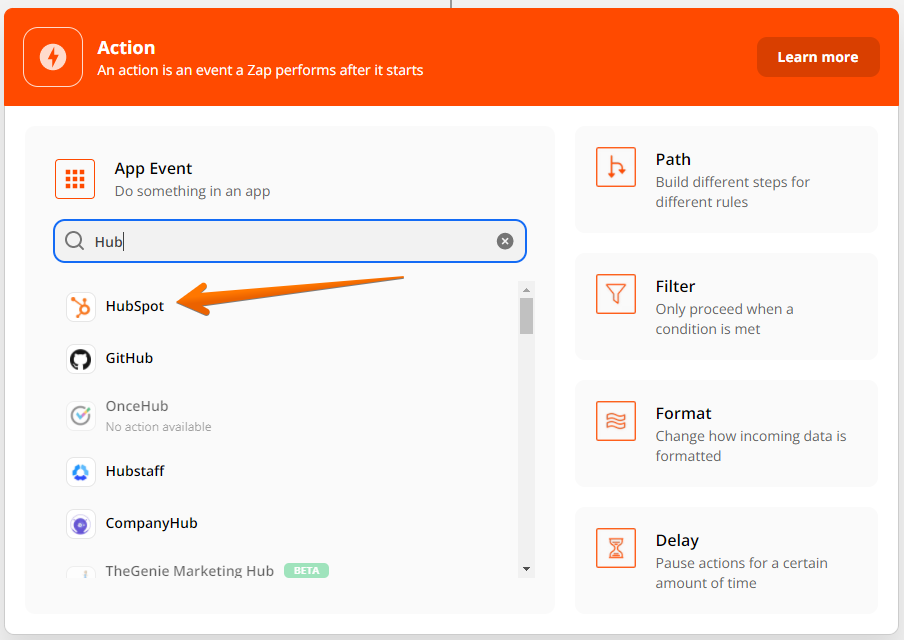
Then search for and select HubSpot or your final action app.
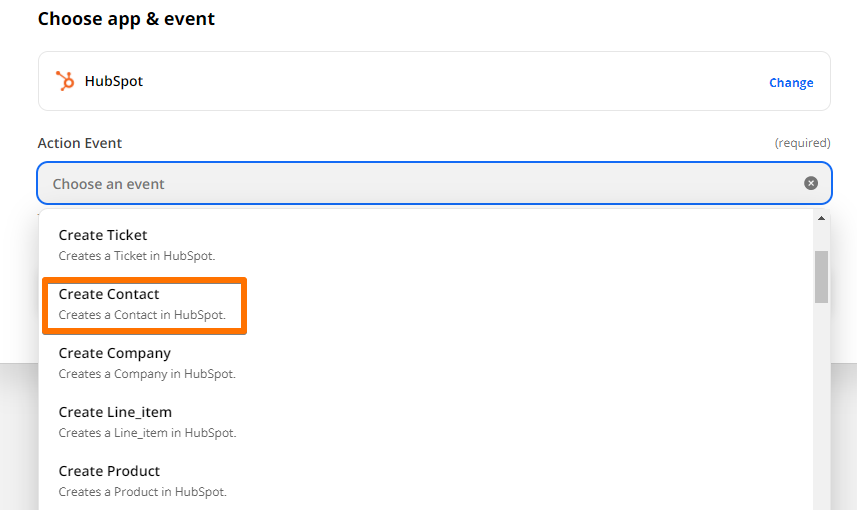
For our action event, we’ll select Create Contact. This lets us create a contact inside HubSpot’s CRM from the Typeform leads we capture in our trigger step.
Click Continue.
Then select your HubSpot account under Choose account. If your HubSpot account isn’t connected, click Connect a new account and follow the instructions.
Once you’ve connected your app, click Continue.
Now we can set up our action step so it will pull in the fields for a new contact in HubSpot.
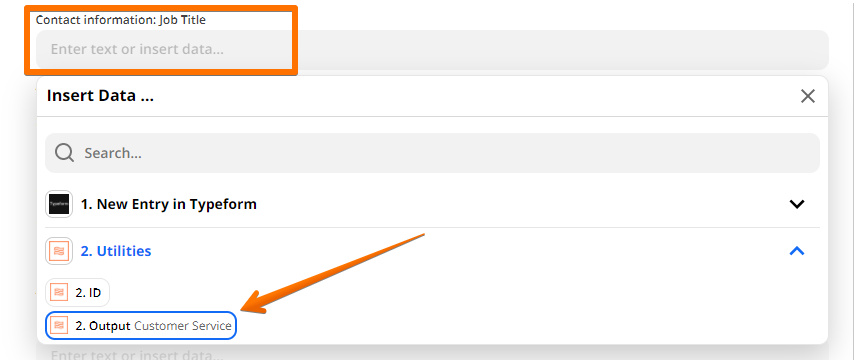
In our example, we want to map our Typeform submission field for What is your role to the HubSpot field Job Title. Scroll down until you find the field where you want to add your values from your previous step—we’ll scroll down to Contact information: Job Title.

To map your values, click in the Job Title field and select the Output from your previous Formatter step.
Click Continue, then test your Zap. If everything looks right in your test, you’re now ready to use your Zap.
Match data correctly with a Lookup Table
Whenever you need to change values coming in from one app to something different in another app, the Formatter app’s Lookup Table can make this task painless. No need to manually make changes when this Zap will automatically change the value of given fields between two apps.
Do more with Formatter by Zapier
Want to automate more of your work with text? Check out the other tutorials in this series for more ways to use Formatter.
[adsanity_group align=’alignnone’ num_ads=1 num_columns=1 group_ids=’15192′]
Need Any Technology Assistance? Call Pursho @ 0731-6725516


