It’s exciting when your team grows! New employees mean a growing business, and a great onboarding experience is key to ensuring they’re set up for success. When you use automation to help with the administrative tasks you can get more done while increasing the accuracy of data across your apps.
Save time by creating an automatic workflow that assigns new BambooHR employees a Lessonly lesson. This makes it easier for you to create a smooth onboarding experience—without adding things to your to-do list.
Don’t use BambooHR or Lessonly? You can create this same workflow with other apps that connect with Zapier, like TalentLMS or Workable. Just search in our app directory to find the apps you use.
Note: This workflow uses a multi-step Zap and a premium app (BambooHR), which require a paid Zapier plan or free trial.
Assign new employees a Lessonly lesson
Zapier lets you create automated workflows called Zaps, which send your information from one app to another. You can create your own Zap from scratch without any coding knowledge, but we also offer quick templates to get you started.
If you’d like to start with a template, click on it below, and you’ll be taken to the Zapier editor. You’ll need to create a Zapier account if you don’t already have one. Then, follow the directions below to set up your Zap.
Set up your BambooHR trigger
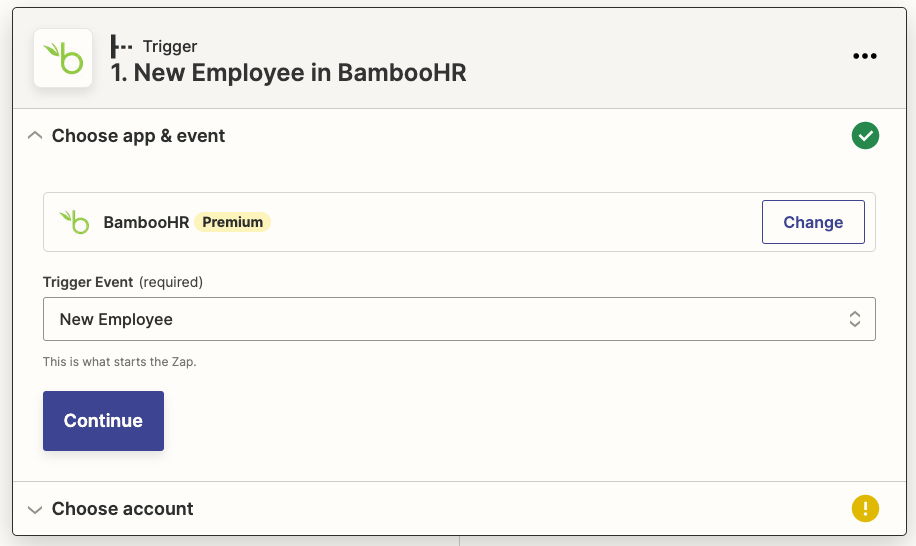
First, set up your trigger—the event that starts your Zap. If you’re using the Zap template, BambooHR will already be selected as the trigger app and New Employee as the trigger event. Click Continue.
Next, connect your BambooHR account. Click on Choose an account… and either select an account from the dropdown menu (if you’ve connected BambooHR to Zapier before) or click Sign In and walk through the steps to give Zapier permission to access your account.

If you’re connecting BambooHR to Zapier for the first time, you’ll need to get the API key and company domain for your BambooHR account.
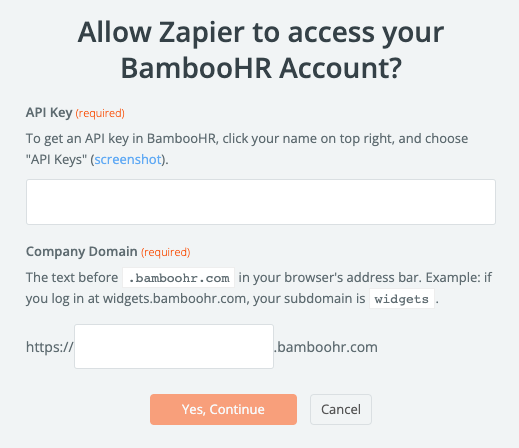
For each app you connect, Zapier will ask for a general set of permissions which allows you to be flexible with your Zaps. The only actions Zapier takes on your app accounts are those a given Zap needs to accomplish what you’ve set up.
Once you’ve connected your account, click Continue.
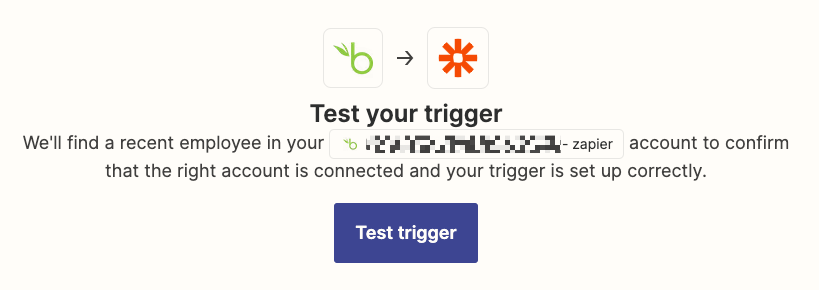
Now you need to test your trigger. Click Test trigger. Once you see that your trigger is working correctly, click Continue.
Set up your first Lessonly action
Now let’s set up your first action—the event your Zap will perform once a new employee is added to BambooHR. This step will find or create a user for your new employee in Lessonly. If you’re using the Zap template, Lessonly will already be selected as your action app and Find User as your action event. Click Continue.
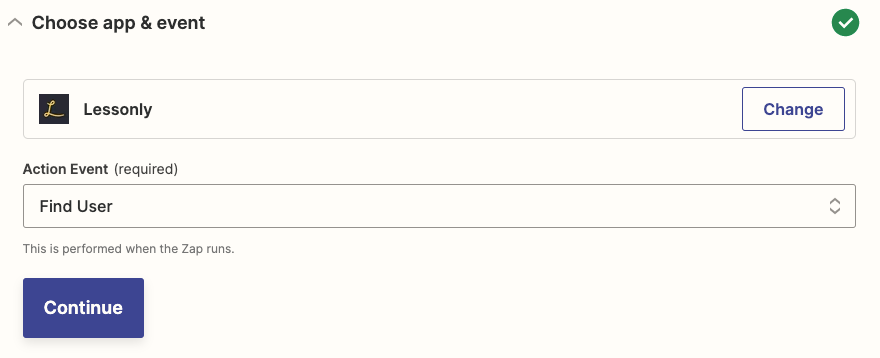
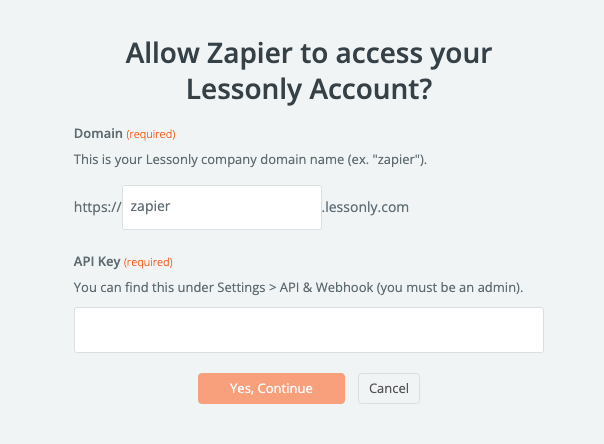
Connect your Lessonly account to Zapier. If you haven’t already given Zapier access to your Lessonly account, you’ll need to share your domain and API key. Click Continue.
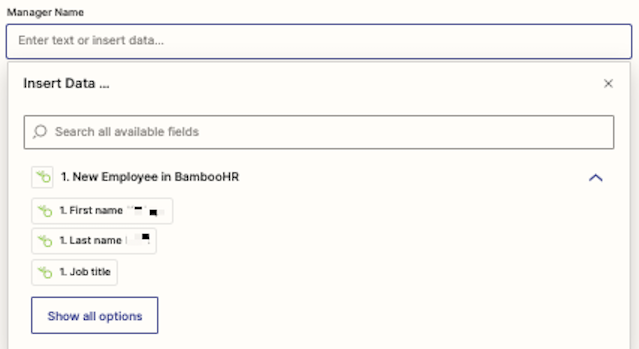
Now it’s time to customize this action. Zapier will automatically pull in email data based on what was used while testing your trigger. If the wrong data point was pulled in, click the dropdown under Email and select the email address you’d like to use.

Note: If you’re worried about annoying your co-workers while troubleshooting, consider creating and using a test employee account or using your own account when selecting the email to be used in this Zap.
If you don’t want this Zap to continue if no email is found in Lessonly then choose No (false).

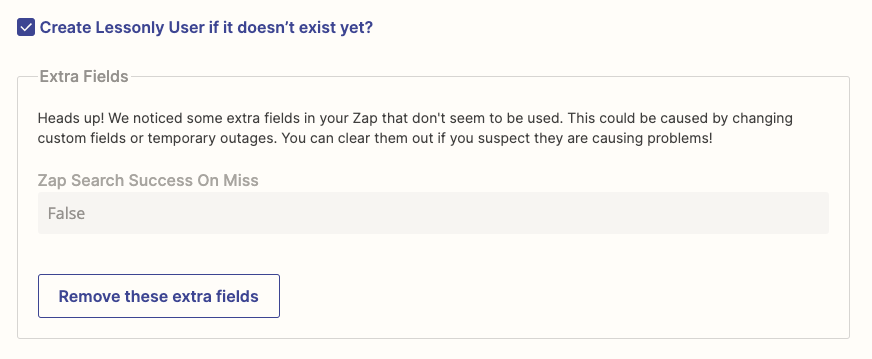
If you want the Zap to create a new user for you if no email is found, keep No selected in the previous step, but also check the box next to Create Lessonly User if it doesn’t exist yet?

If you check the box, you will be prompted to fill out fields for employee information (like role and department). You can pull in this information from BambooHR so it’s populated automatically in Lessonly. All you need to do is click into a field to see a dropdown with info from your previous trigger step, like name, hire date, manager, and more.
Once you’ve populated all the fields you want, you’ll see the option to remove the field that stops your Zap if no email is found in Lessonly. Be sure to click Remove these extra fields. That way, when no email is found in Lessonly, it gets added as a new user.
Click Continue.
Now it’s time to test your action. When you click Test & Review or Test & Continue, Zapier will search Lessonly for the example user data you pulled from BambooHR.
If you’d rather skip the test, just click Skip Test. Then Click Continue when the test is complete.
Set up your second Lessonly action
Now let’s set up your second action—the event your Zap will perform after a user gets added to Lessonly. This step will assign the Lessonly lesson to the user you found in the previous step. If using the Zap template, Lessonly will already be selected as your action app and Assign Lesson as your action event. Click Continue.

Select your Lessonly account. Since you completed your first action step, your account should be connected and ready to be selected from the dropdown menu. Then click Continue.
Now it’s time to set up the rest of your second action step. First, leave the selected Lessonly ID in the User field. That makes sure that you’re assigning the course to the right person.

Next, choose which course you want to assign. When you click the dropdown under Lesson, you’ll see all the lessons you currently have in your Lessonly account. You can also assign a due date for the Lessonly to be completed under Due By.

If you want employees to be notified when they get assigned a new Lessonly class, select True under Notify.

Click Continue.
Next, it’s time to test your action. When you click Test & Review or Test & Continue, Zapier will assign the Lessonly course you selected to the example user you pulled from BambooHR.
If you’d rather skip the test, just click Skip Test.
If your test looks good, don’t forget to turn on your Zap. If something looks off, go back and tweak things until you get it just right.
Save time by connecting BambooHR and Lessonly
By automating the administrative tasks, you can save time and build a smoother onboarding experience (for you and new employees).
Try it for yourself. Discover how this Zap can streamline one step of your onboarding process:
[adsanity_group align=’alignnone’ num_ads=1 num_columns=1 group_ids=’15192′]
Need Any Technology Assistance? Call Pursho @ 0731-6725516

