Convert leads into sales. Onboard new customers. Provide tech support. Fix bugs. These are just a few things you do to support your customers at scale through Intercom.
Because there are so many different scenarios for customer communication—which likely involve different teams—assigning your Intercom users a helpful tag can better organize each user and assign their case to the right team. It can also help you move them down the funnel if it’s an ongoing process.
But making sure the right team sees when a user’s been tagged in Intercom is paramount to engaging customers or getting their issues fixed quickly. Instead of manually checking Intercom every day, we’ll show you how to create a Zap—our word for the automated workflows you create with Zapier—that will automatically send a Slack message whenever Intercom users are tagged. That way, anyone who’s responsible for next steps will get notified instantly.
Zapier is an automation tool that connects your apps and moves information between them, so you can focus on what matters most. Check out this Zapier demo to learn more about how it works.
Option 1: Get started quickly with a Zap template
If you’d rather have someone else do the heavy lifting, we have a template to help you get started quickly. Click the Use this Zap button below, and you’ll be guided through setup. You’ll need to create a Zapier account if you don’t already have one.
Here’s how it works:
-
Click on the Use this Zap button.
-
Connect your Intercom account and select which tag you want to be notified about. (Note: If you leave this section blank, Zapier will trigger on every tag that exists in Intercom.)
-
Connect your Slack account and select the channel you’d like your message to be sent to.
-
Select the fields you want to edit in Slack.
-
Set up the message by mapping fields from Intercom into Slack. You can pull in the user name, email address, and assigned tag. Tell Zapier how you want it to handle your message.
-
Test your workflow and turn it on.
Option 2: Create your own Zap
If you’d like more control over information in your Zap or would like to add additional actions such as filters, you can click here to create a new Zap from scratch in the Zap editor.
We’ll walk through these steps in detail for Intercom and Slack, but most of the steps in this tutorial will still apply to other customer support and team chat apps.
Set up your trigger
Once you’re in the Zap editor, you’ll first need to create the trigger, which is the event that will kick off your Zap.
Search for and select Intercom as the trigger app. We’ll select Tag Added to User as the trigger event for our example, but you can pick a different tagged event (like when tags are added to conversations) if you’d like. Click Continue.
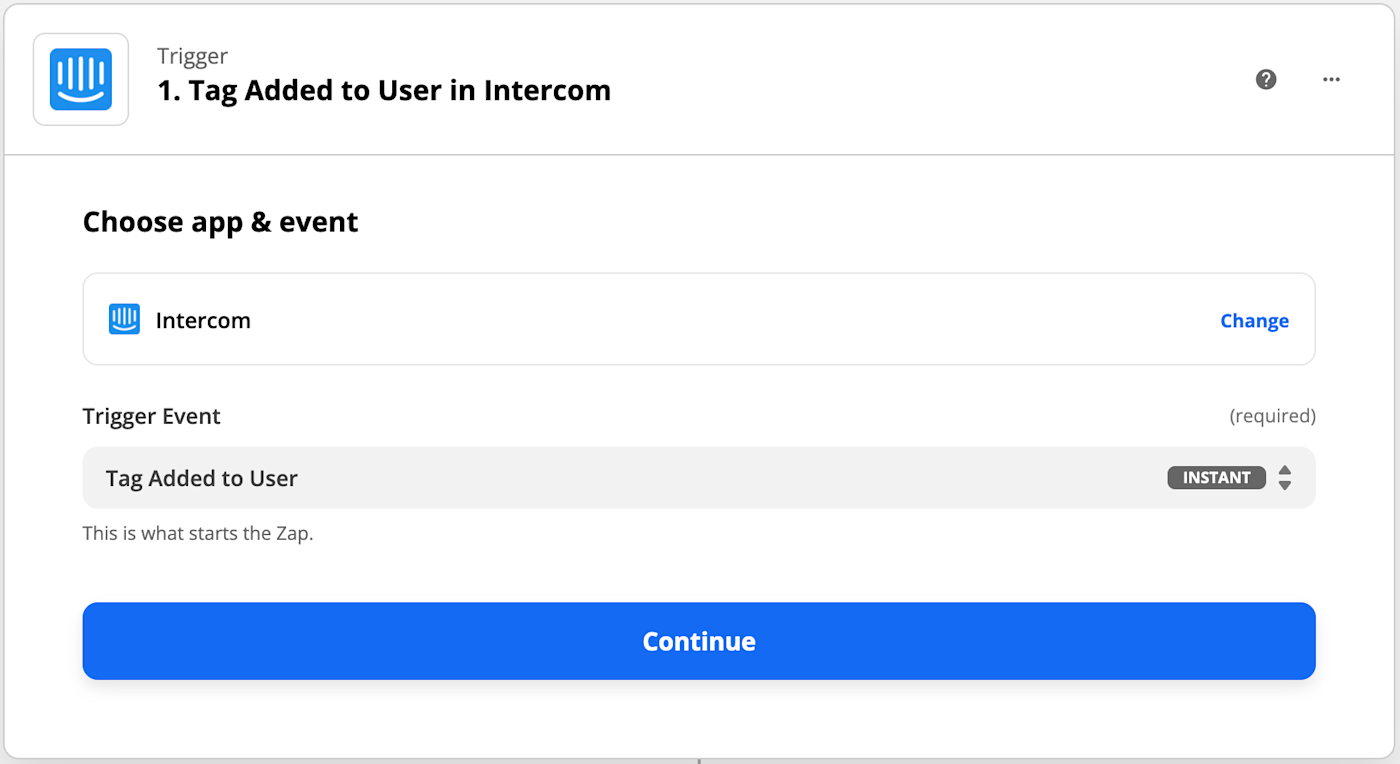
Next, connect your Intercom account to Zapier by clicking on the dropdown menu and selecting +Connect a new account. You’ll need to give Zapier permission to access your Intercom account. Click Continue.
Next, set up your trigger. This is when you’ll select which Intercom tag you’d like to be notified about. If you leave this blank, the Zap will trigger on every tag by default.
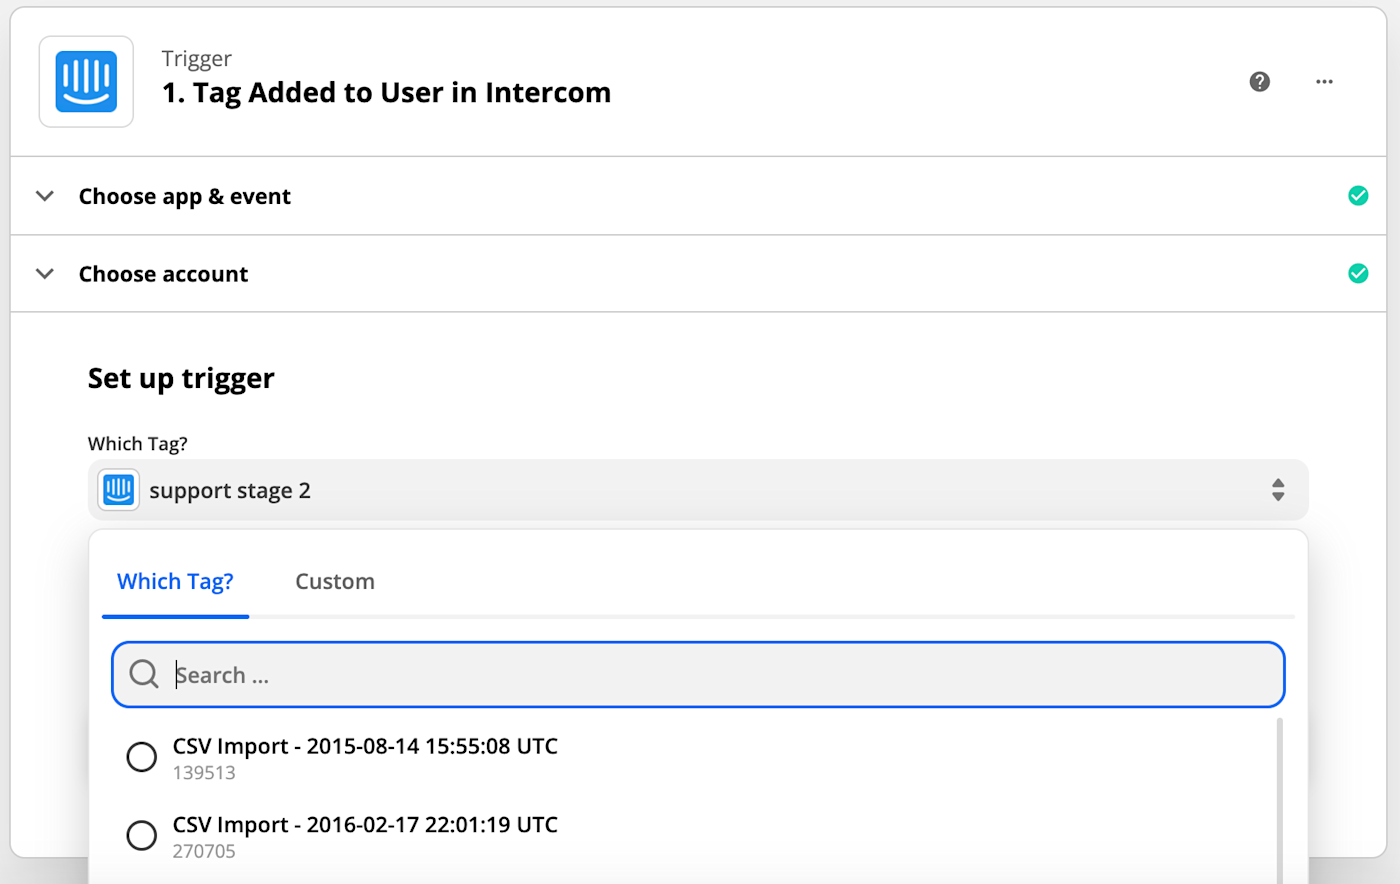
Once you’ve chosen your options, click Continue.
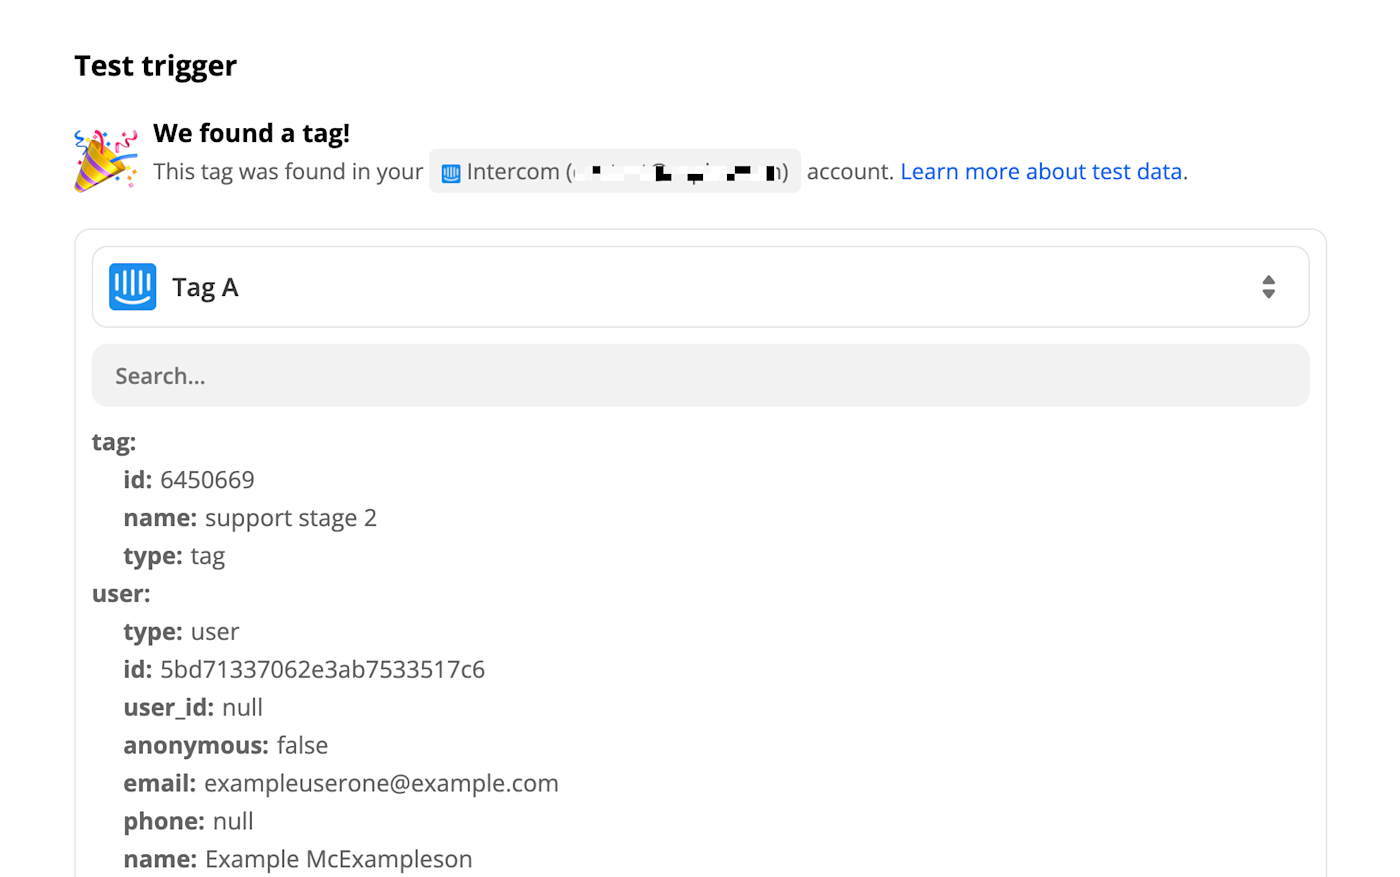
Next, click Test trigger so Zapier will pull the most recently tagged user (using the tag you selected in the previous step). Click Continue.
Set up your action
Next, you’ll set up the action—the event your Zap will perform once it’s triggered. Search for and select Slack as your action app, select Send Channel Message as the action event, and click Continue.
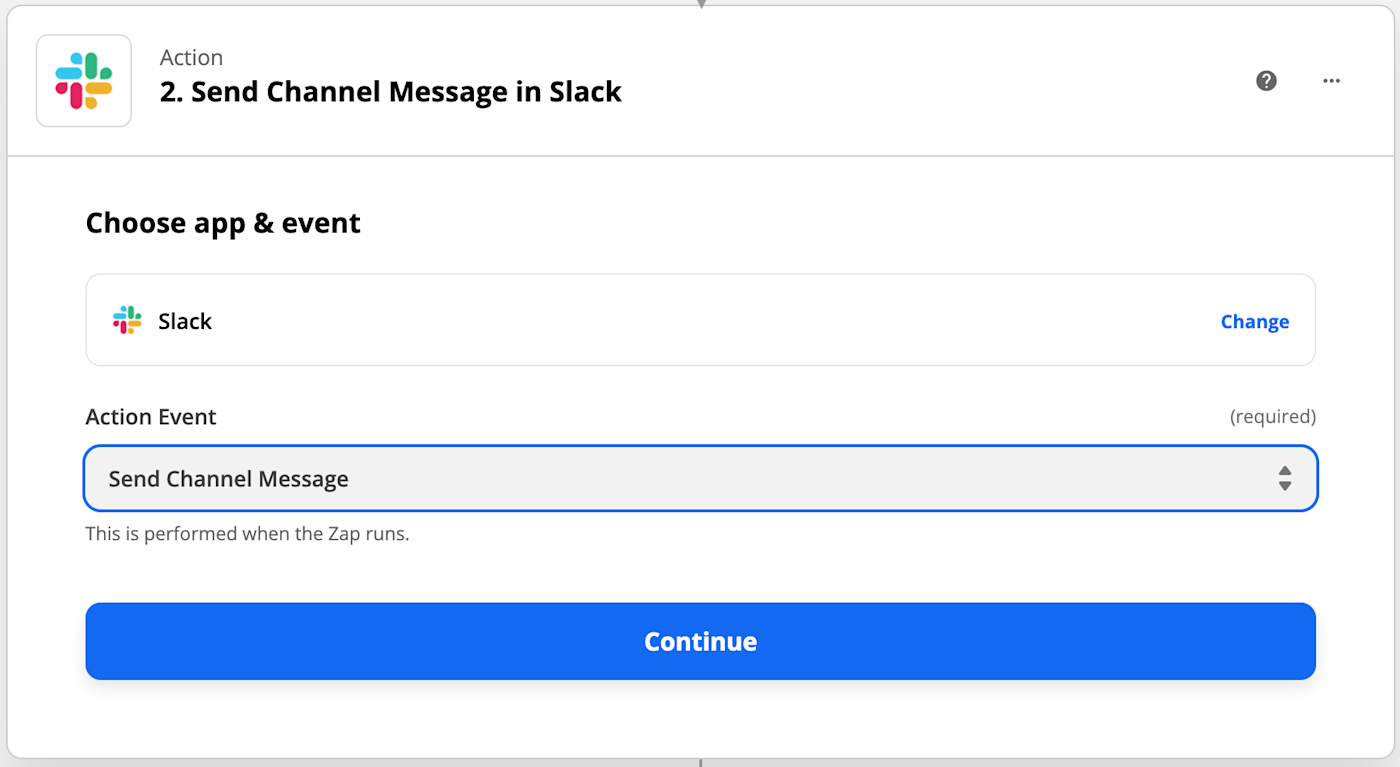
Next, connect your Slack account to Zapier by clicking on the dropdown menu and selecting +Connect a new account. You’ll need to give Zapier permission to access your Slack account. (Note: You may have to first log in to Slack if you’re not already logged in.) Once you’ve connected your account, click Continue.
Now you need to tell your Zap where to send the Slack message. Choose a Slack channel from the dropdown. This will be where your automated messages are sent.
Next, type out the message that you’d like to send inside the Message Text field. You can pull in data from previous steps in your Zap like tag name (very important!), customer name, and customer email address from the Insert Data dropdown menu.
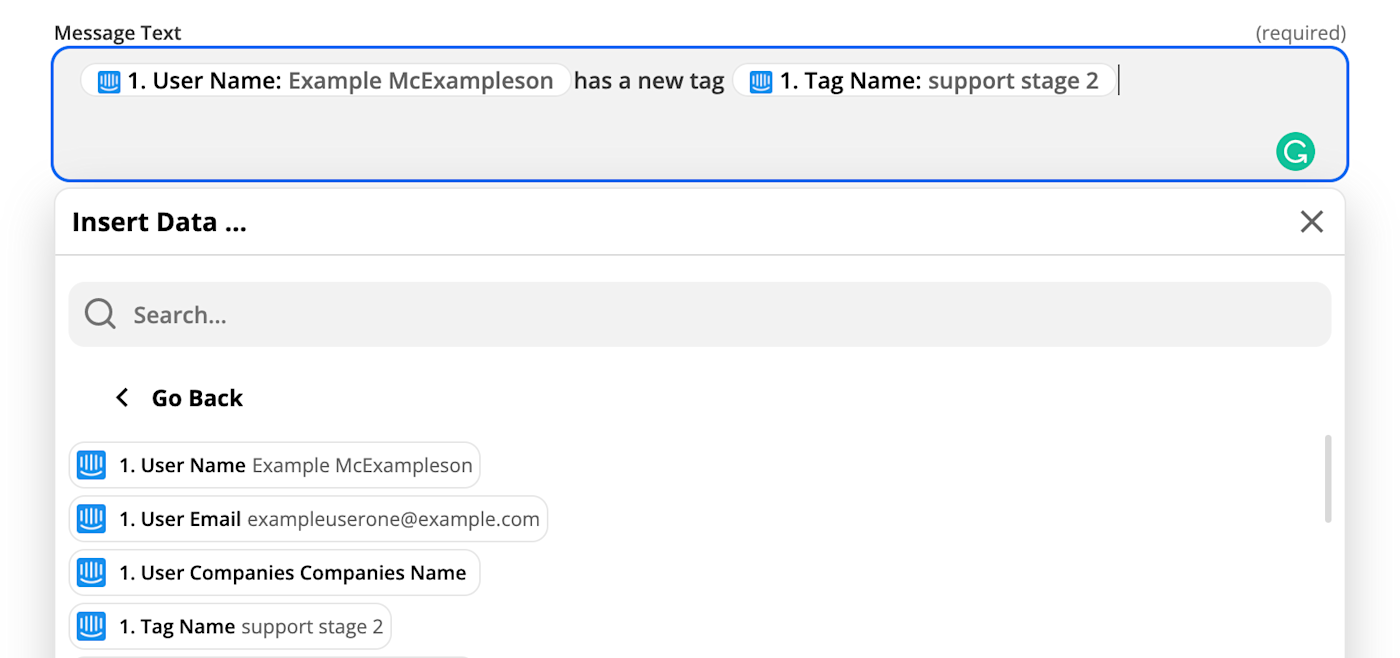
After setting up your message, you can also customize other fields. For example, you can choose to send the Slack message from a bot instead of your Slack handle, add a bot name, and set an emoji as the icon. You’ll also be able to schedule the message to be posted later or broadcast it to the channel. Once you’re finished, click Continue.
Next, you’ll need to test your Zap. You can skip this if you’d like by clicking Skip Test, but we recommend you test to make sure you’re happy with the message formatting. Click Test & Continue, and Zapier will send a test message to the Slack channel based on what you configured previously.
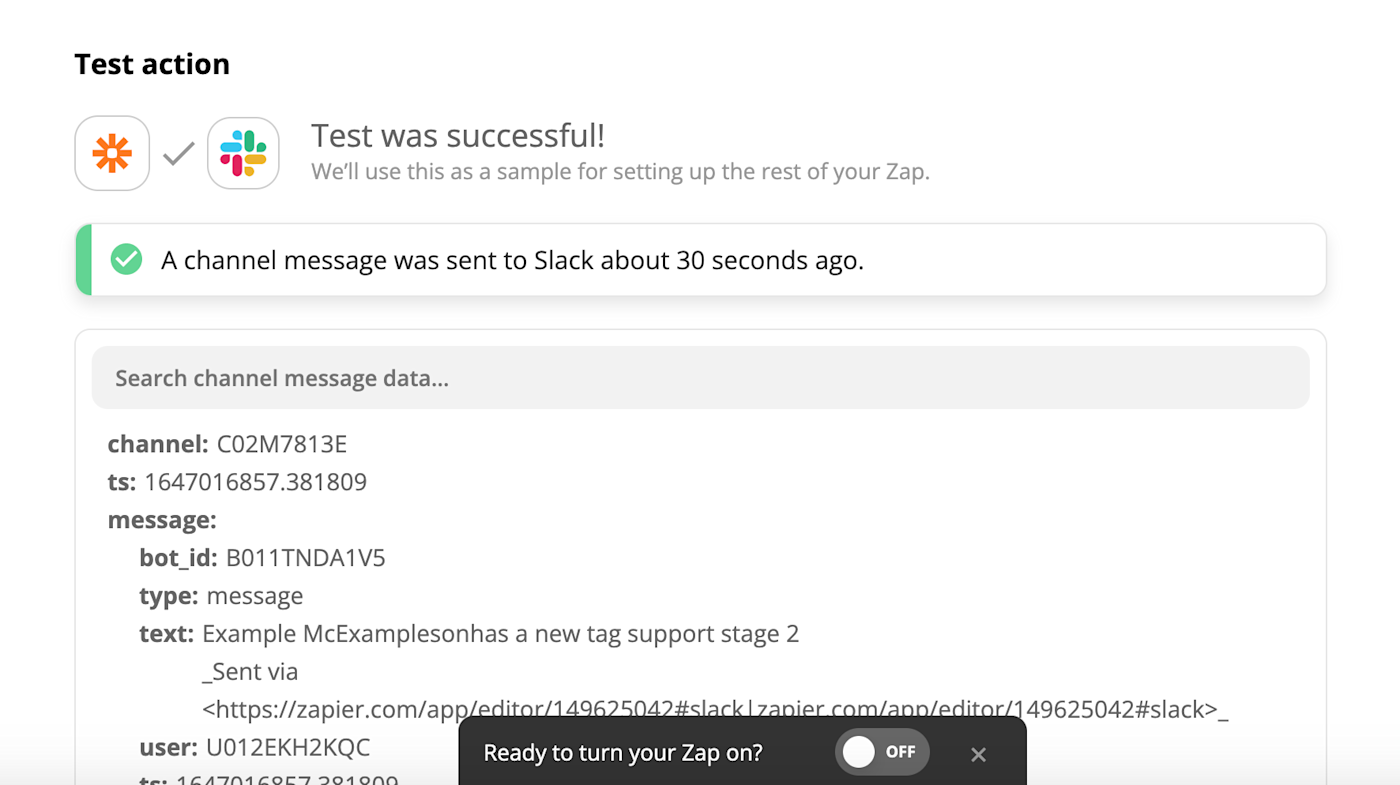
If you’re happy with your Zap, don’t forget to click Turn on Zap.
Your Zap will now automatically send a Slack channel message every time a user is tagged in Intercom (with the specific tag you’ve selected in your Zap). There’s nothing else for you to do but focus on your more important tasks.
New to Zapier? It’s a tool that helps anyone connect apps and automate workflows—without any complicated code. Sign up for free.
[adsanity_group align=’alignnone’ num_ads=1 num_columns=1 group_ids=’15192′]
Need Any Technology Assistance? Call Pursho @ 0731-6725516

