If Zendesk is the core of your customer support, then you (and your customer support team) probably deal with a lot of tickets every month. But what do you do about the support tasks you need to do regularly—but which aren’t necessarily requested by customers?
Fortunately, you can automatically schedule the creation of your own Zendesk tickets with a Zap—our word for our automated workflows. Scheduling in support tasks like debugging, checking reviews, or general maintenance automatically means you’ll never forget about doing them, all the while delivering exceptional customer service. Plus, your work will be reflected accurately inside Zendesk, alongside the other customer tickets you handle.
Note: Using Zendesk in your Zaps requires a paid Zapier account.
Before you begin
Log in to your Zapier account and set your timezone. If you haven’t set a preferred timezone, Zapier will default to UTC (GMT+00:00).
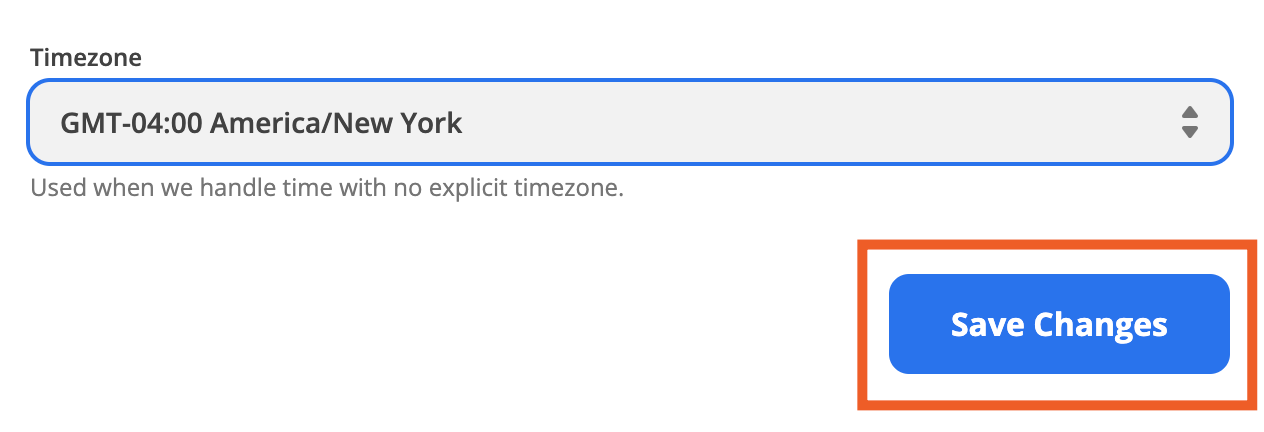
To check your timezone settings, click on your profile icon and select Settings from the dropdown menu. Once you’re inside your My Profile tab, scroll down to the bottom, select your timezone from the dropdown and click Save Changes.
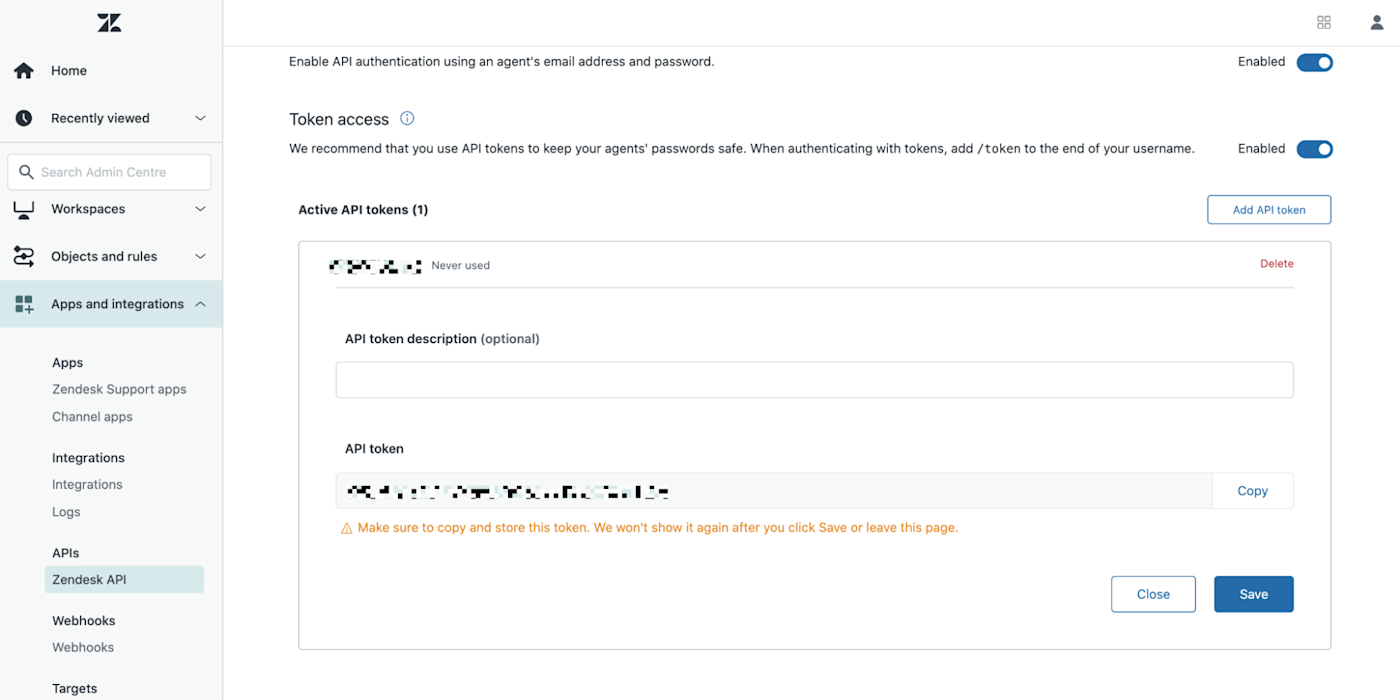
If you’ve never connected your Zendesk account to Zapier before, log in to your Zendesk account now. In the left-hand sidebar, click on Apps and integrations, then navigate to Zendesk API. Make sure your Token access is enabled, then copy the API token. (You’ll need this token later on when you’re connecting your Zendesk account to Zapier.)
Now we can begin creating your Zap.
Create monthly Zendesk tickets
Zapier lets you create automated workflows called Zaps, which send your information from one app to another. You can create your own Zap from scratch without any coding knowledge, but we also offer quick templates to get you started.
If you’d like to start with a template, click the Use this Zap button below, and you’ll be taken to the Zapier editor. You’ll need to create a Zapier account if you don’t already have one. Then, follow the directions below to set up your Zap.
Set up your Schedule by Zapier trigger
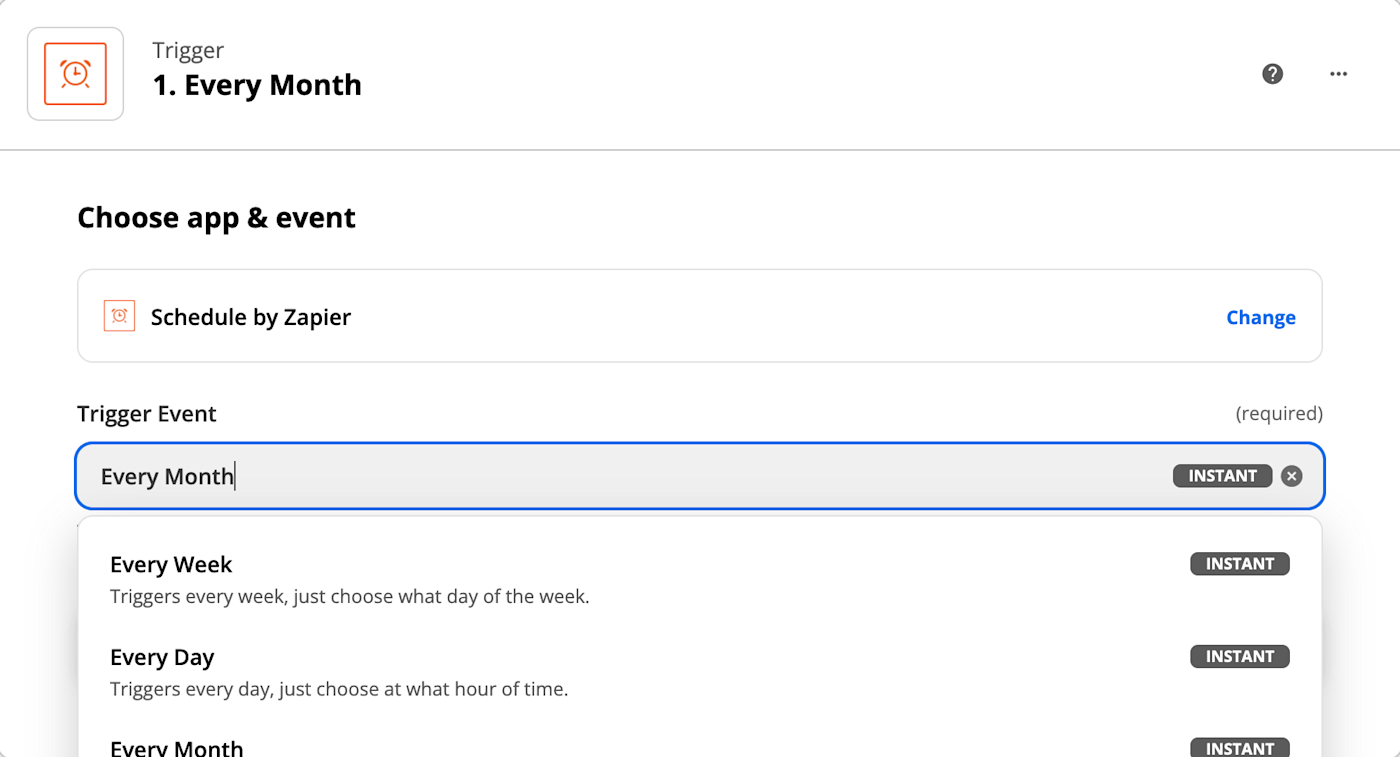
First, set up your trigger—the event that starts your Zap. Search for and select Schedule by Zapier as the trigger app and Every Month as the trigger event. If you’re starting from the Zap template above, this will already be selected for you. Click Continue.
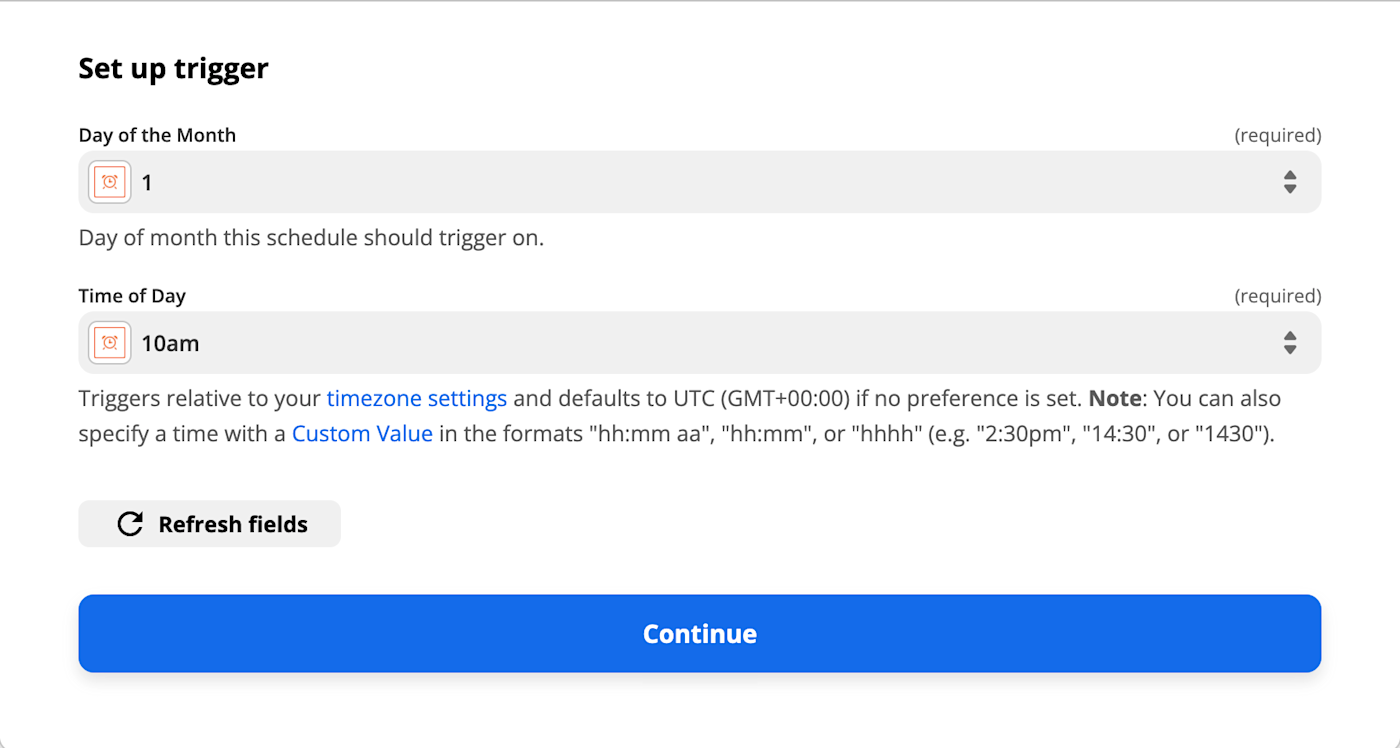
Next, you’ll set up the day of the month and the time you want to create the ticket.
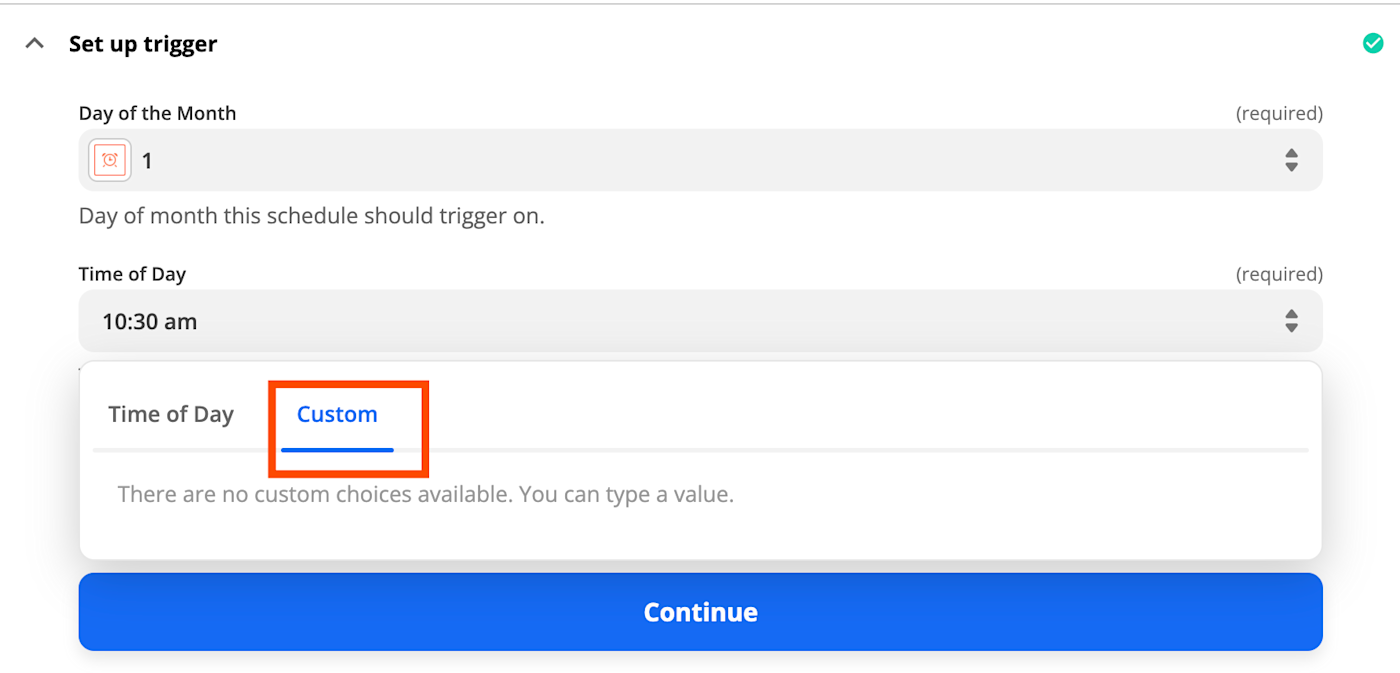
By default, you can select the time your ticket will be created on the hour. If you’d like more specificity, click on the Custom tab and type in your preferred time (say, for example, 10:30 am instead of 10:00 am).
Once you’ve set the time, click Continue.
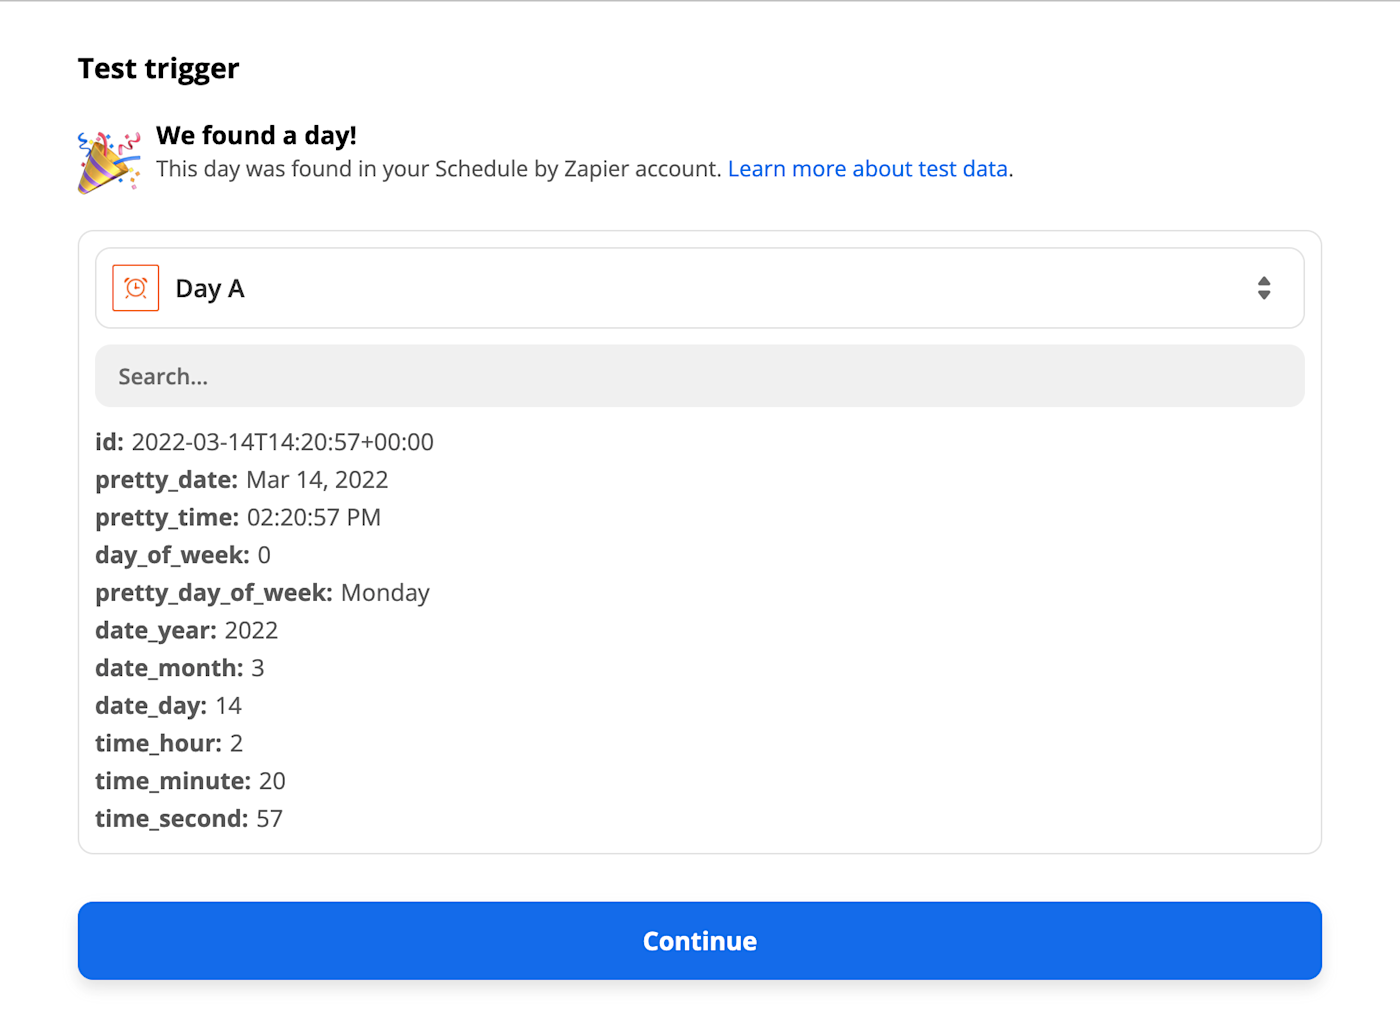
Next, click Test trigger so Zapier will pull the current day as a test. The time in your sample data might not match up with the day of the month you selected, but that doesn’t mean there’s an error. This is just sample data. Click Continue.
Set up your Zendesk action
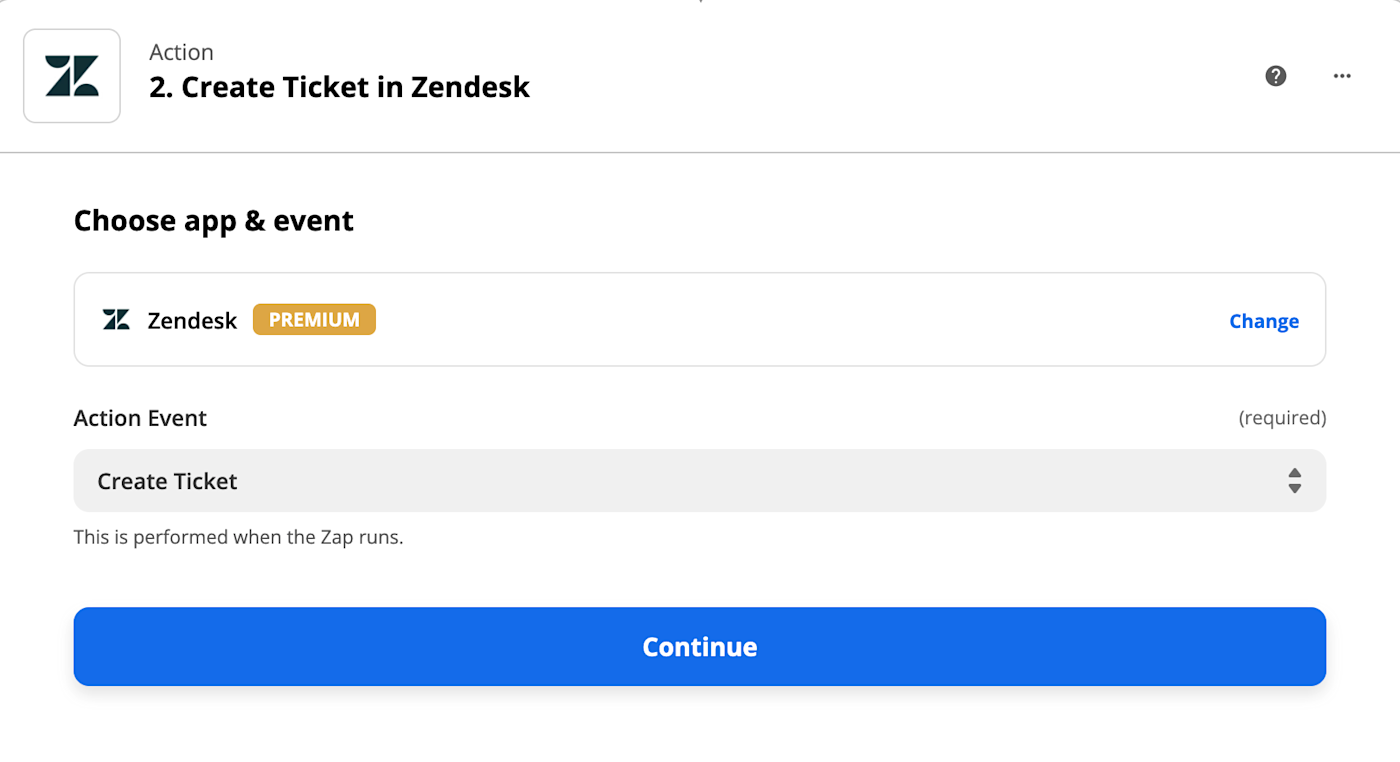
Now let’s set up the action—the event your Zap will perform once it’s triggered. Select Zendesk as your action app and Create Ticket as your action event. Click Continue.
Connect your Zendesk account to Zapier and click Continue.
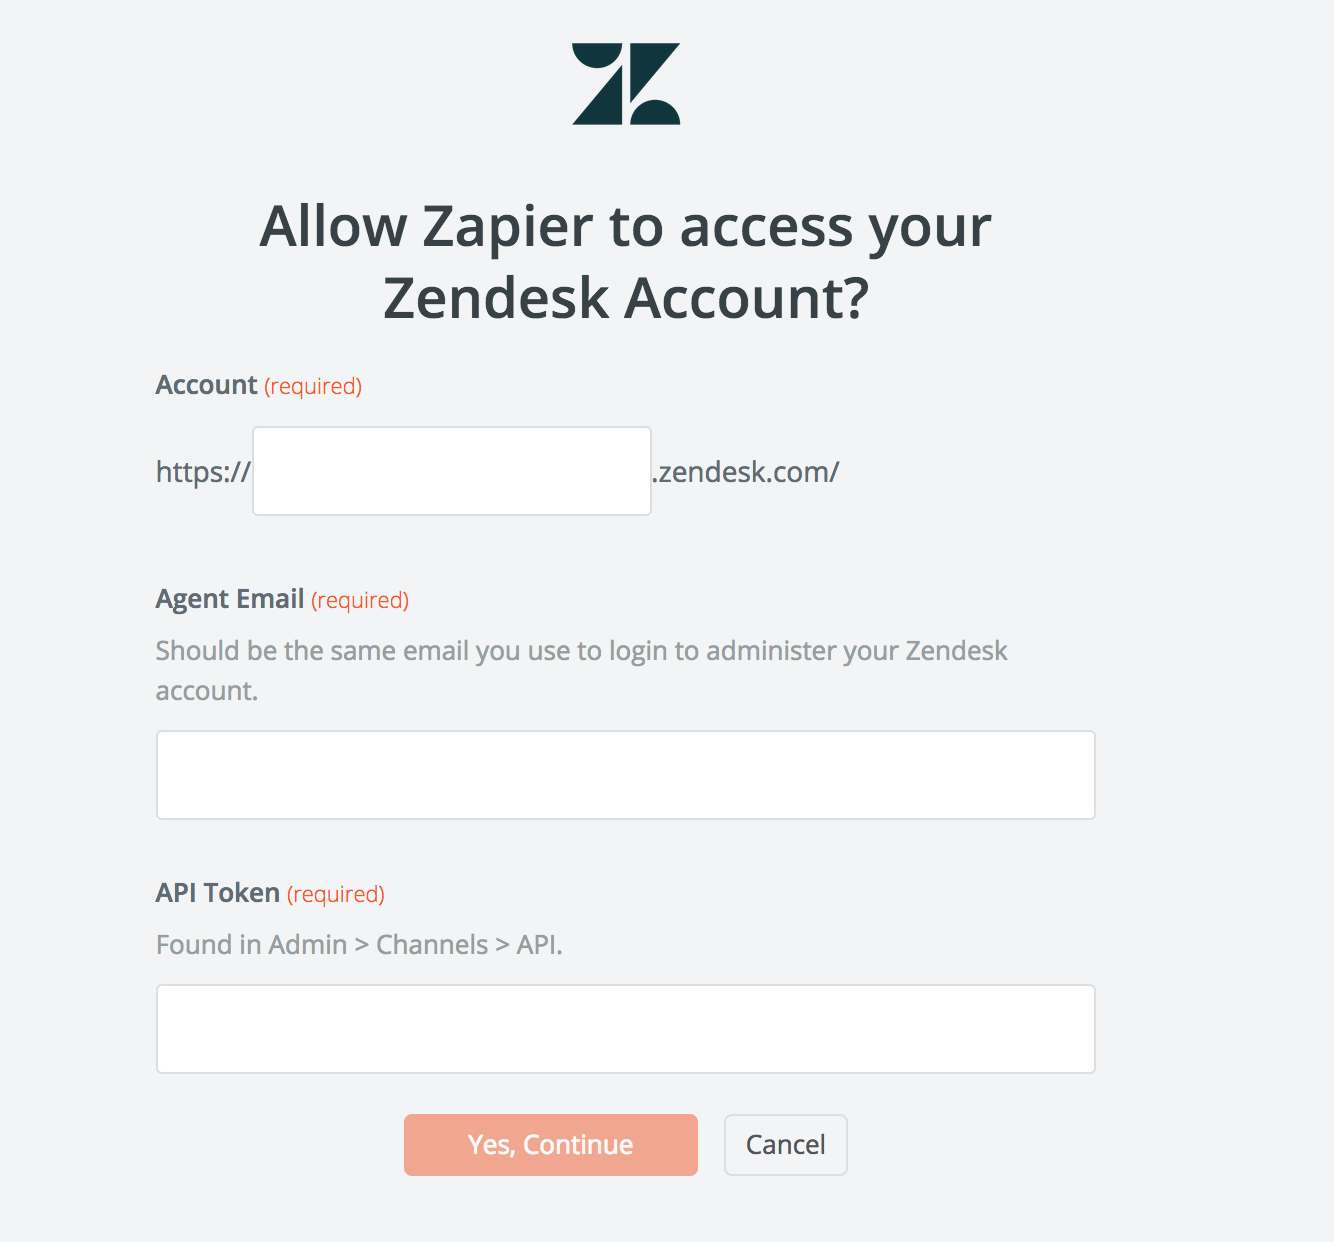
If you haven’t connected your Zendesk account to Zapier before, Zapier will open a separate window and ask you to fill in the account fields, agent email fields, and API token—which you saved before—to grant you access.
Once you’ve connected your Zendesk account, it’s time to customize what you want your ticket to say and where it will go in Zendesk.
Click on the dropdown under Subject to select the data from your previous Schedule step you want to include. You can also add in your own text to customize the name of your support ticket.
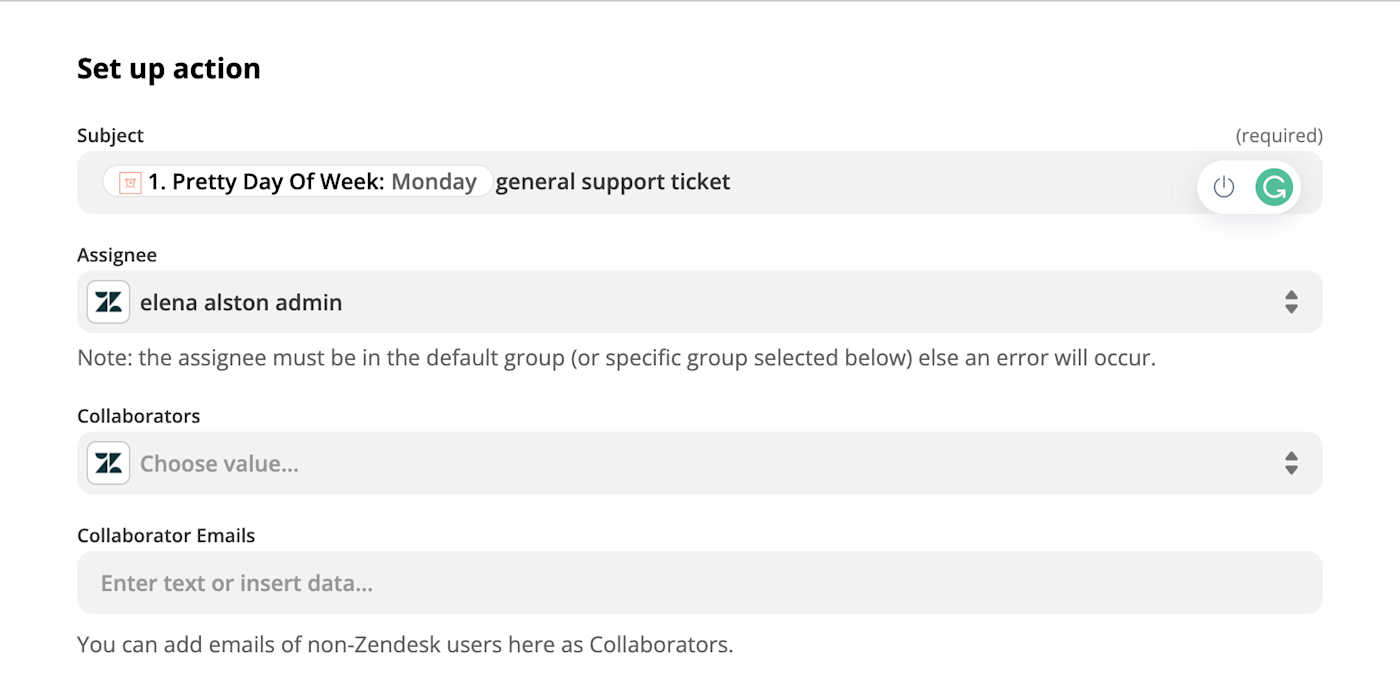
You can also select the assignee you want, choose collaborators (if more team members are involved), and enter their relevant email addresses.
If you want this ticket to live inside a certain group in Zendesk, click on the dropdown under Group and select the right option. Under First Comment/Description, you can customize the message for your ticket, then select whether or not you want this comment to be public.
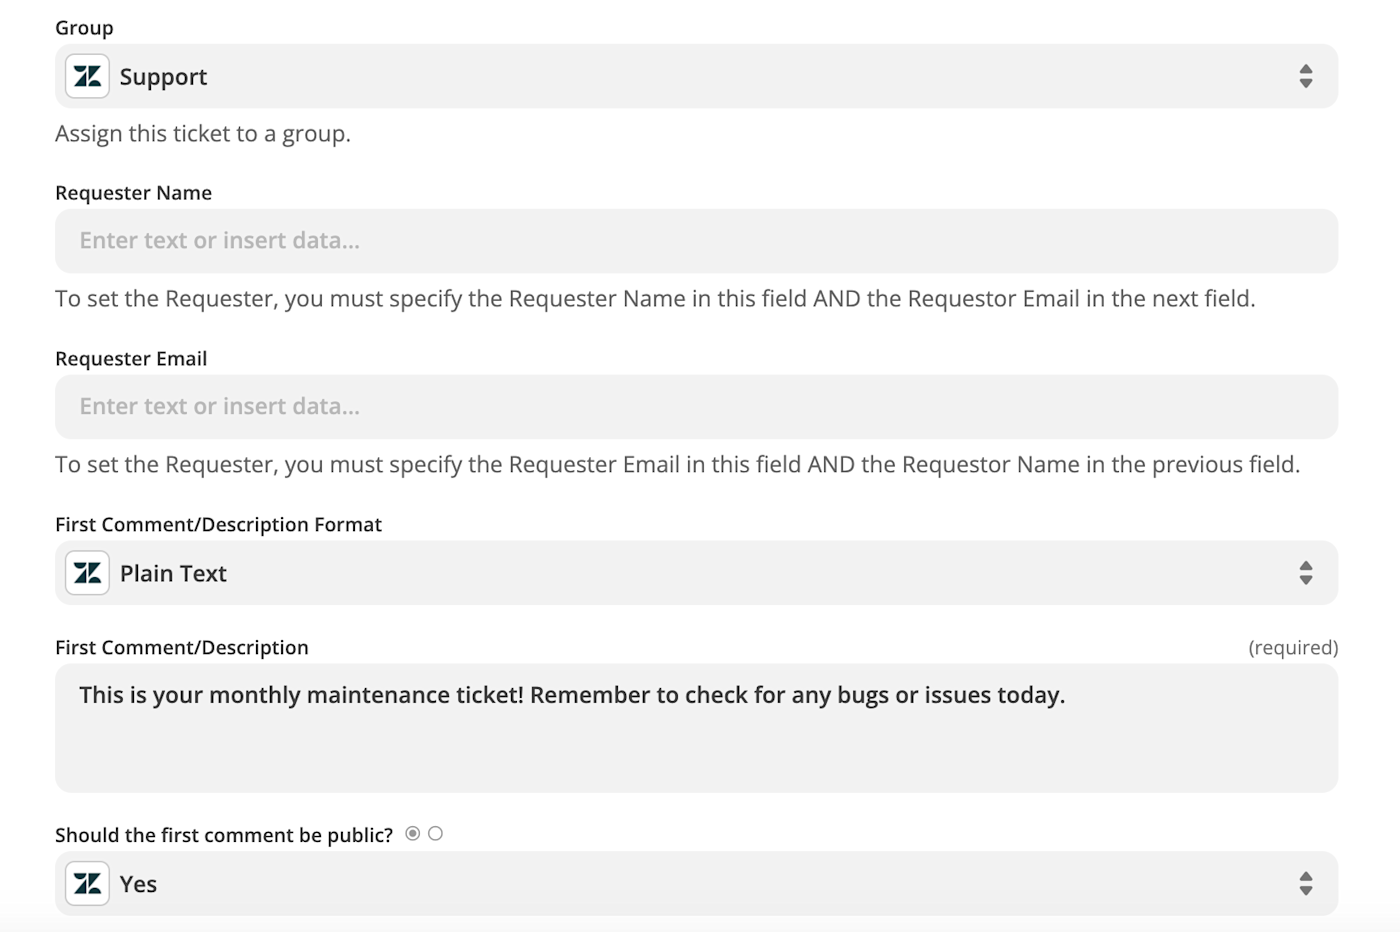
If you want to get even more specific, you can also set the status for your Zendesk ticket (open, pending, on hold), the type of ticket it is (task, incident, etc.), and the level of priority.
Once you’ve finished customizing your ticket, click Continue.
Now it’s time to test your action. When you click Test & Review or Test & Continue, Zapier will create a ticket in Zendesk according to how you set up your ticket earlier.
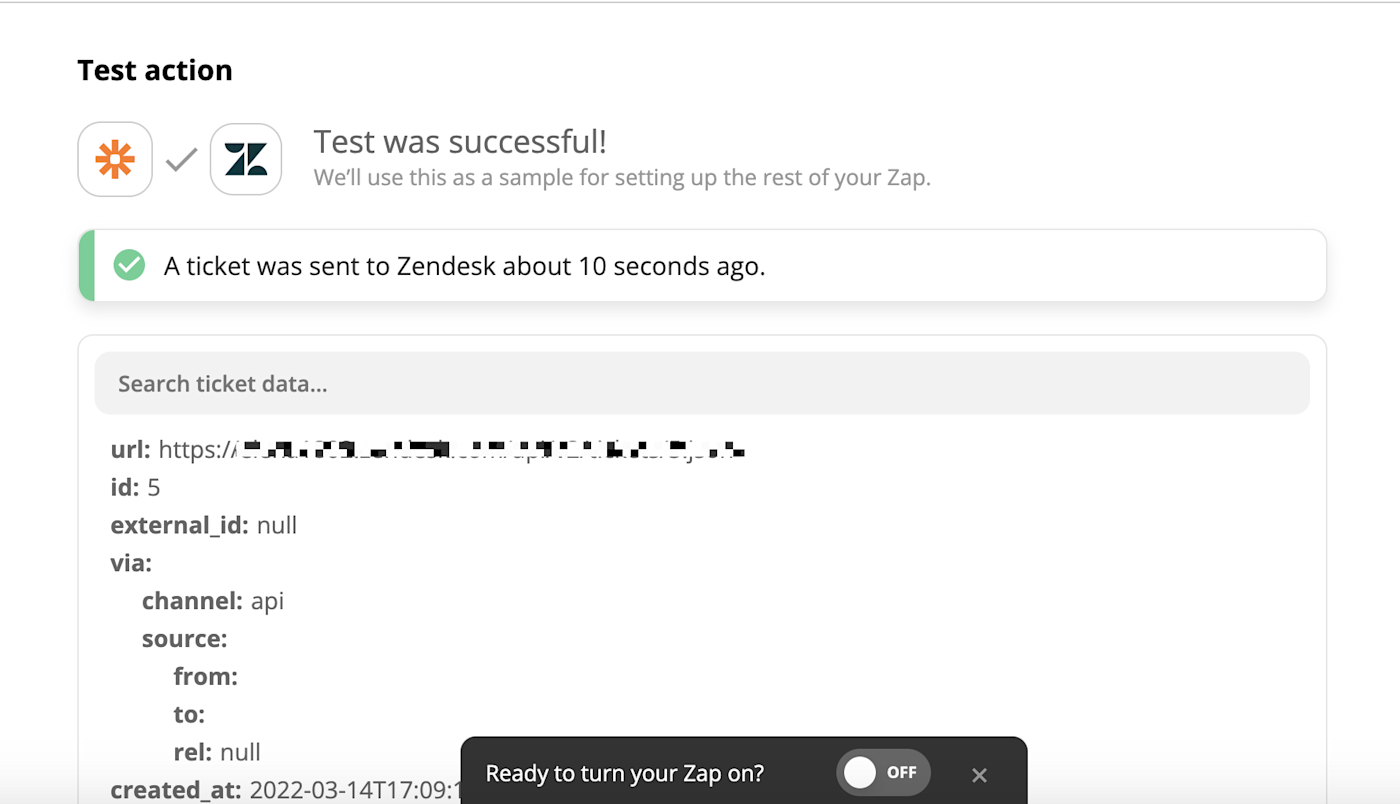
It’s a good idea to test your Zap so you can check if your Zendesk ticket looks the way you want it to.
If you’re happy with your test, click Turn on Zap. If you still want to edit some things, just go back and make the tweaks you need. (You can keep testing until it looks the way you want.)
Recurring support tickets
From now on, you’ll get a monthly ticket created for you, so you can get ahead of your general support tasks without missing a beat—and involve your team members whenever they need to be.
New to Zapier? It’s a tool that helps anyone connect apps and automate workflows—without any complicated code. Sign up for free.
[adsanity_group align=’alignnone’ num_ads=1 num_columns=1 group_ids=’15192′]
Need Any Technology Assistance? Call Pursho @ 0731-6725516


